
The projection system in the campus center was updated over the summer of 2023, giving us a simpler system. Things may look similar those of you familiar with the older system, but the process has been streamlined and is easier than ever!
Like before, everything starts with this control panel:
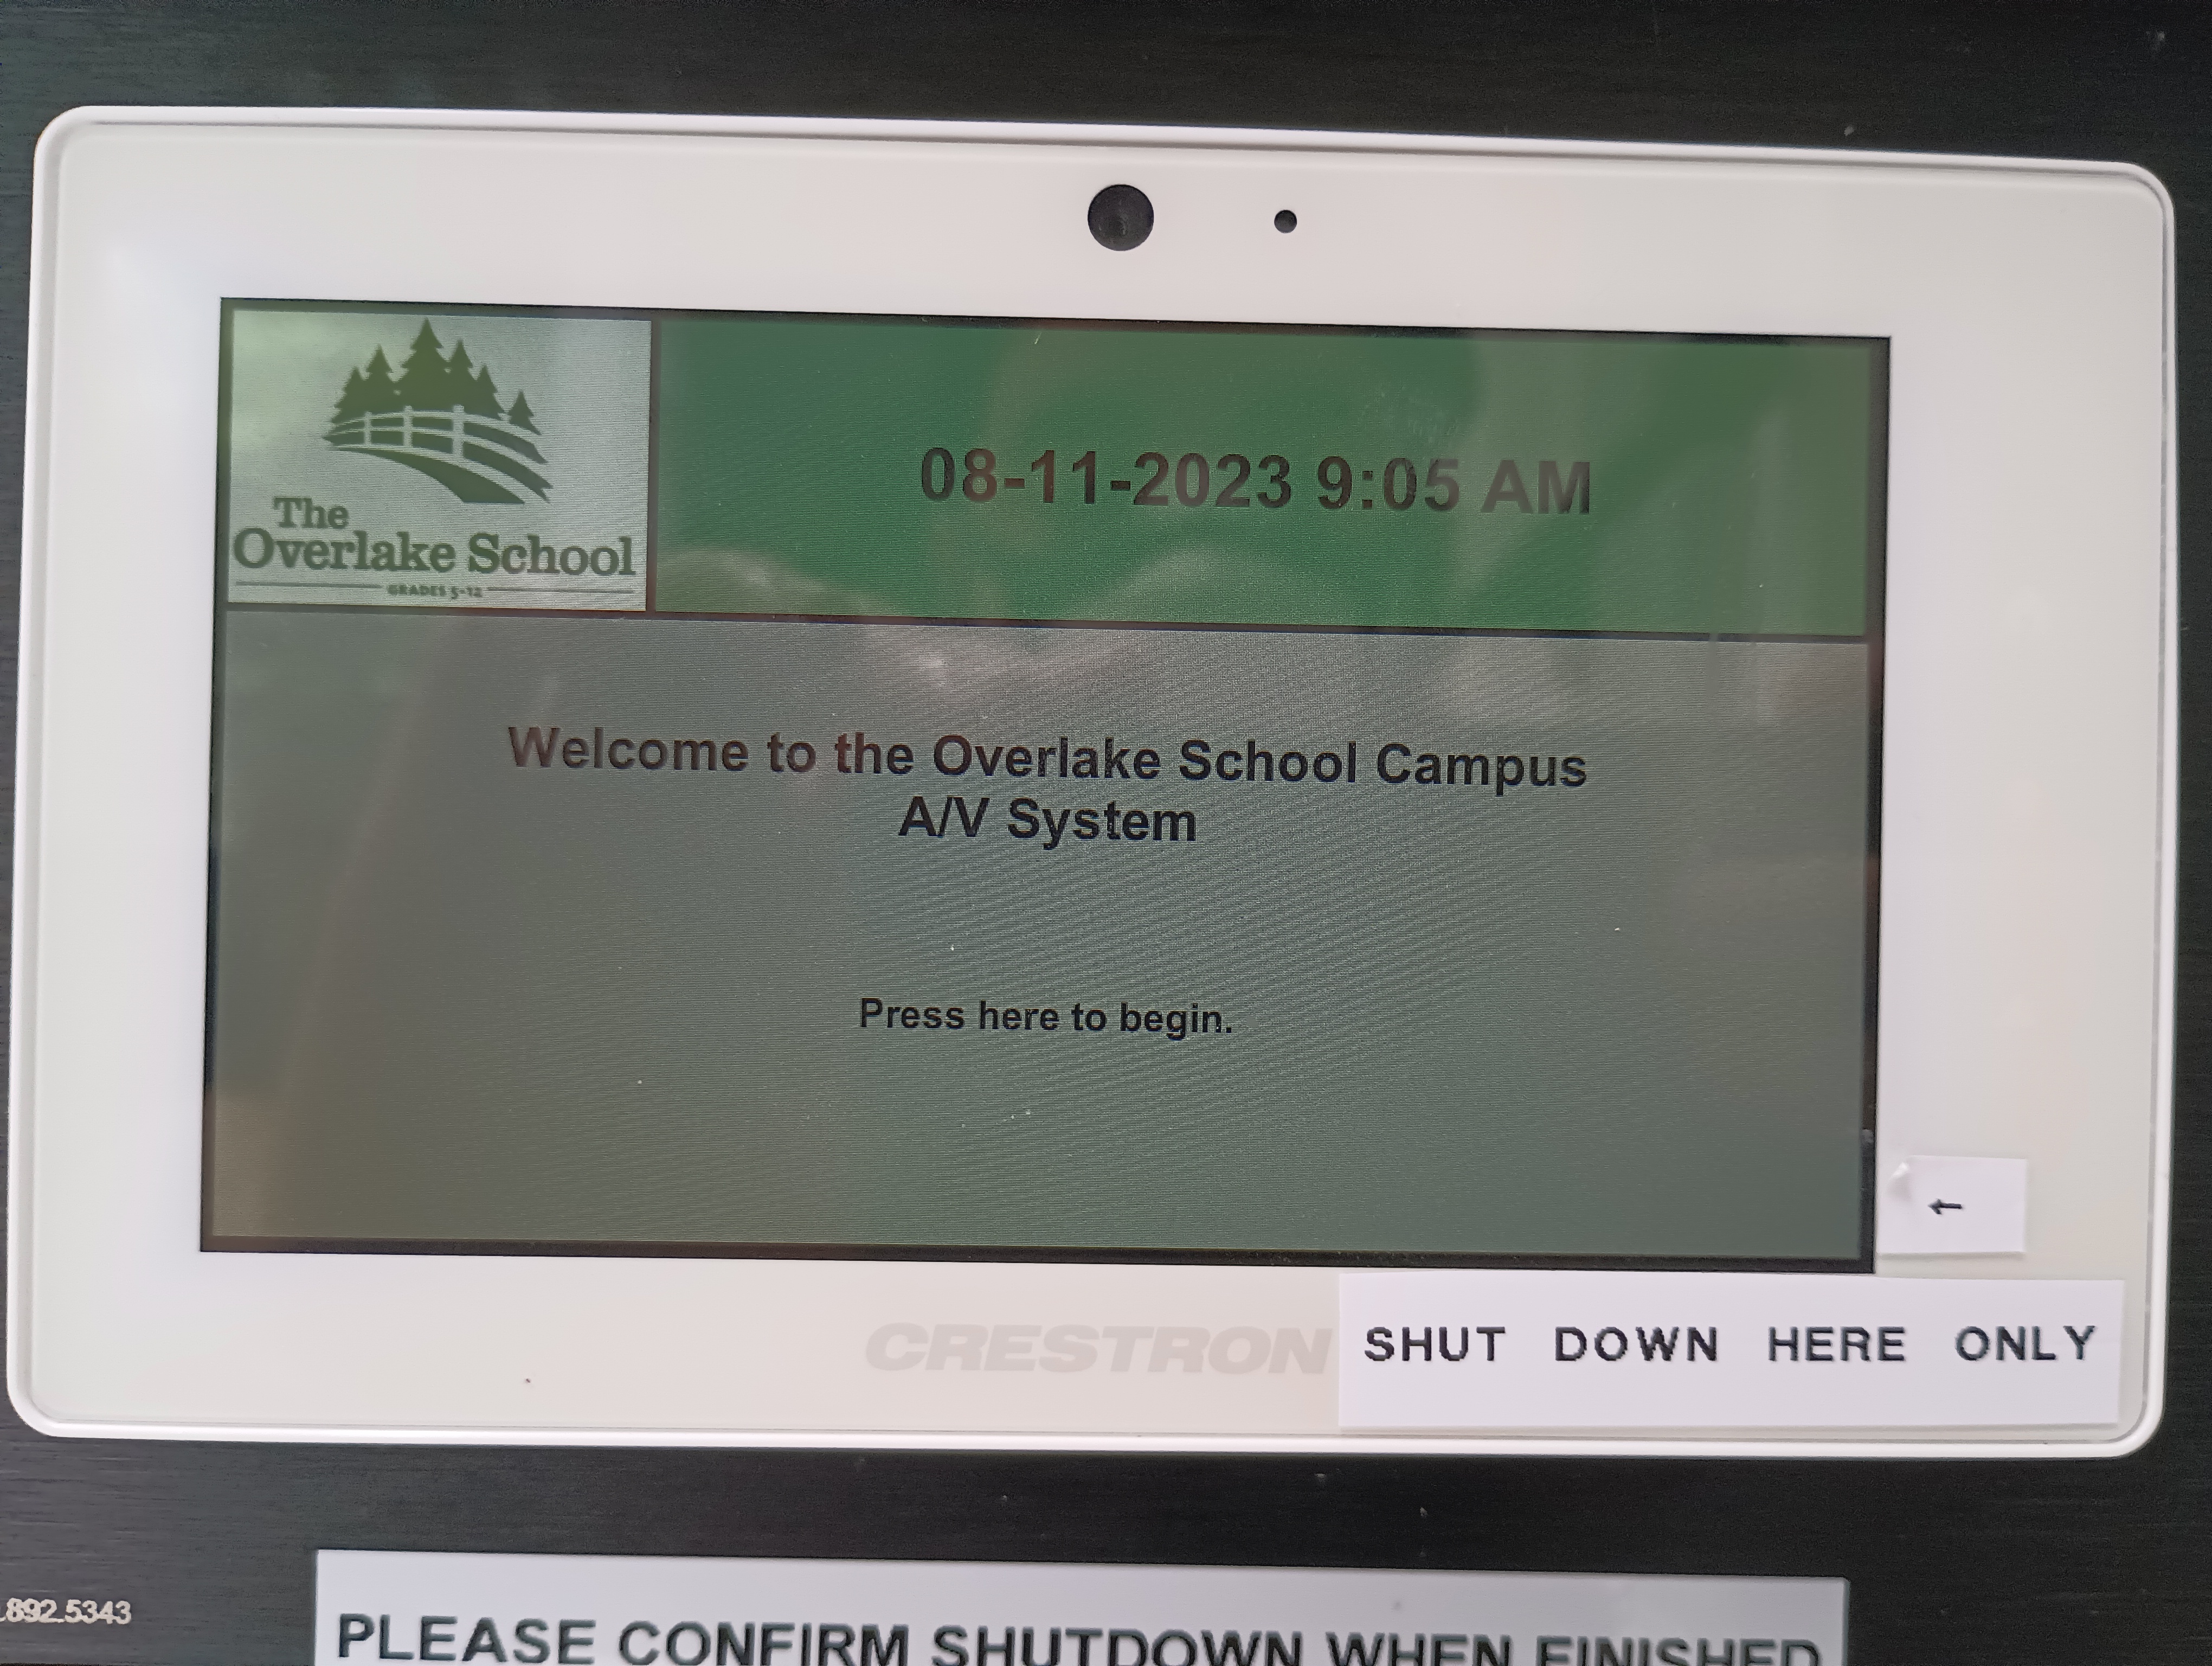
Just tap the screen and you'll enter this menu: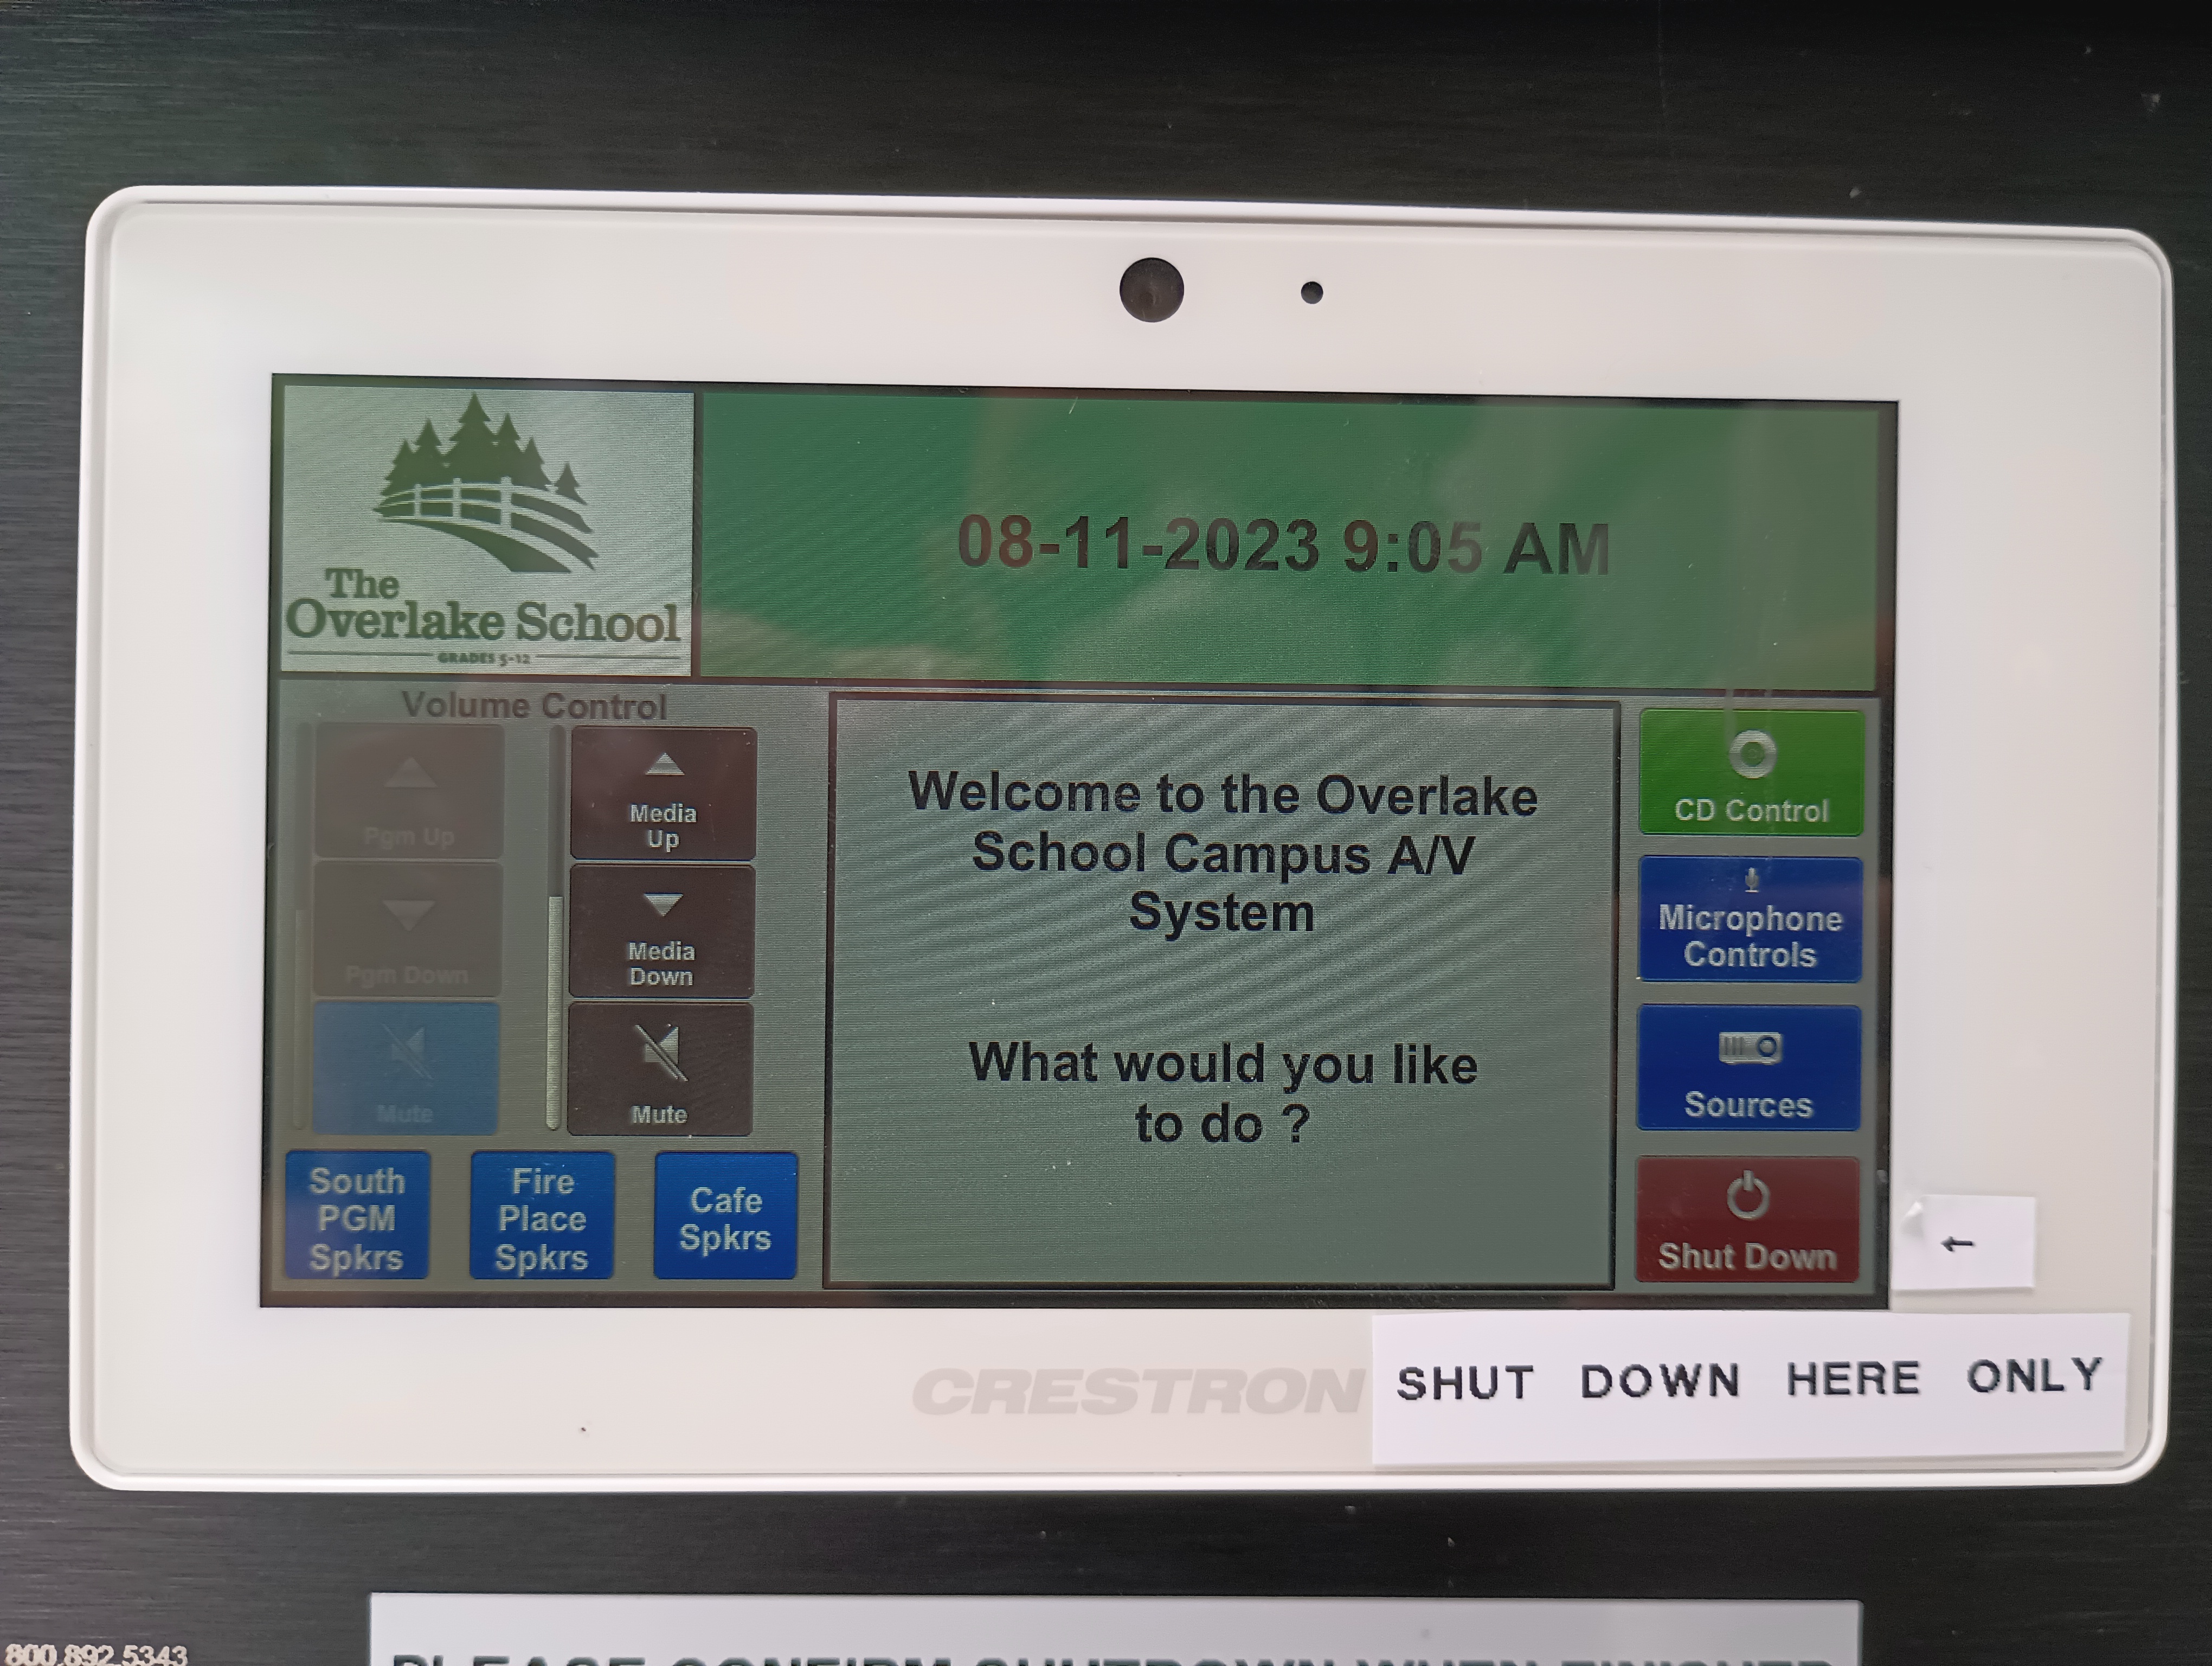
Press "Sources" on the right side of the panel, and then "Rack HDMI" from the center options to finish setting up the appropriate input.
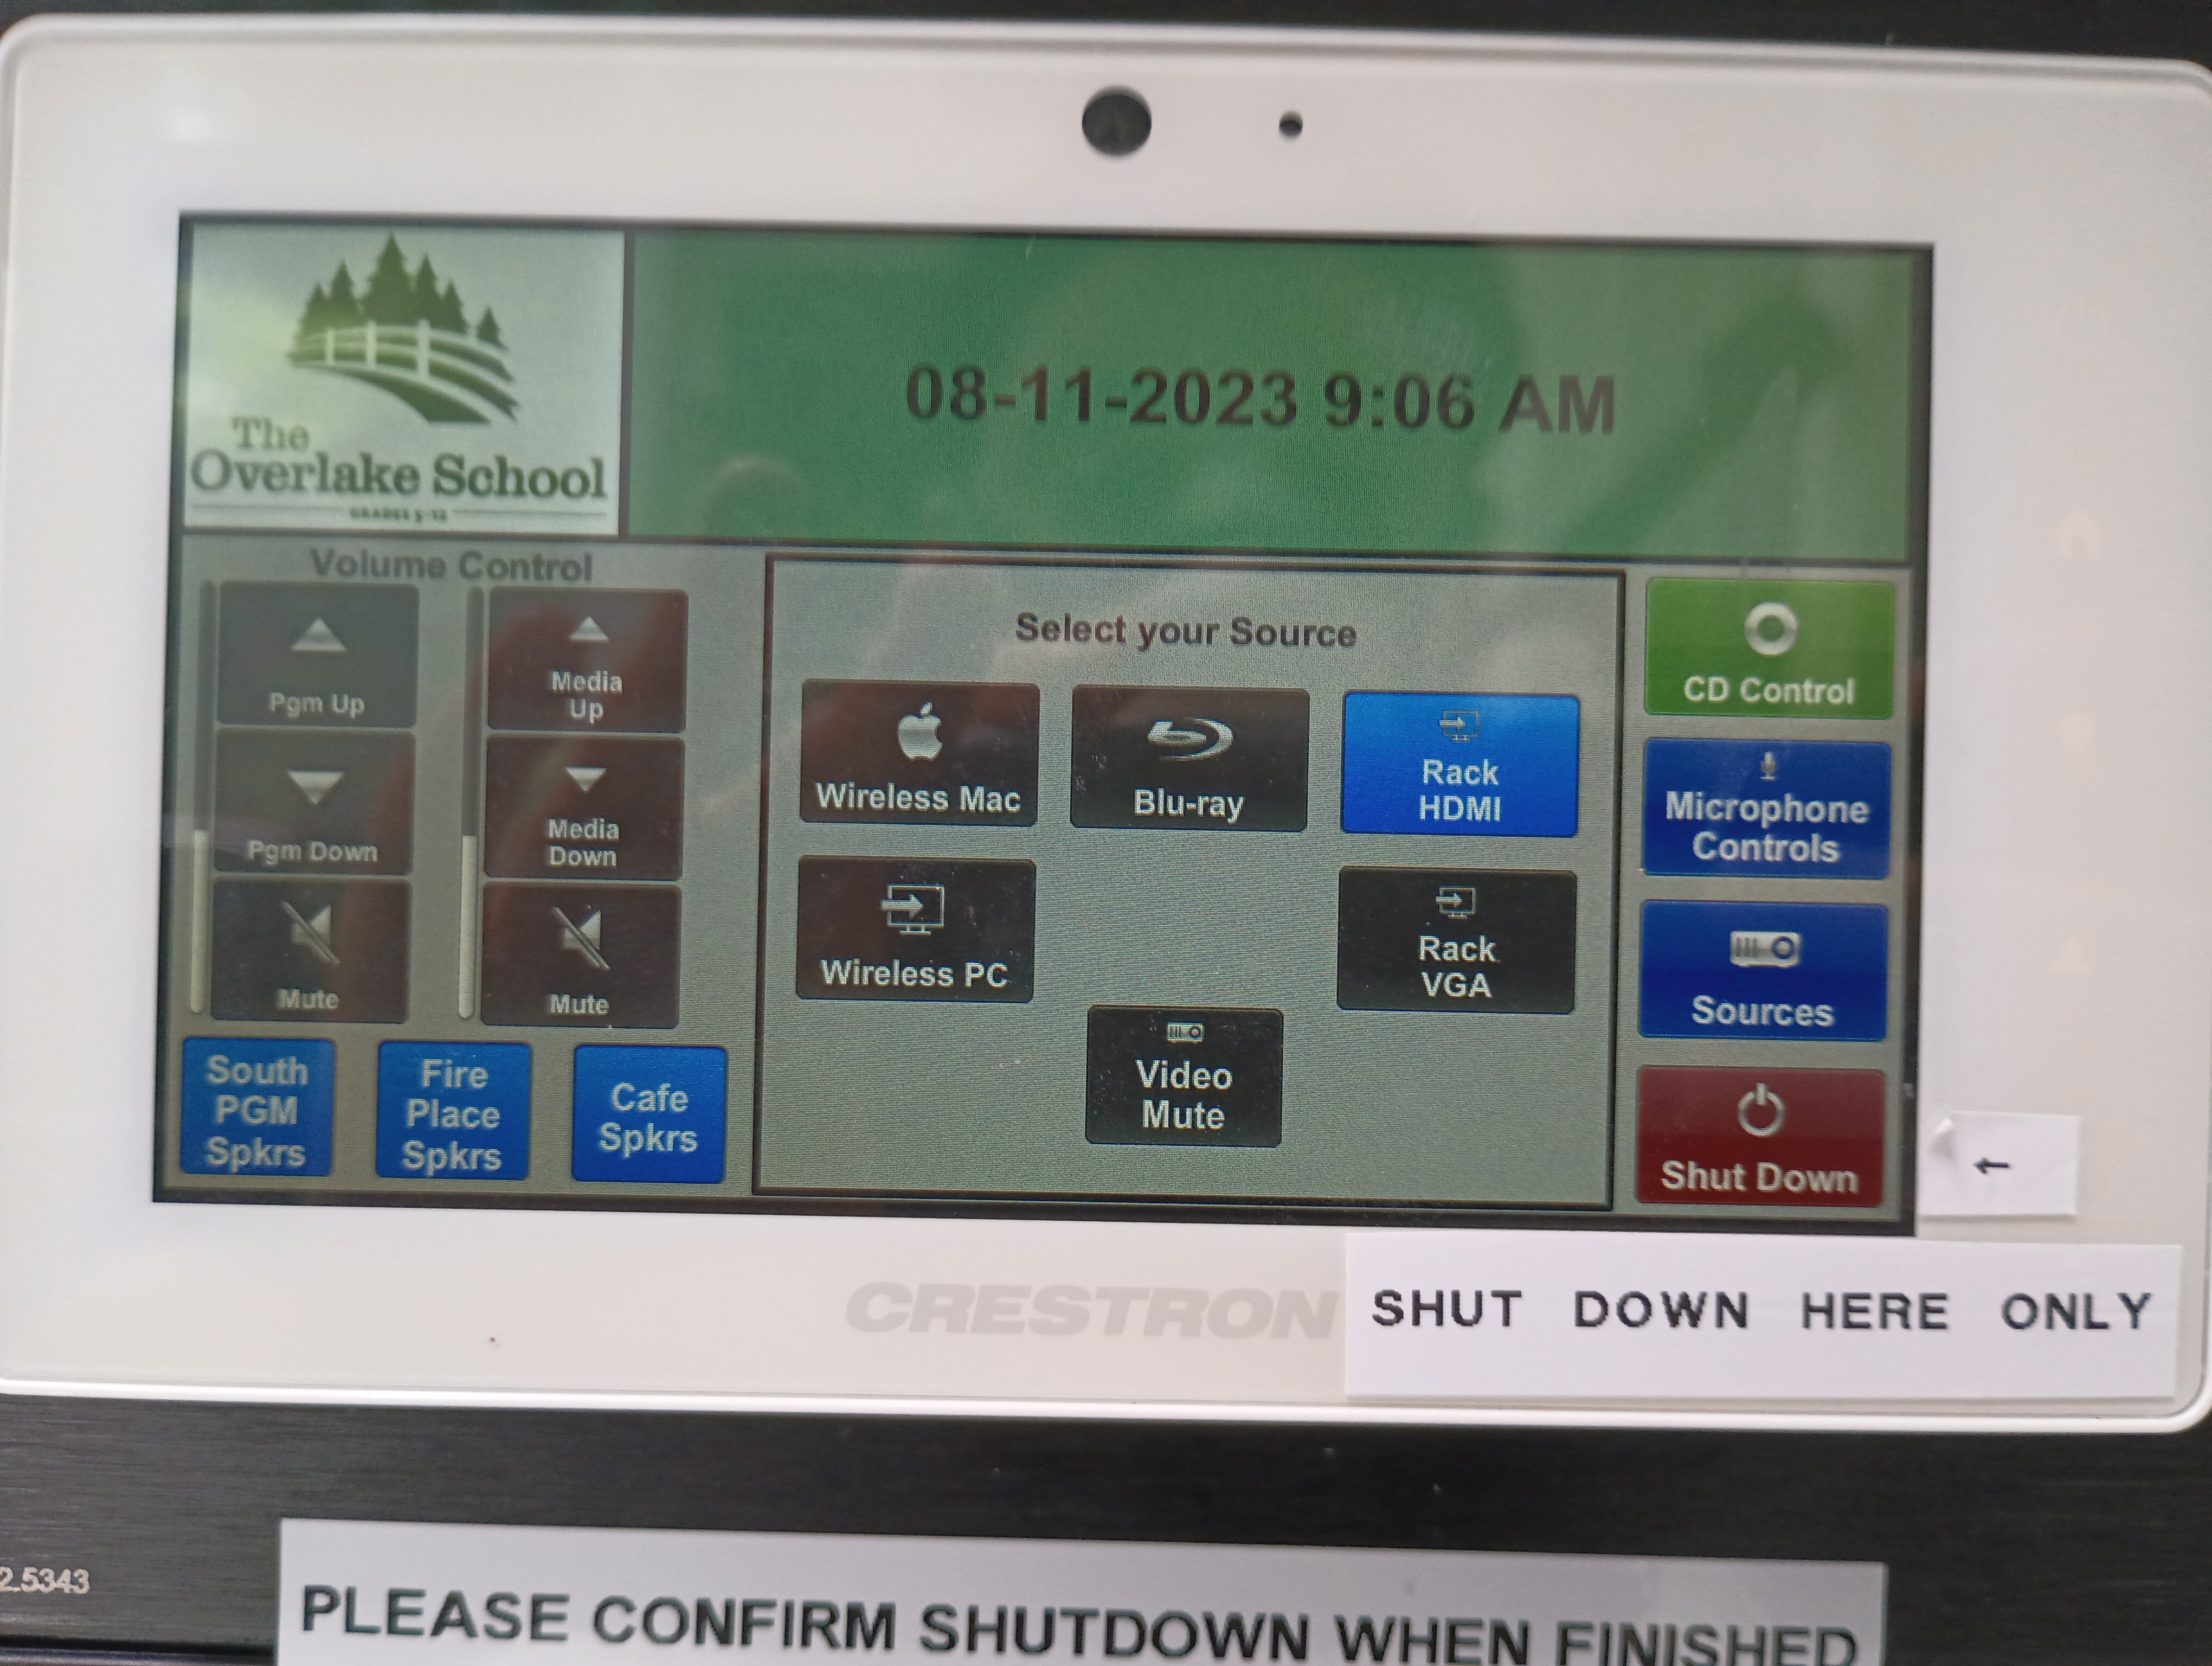
At this point, the projector should turn on the screen will start rolling down in front of the fireplace. All you need to do is plug in the HDMI cable to your laptop, and you're all set.
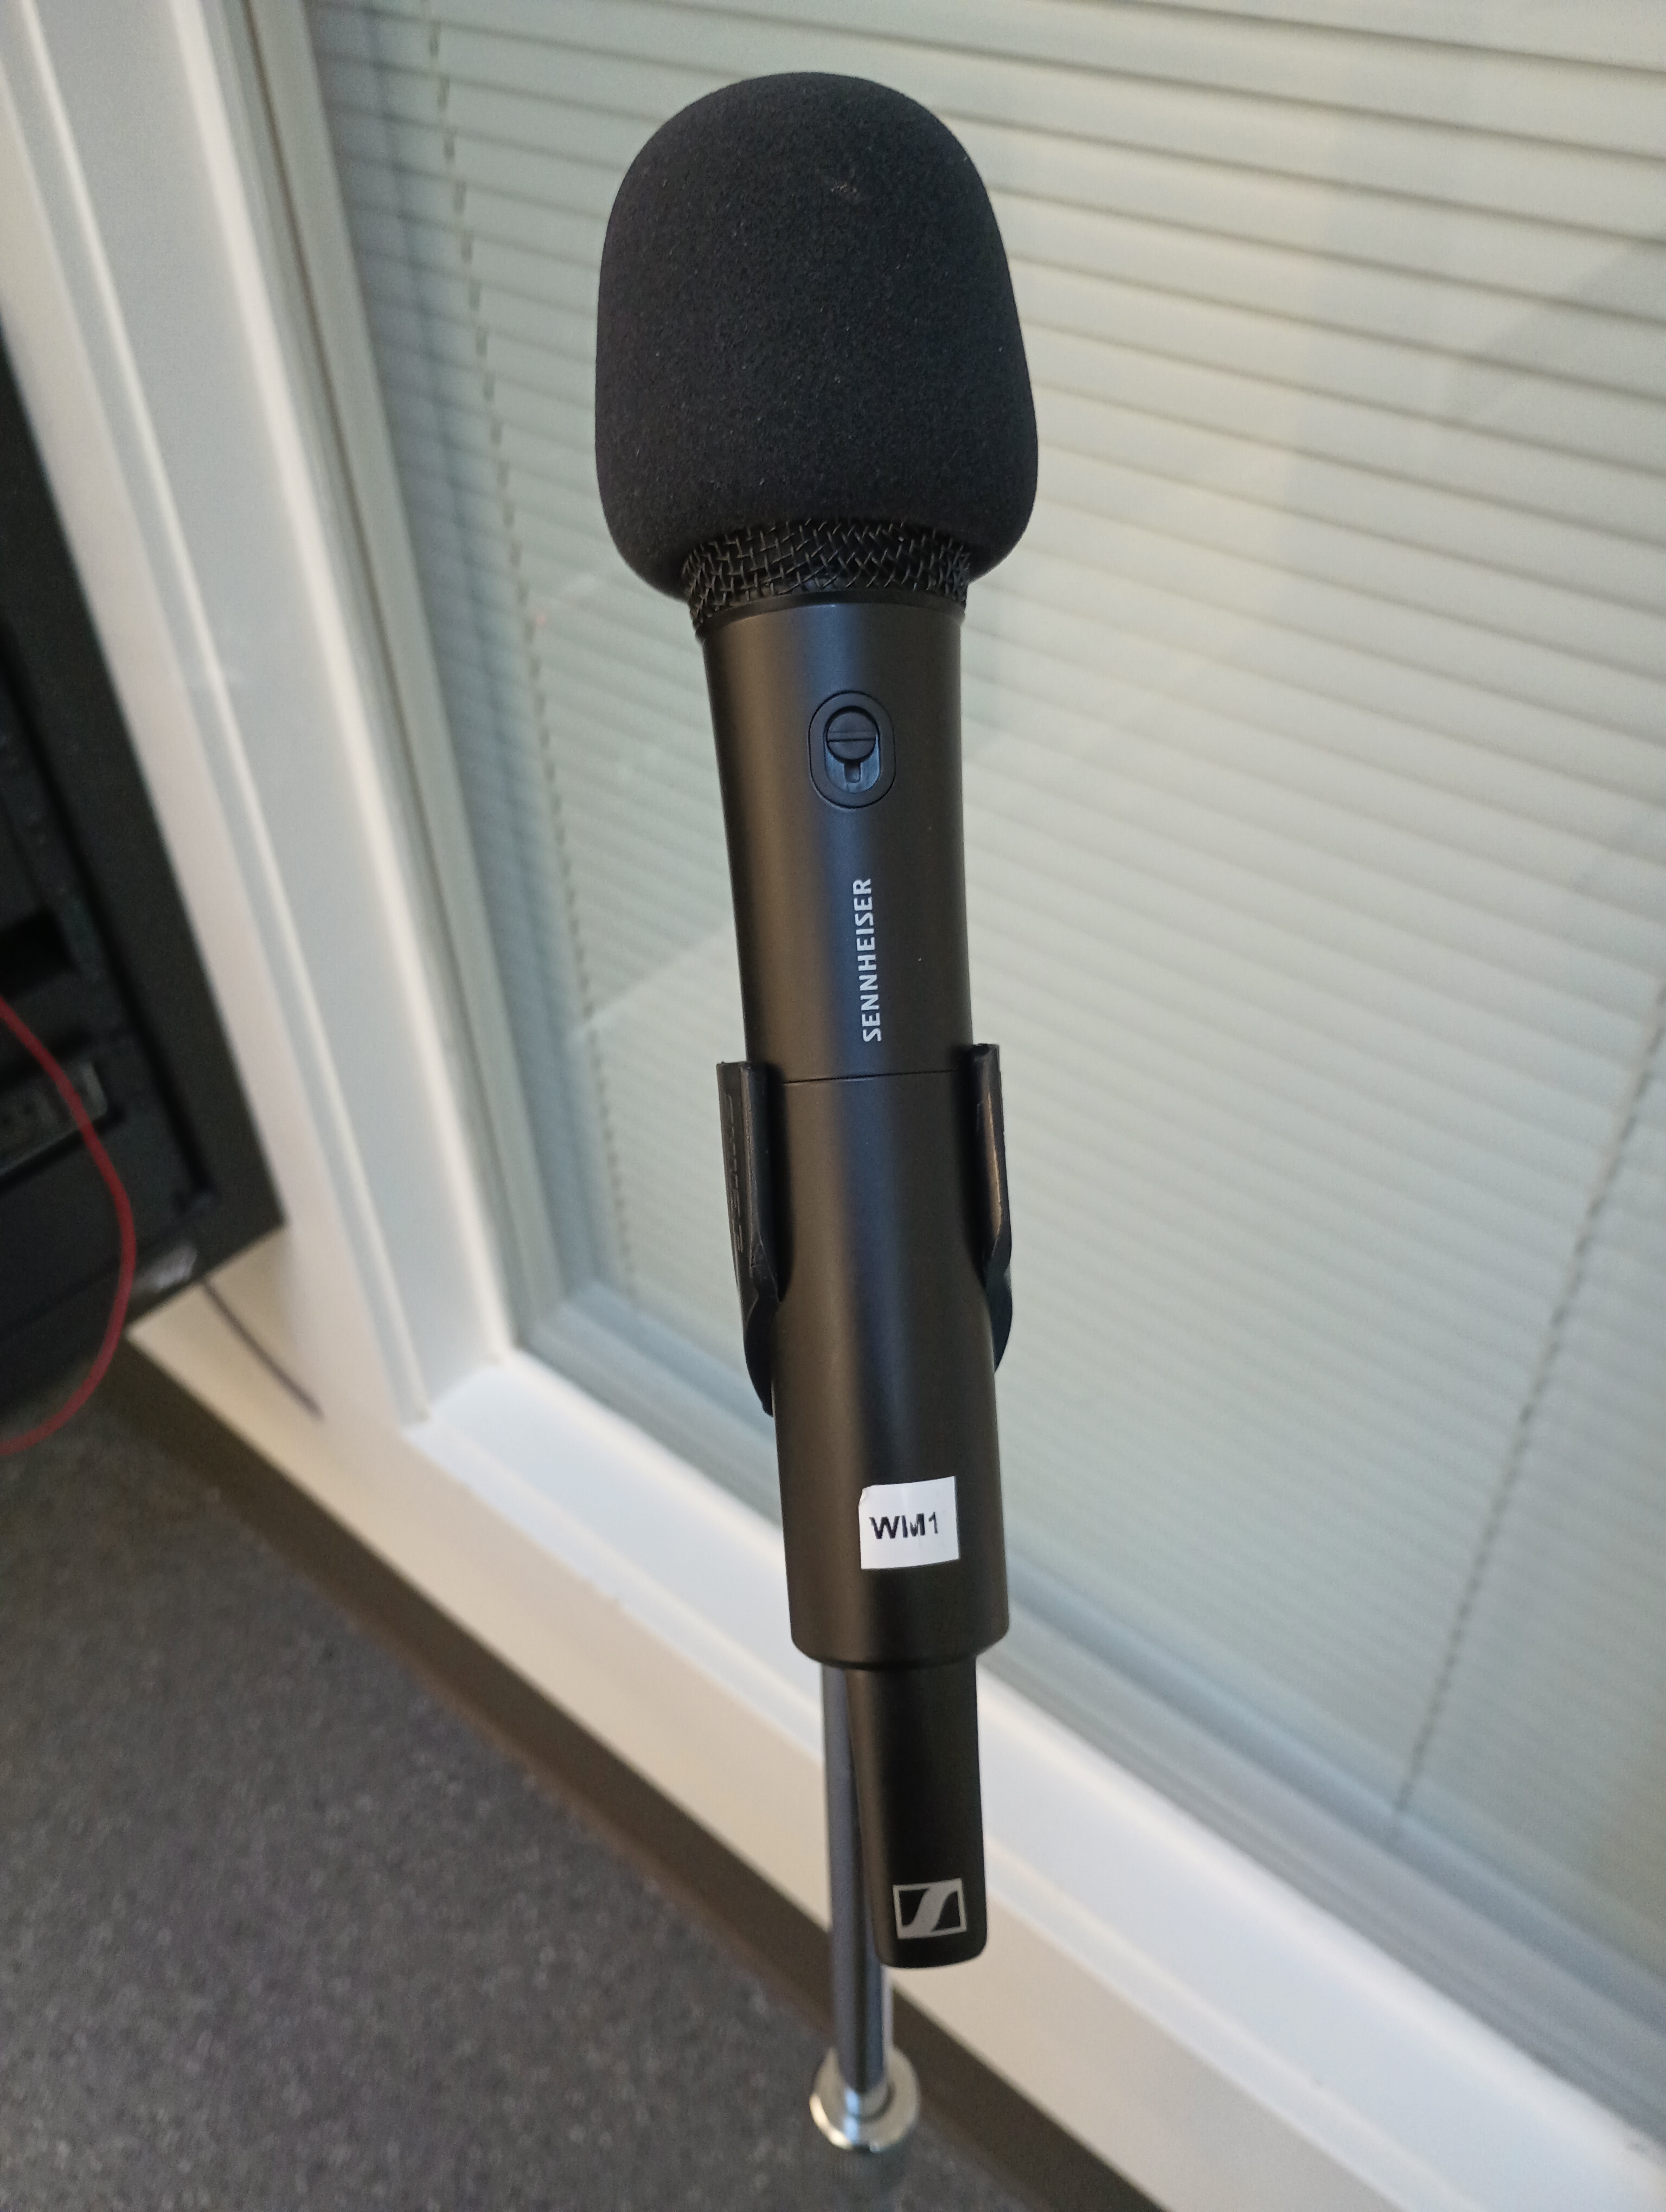
If you'd like to use a mic, just grab one, hold the power button on the bottom for a second or two, and you're all set. 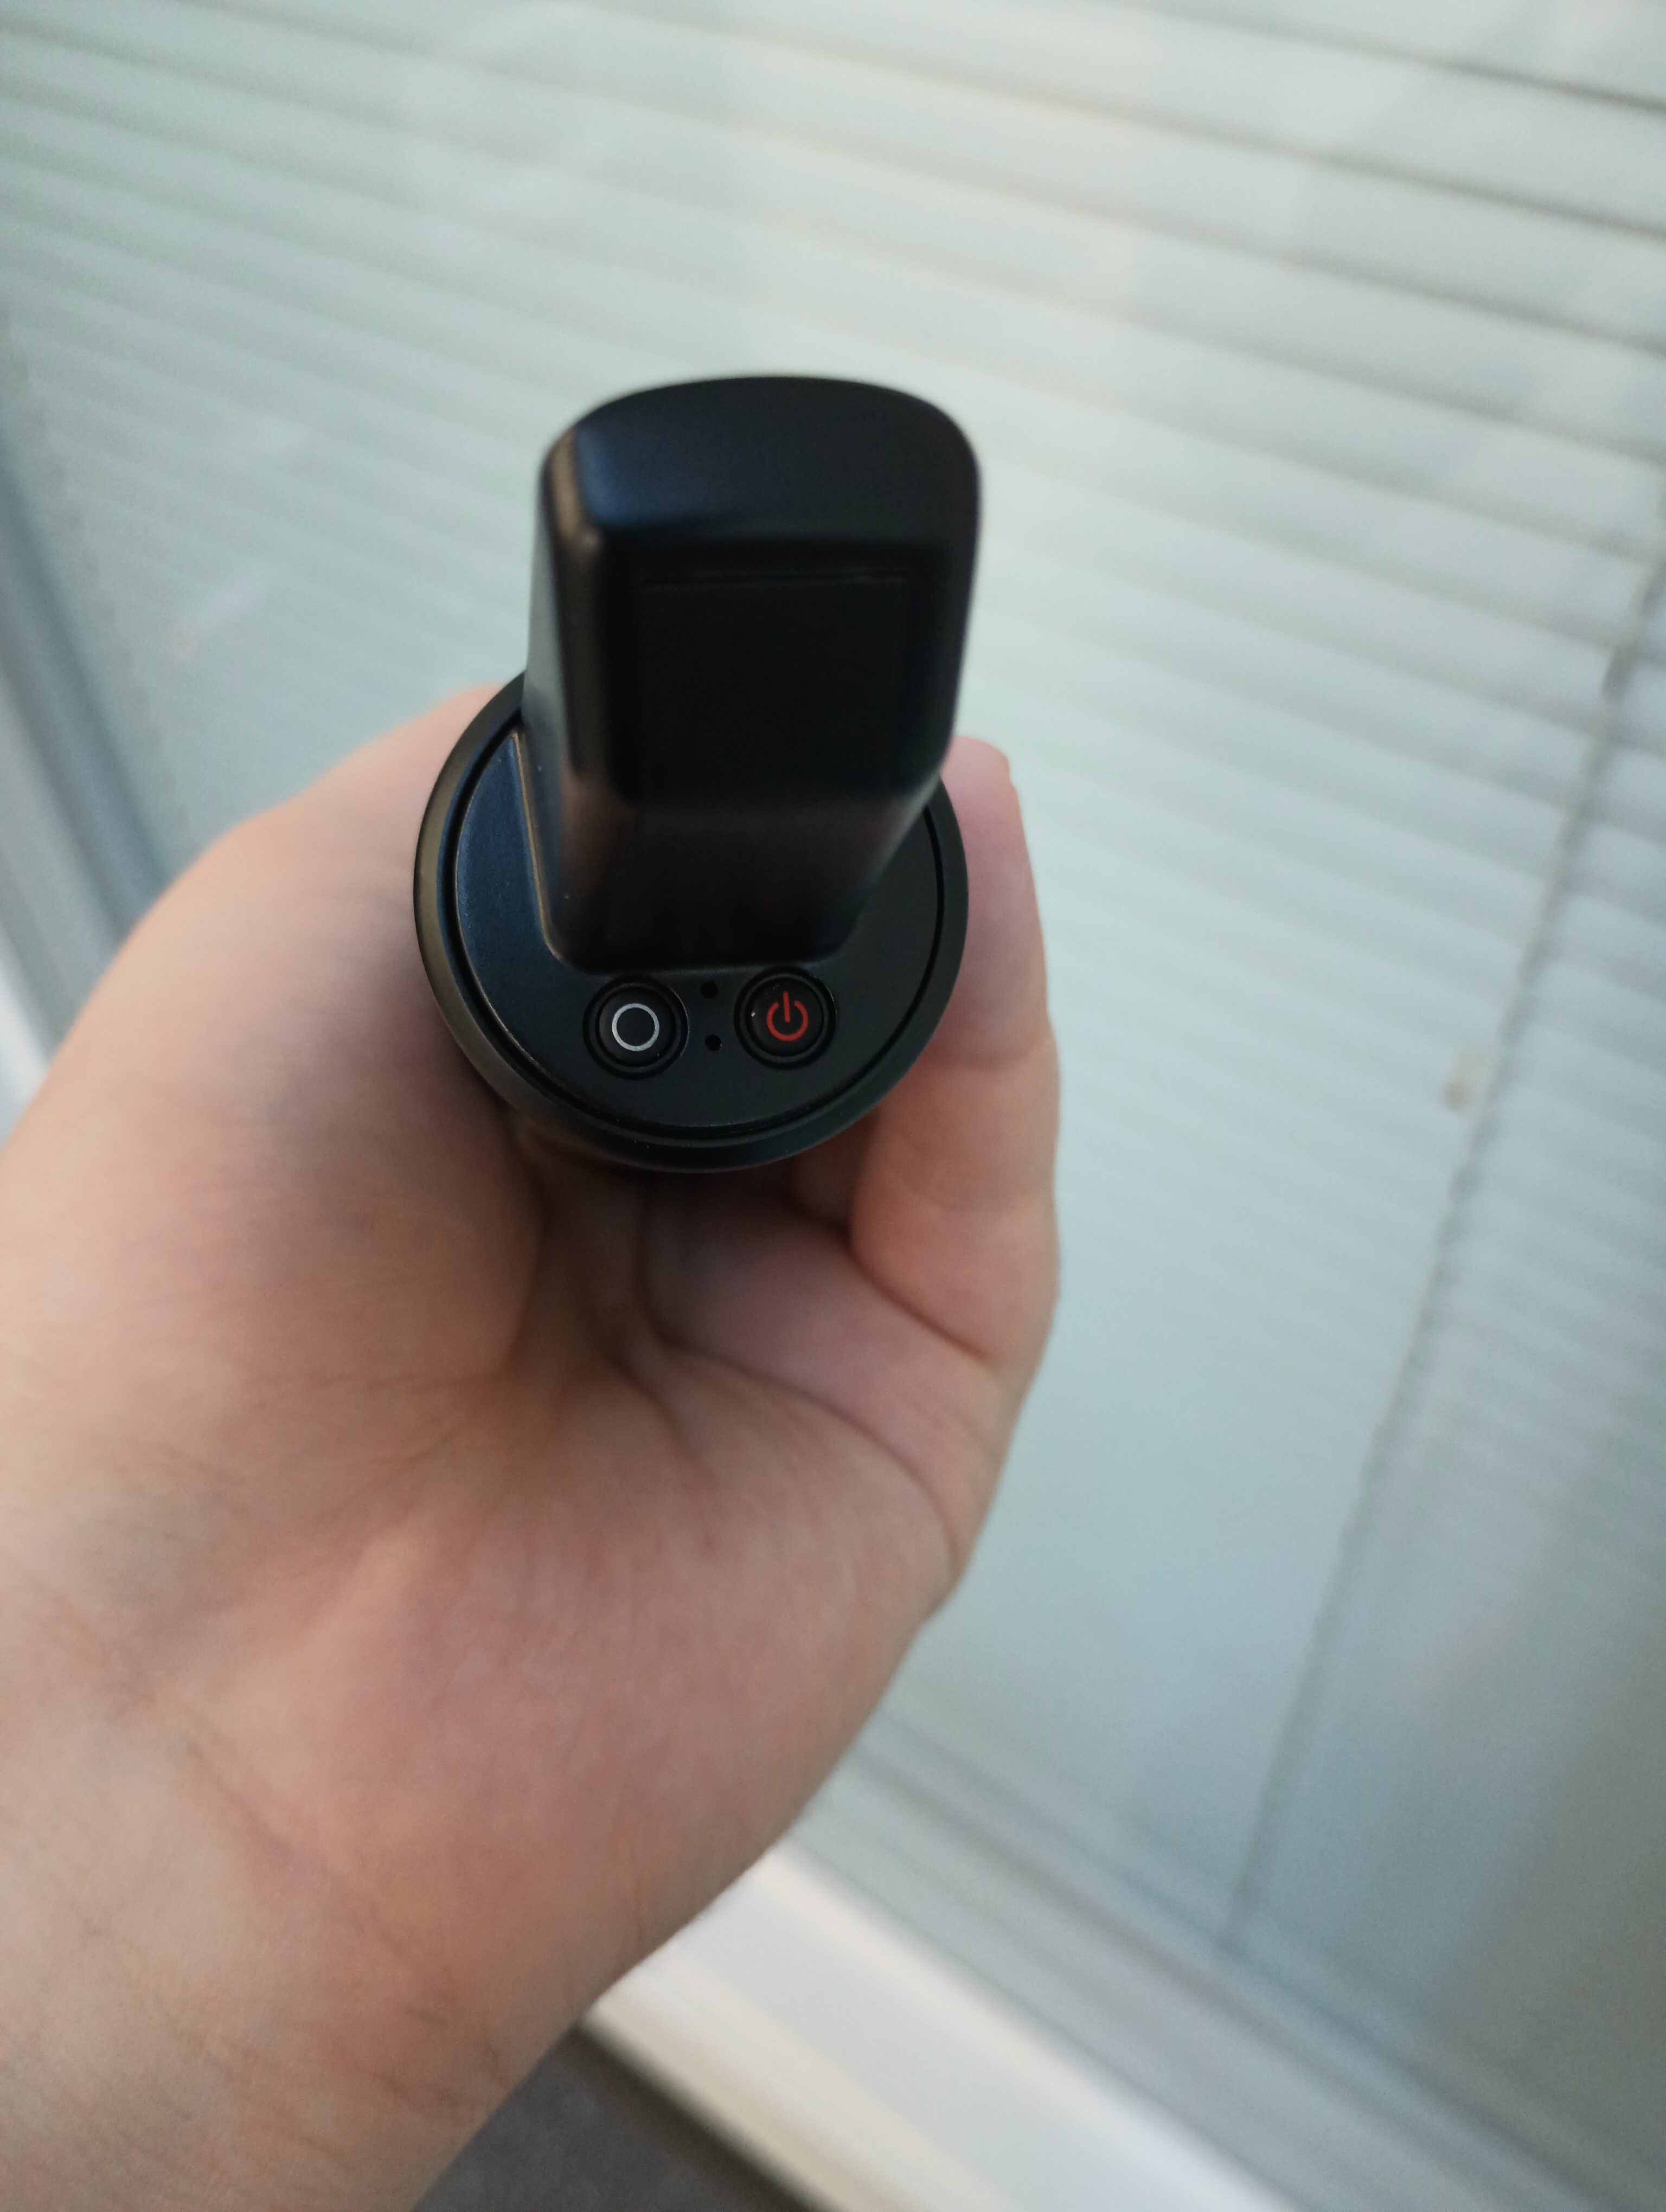
If it's not turning on, you may need to change out the batteries. There should be a box of batteries in the same drawer where you got the mic, and if there aren't, we have plenty in the tech office to spare.
IMPORTANT: The switch on the front of the mic is the mute switch. This will not power it off. Please make sure to turn off the mic using the button on the bottom, otherwise the mics will drain power and be unprepared for the users after you.
Best of luck with your presentation!
Once you're done projecting, don't forget to press the "Shut Down" button on the panel and unplug your machine.