
Sometimes when you print a document to PaperCut, it doesn’t ever show up at the printer. This can be frustrating, but there are some simple things that you can do to resolve it. For the most part, the issue will be either on the side of your computer, or rarely, of PaperCut itself, but instructions on force stopping the apps on your phone are included as well.
Mac
Workflow instructions for PaperCut on Mac
See below for PC instructions
Step 1: Restart the PaperCut Service
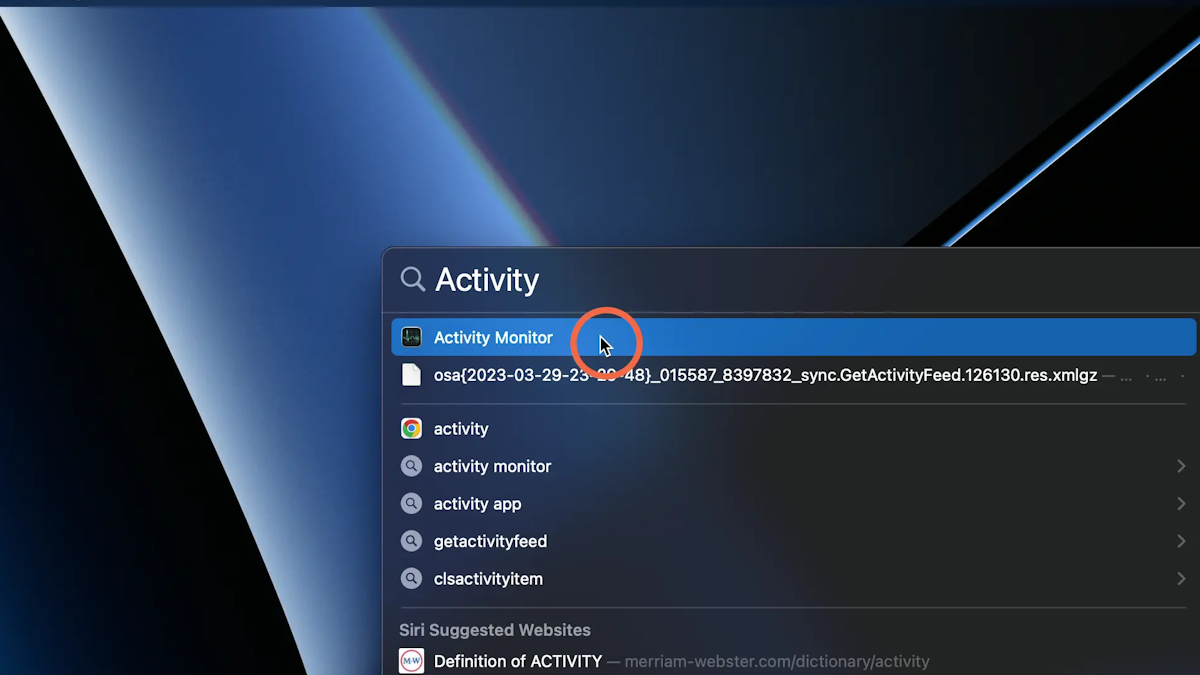
1. Hold “command” and press the space bar to open the system search. Type in “Activity Monitor”. The icon should look like a heartbeat monitor: click it.
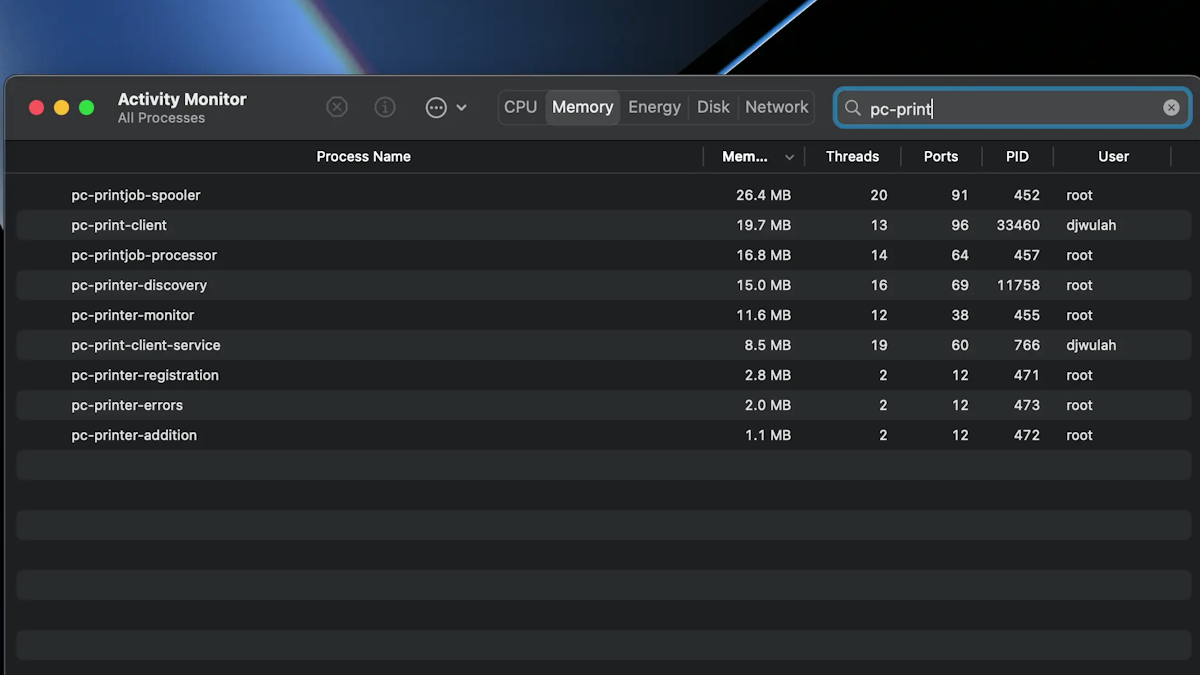
2. Once it’s open, type “pc-print” into the search bar at the top-right of the window. You should see two results pop up: ‘pc-print-client’ and ‘pc-print-client-service’.
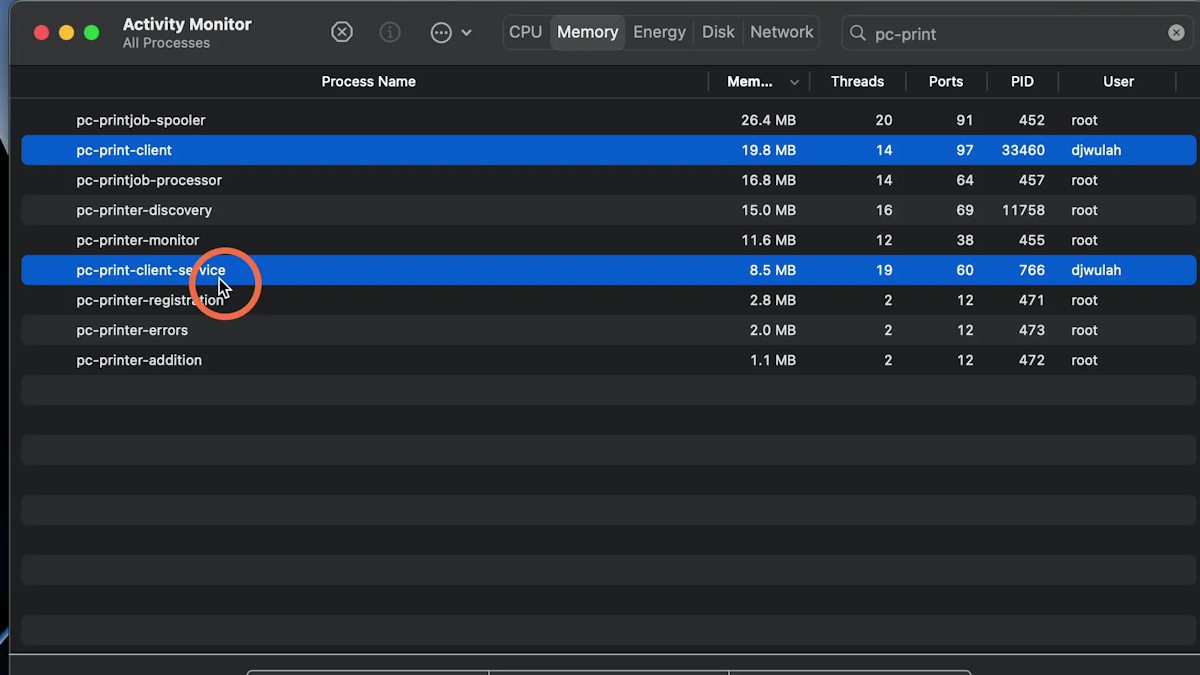
3. Hold down the “command” key and click on each one. They should now both be highlighted.
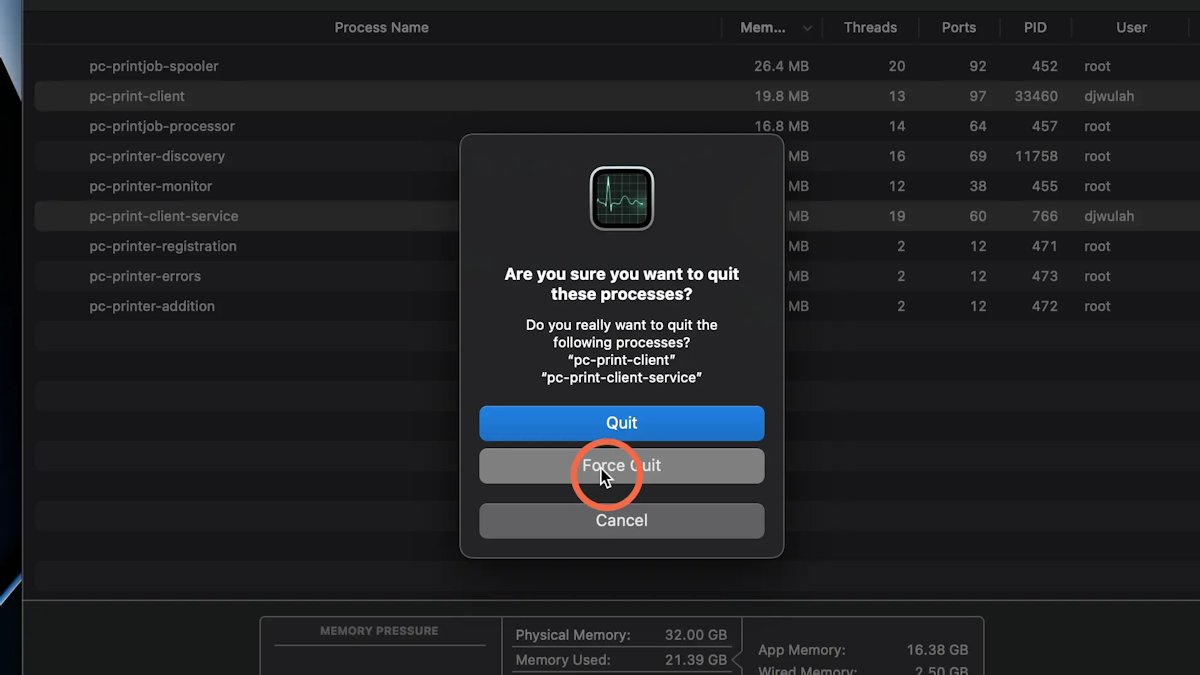
4. Along the top bar you should see a small hexagon with an ‘x’ in it. Select the 'x'.
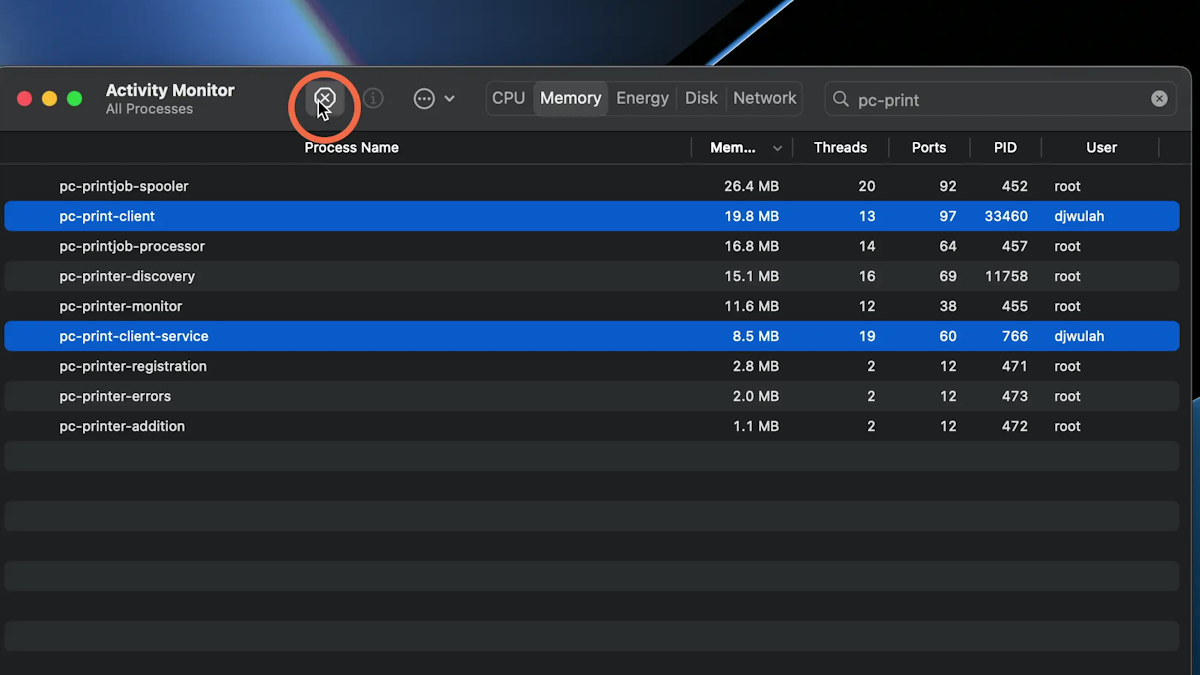
5. Choose ‘Force Quit’. This will restart the PaperCut client.
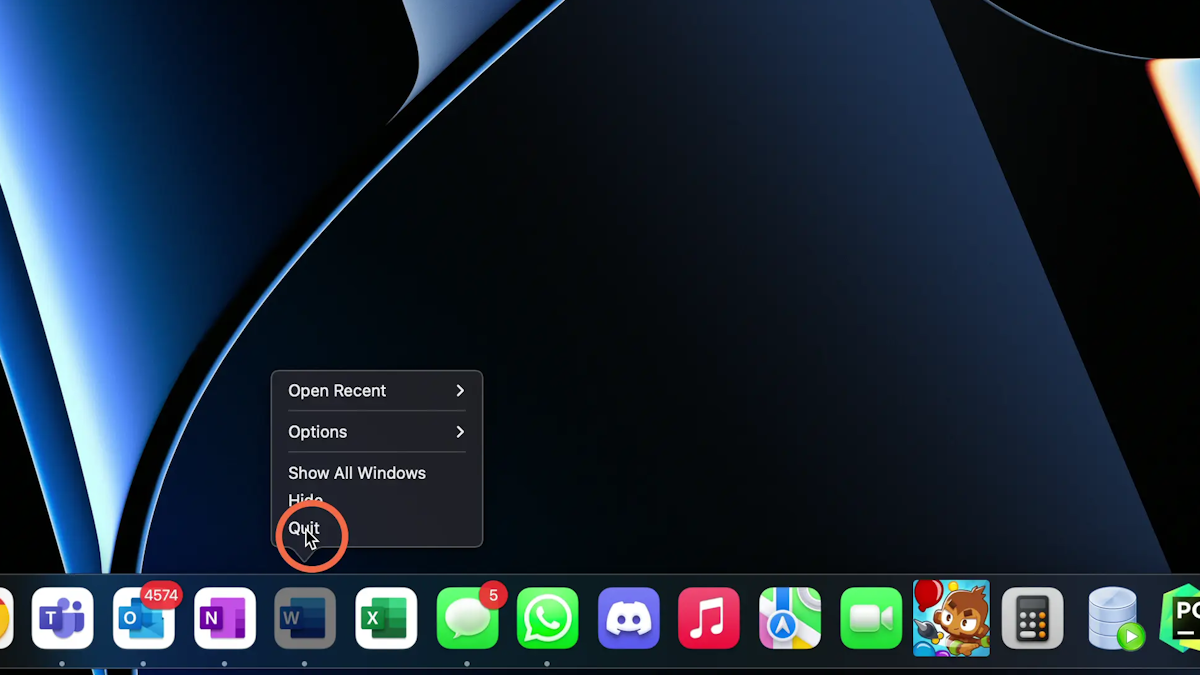
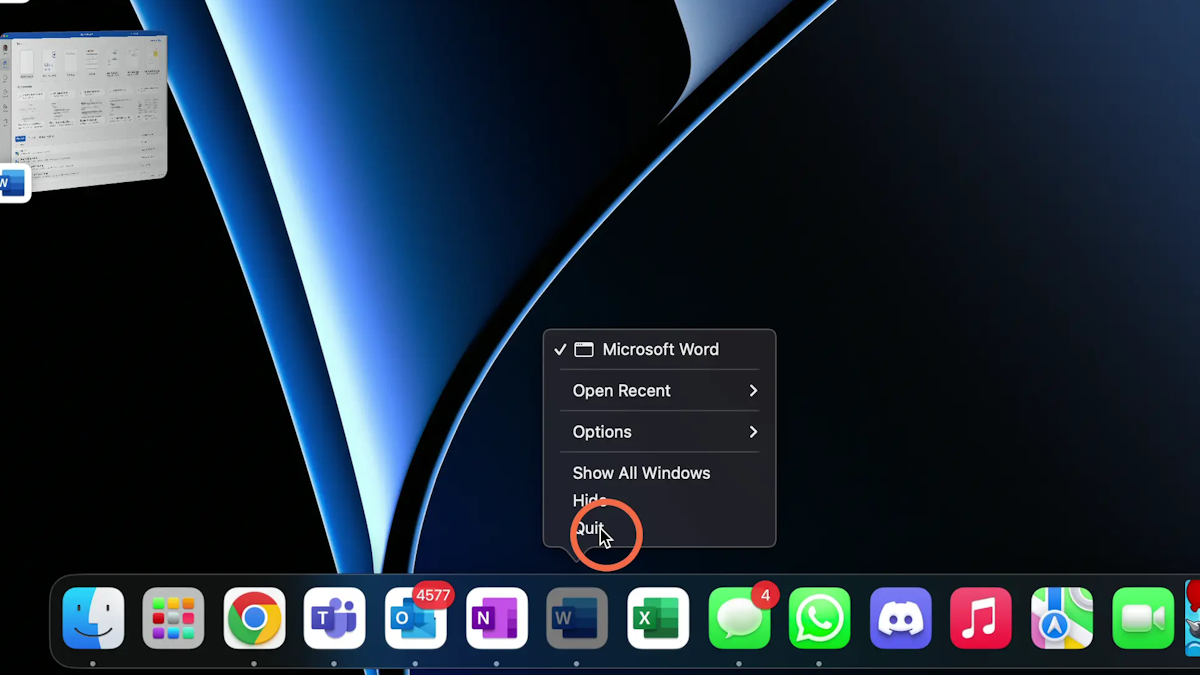
6. Quit (don’t just close!) whichever application you are trying to print from (Word, Adobe, your browser, etc.), and then open the document you’d like to print again. Print to PaperCut and check the printer to see if your job has made it over. If it has, congrats!
If this does not work move forward to step 2
Step 2: Turn it Off and Back on Again
Restart your computer and try to print again. If this too doesn’t work, move on to step three.
Step 3: Uninstall and Reinstall PaperCut
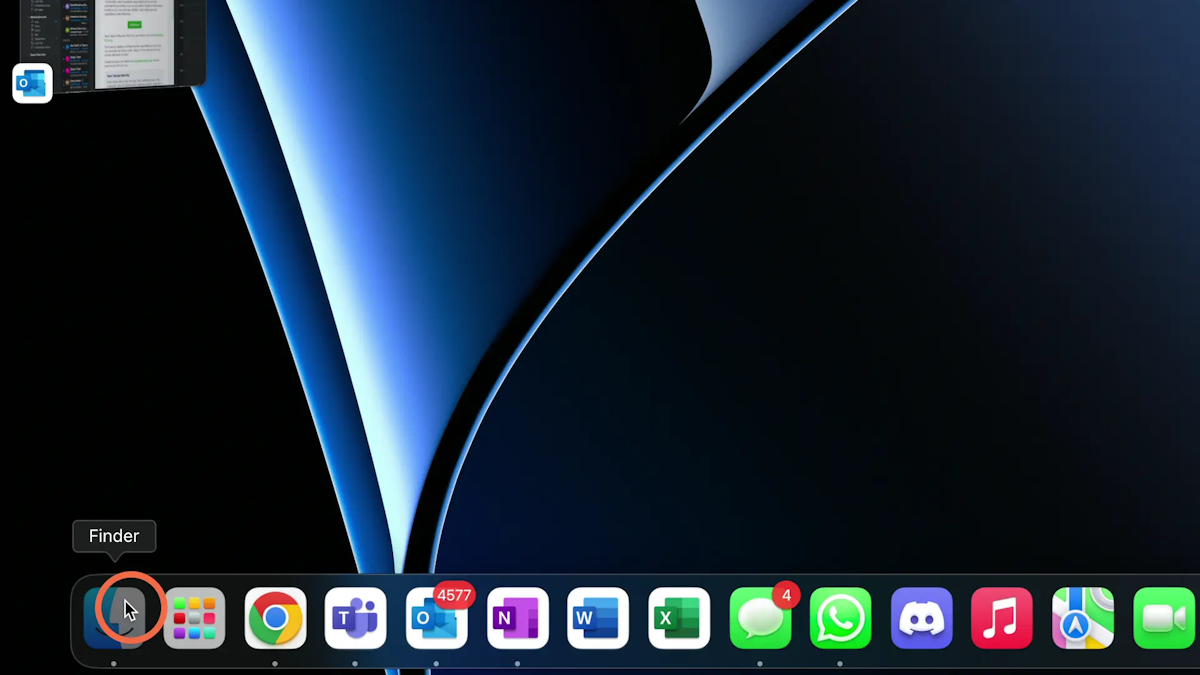
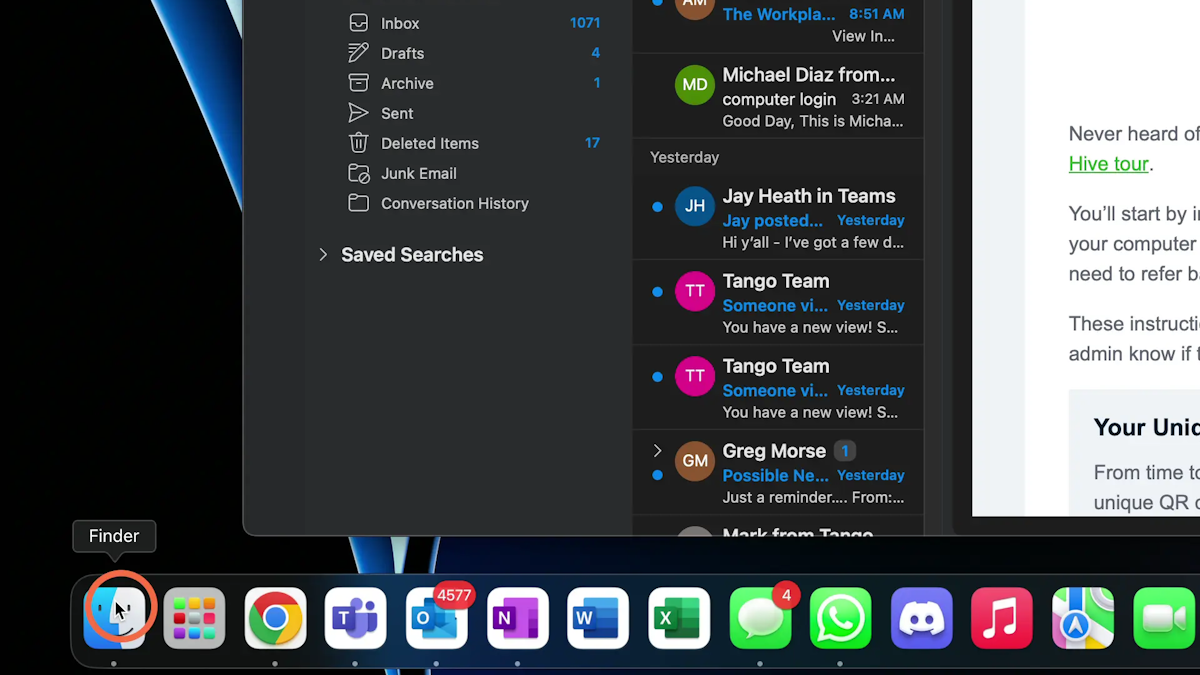
1. Open Finder
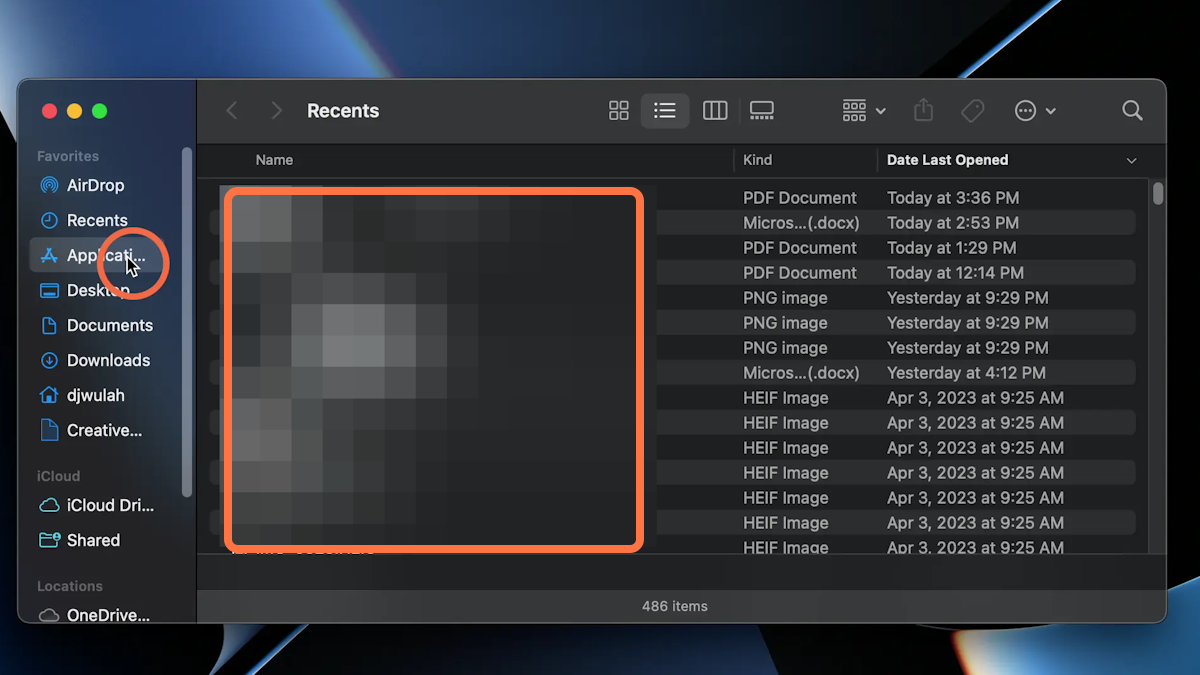
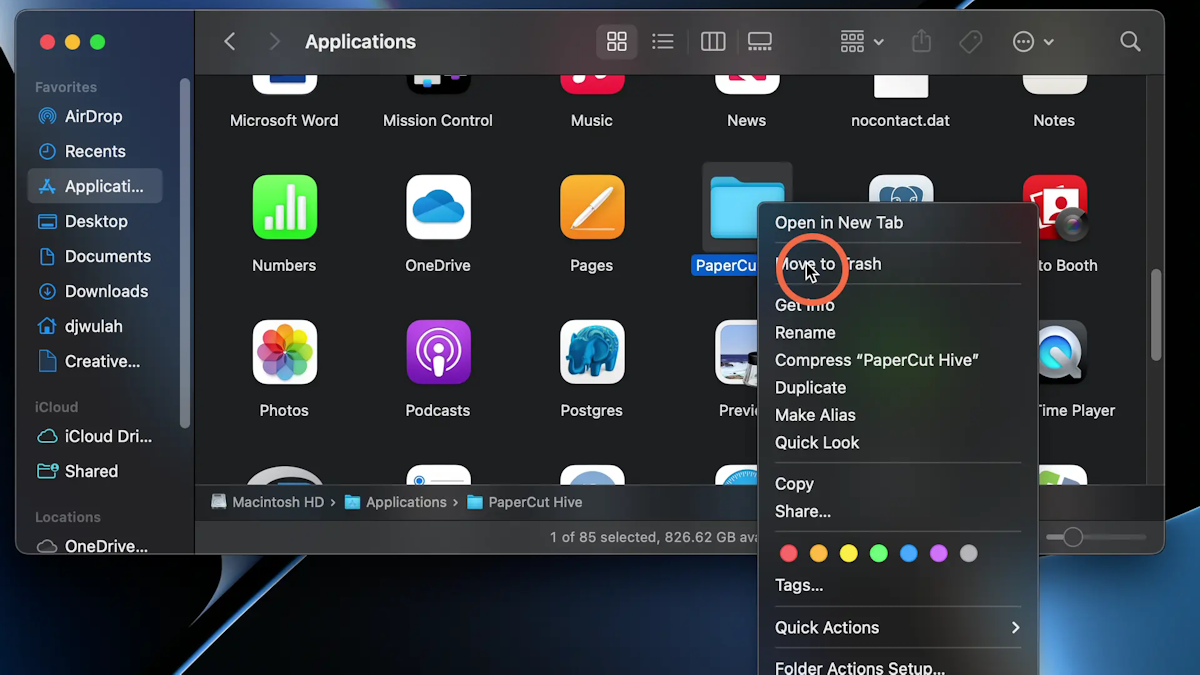
3. Scroll down until you find a folder named “PaperCut Hive”. Right-click it and select “Move to Trash”.
![Go to your Outlook and type “PaperCut” into the search bar. Look for an email with the subject line “[PaperCut Hive] The Overlake School has invited you to set up printing”
In the email there should be a green button labeled “Get Started”. Click it.](https://images.tango.us/workflows/f41f1309-51de-491d-8c7d-2a96ce952882/steps/d87686d2-a95d-40c4-b178-6f9c9781d0fc/9493bc44-9f17-483c-aeb4-69252aaa7d4e.webp?fm=png&crop=focalpoint&fit=crop&fp-x=0.6475&fp-y=0.4025&fp-z=2.0000&w=1200)
5. This will take you to a web page with three more options (you may need to scroll down to see them). The one on the left should read ‘Download’. Click it.

6. Open Finder
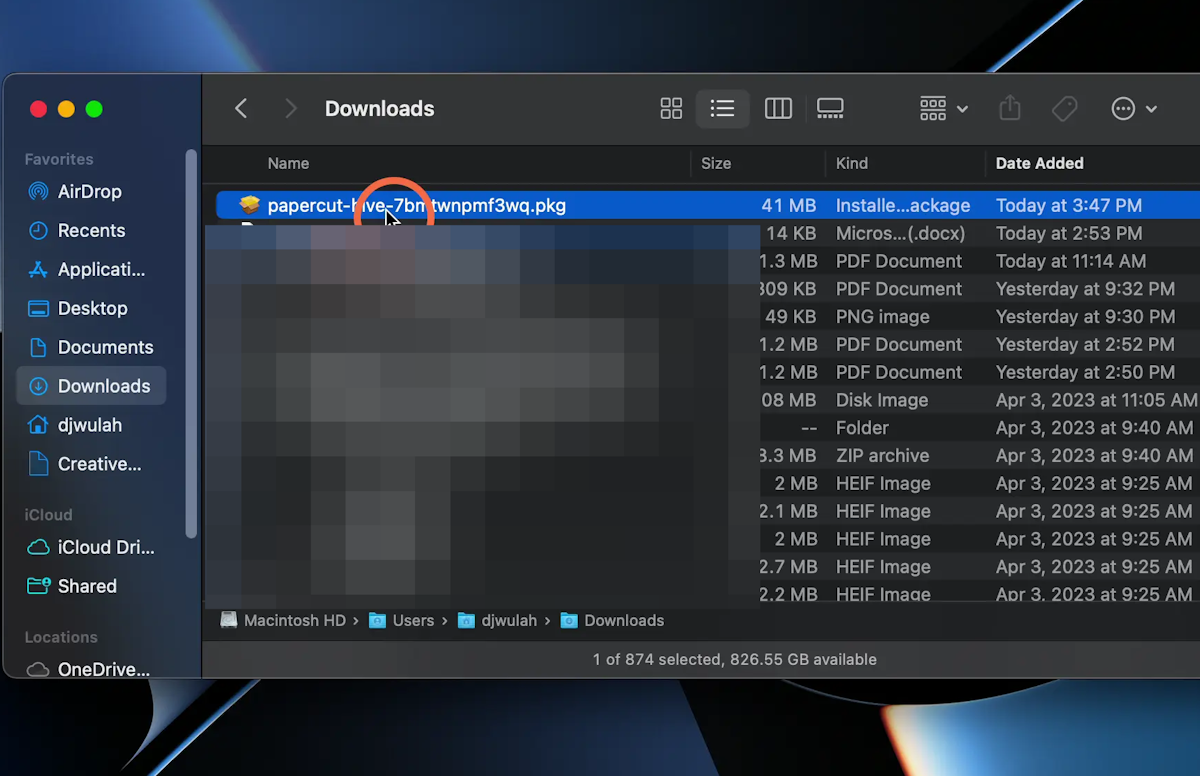
8. You should see a program that looks something like ‘papercut-hive-jkn4zfixapkz’ (each download has random letters and numbers in the third segment; yours won’t look exactly like this). Open it. This will open the PaperCut Installation Wizard.
9. Click “Accept” or “Yes” or whichever affirmative option pops up (you’ll do this several times), and you’ll reach a screen with an “Install” option. Click that and it will prompt you to enter your password or do TouchID.
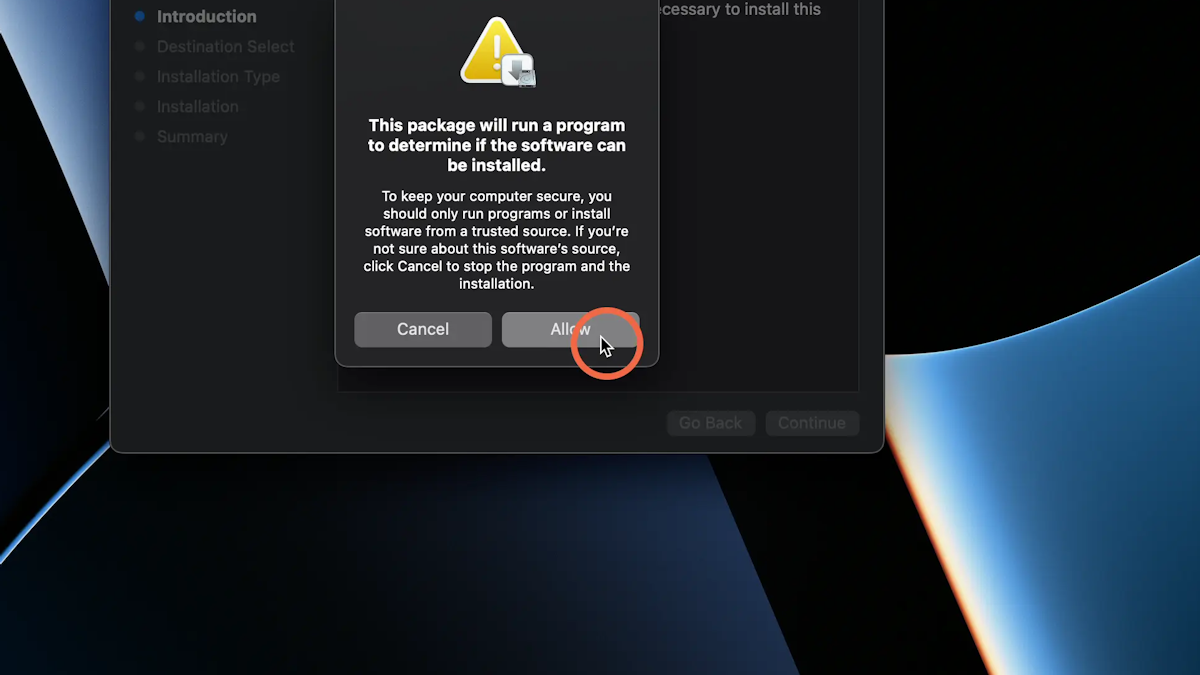
10. Once it’s done installing, quit (don’t just close!) whichever application you are trying to print from (Word, Adobe, your browser, etc.), and then open the document you’d like to print again. Print to PaperCut and check the printer to see if your job has made it over.
PC
Workflow instructions for PaperCut on PC
Step 1: Restart PaperCut and the Print Spooler
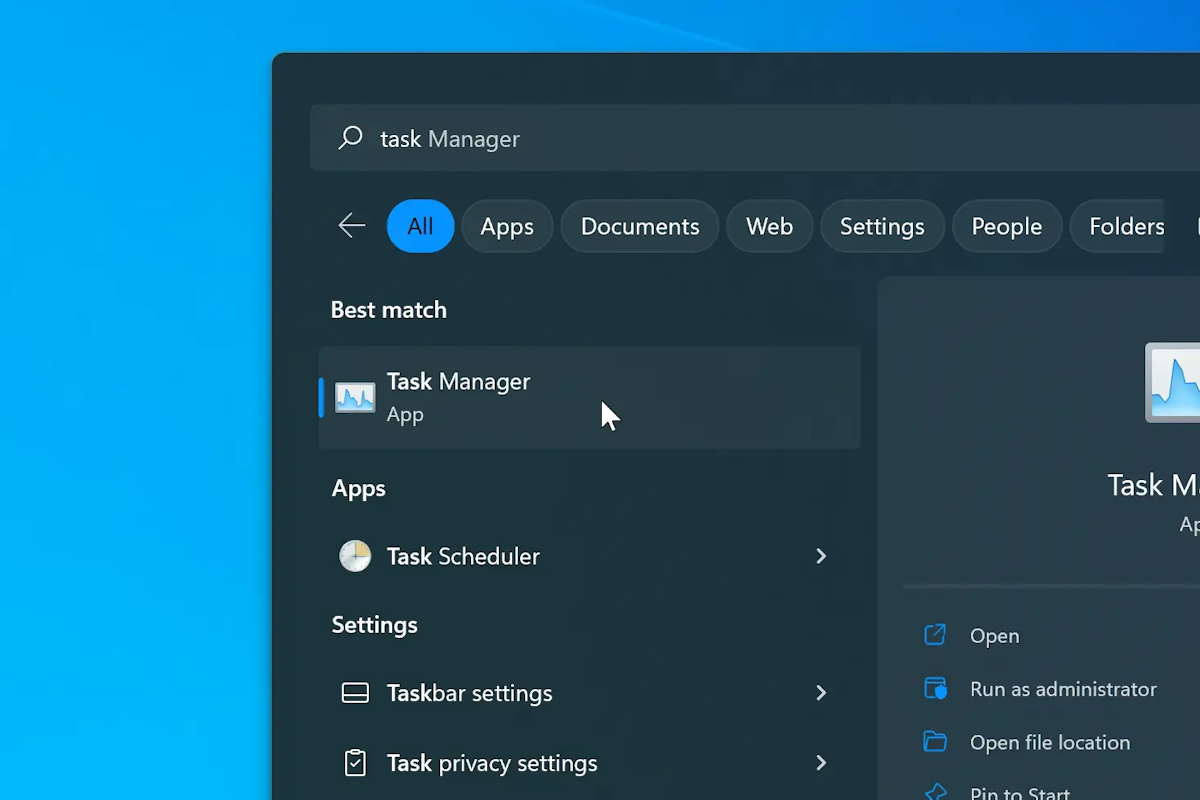
1. Select Windows Search
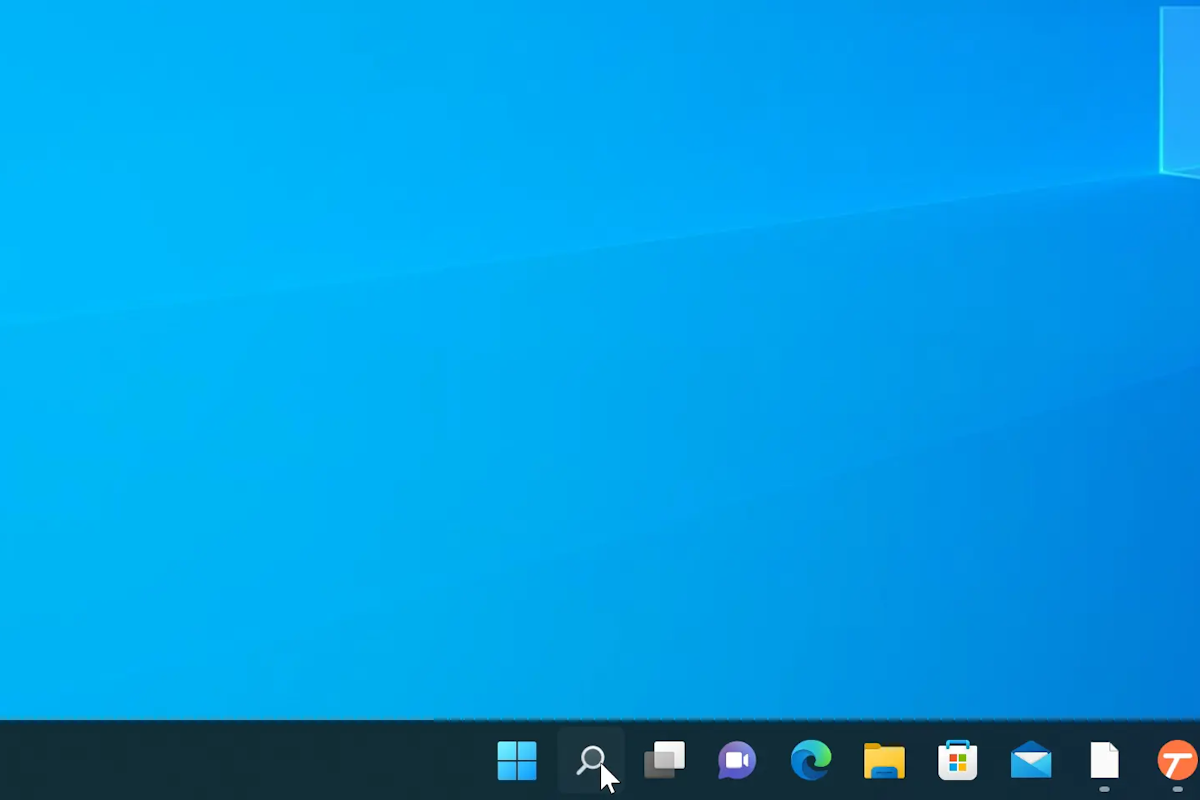
2. Search and select the Task Manager
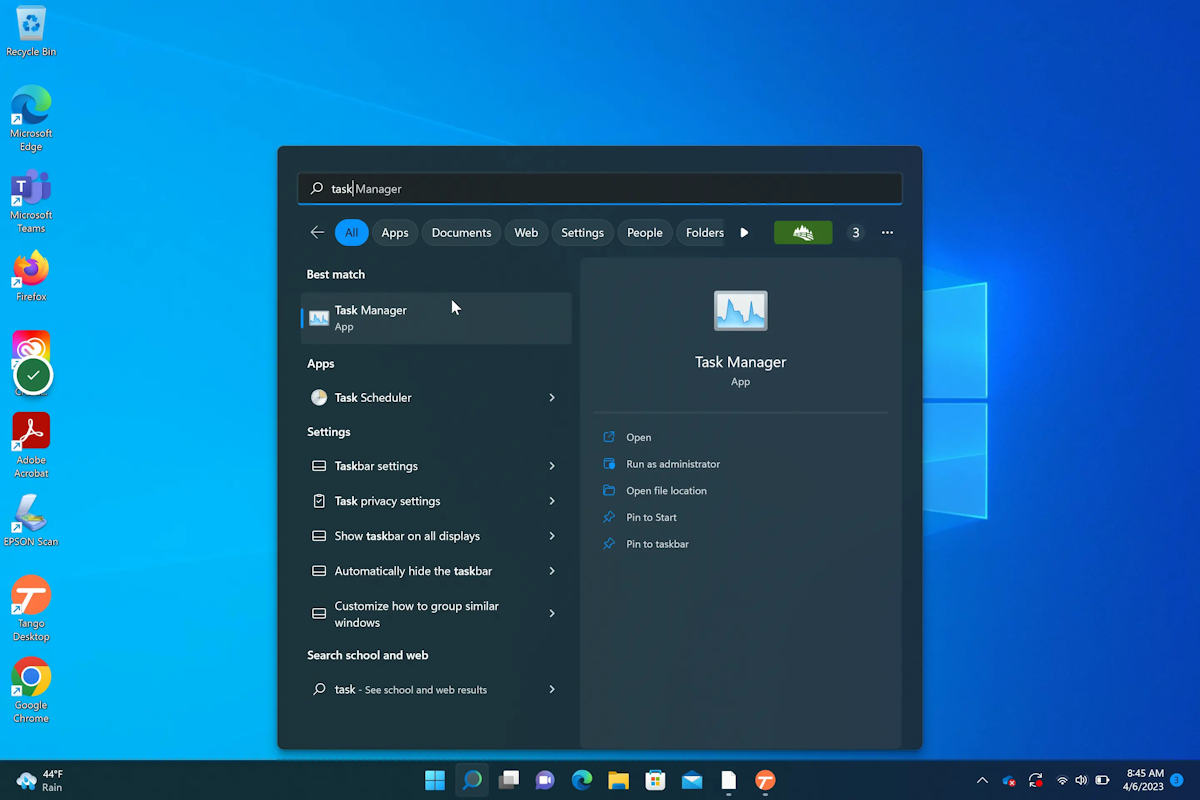
3. In the expanded view, choose the “Services” tab, and search for ‘pc-edge-node’. Right-click it and select ‘Restart’. Then, search for ‘Spooler’ and do the same.
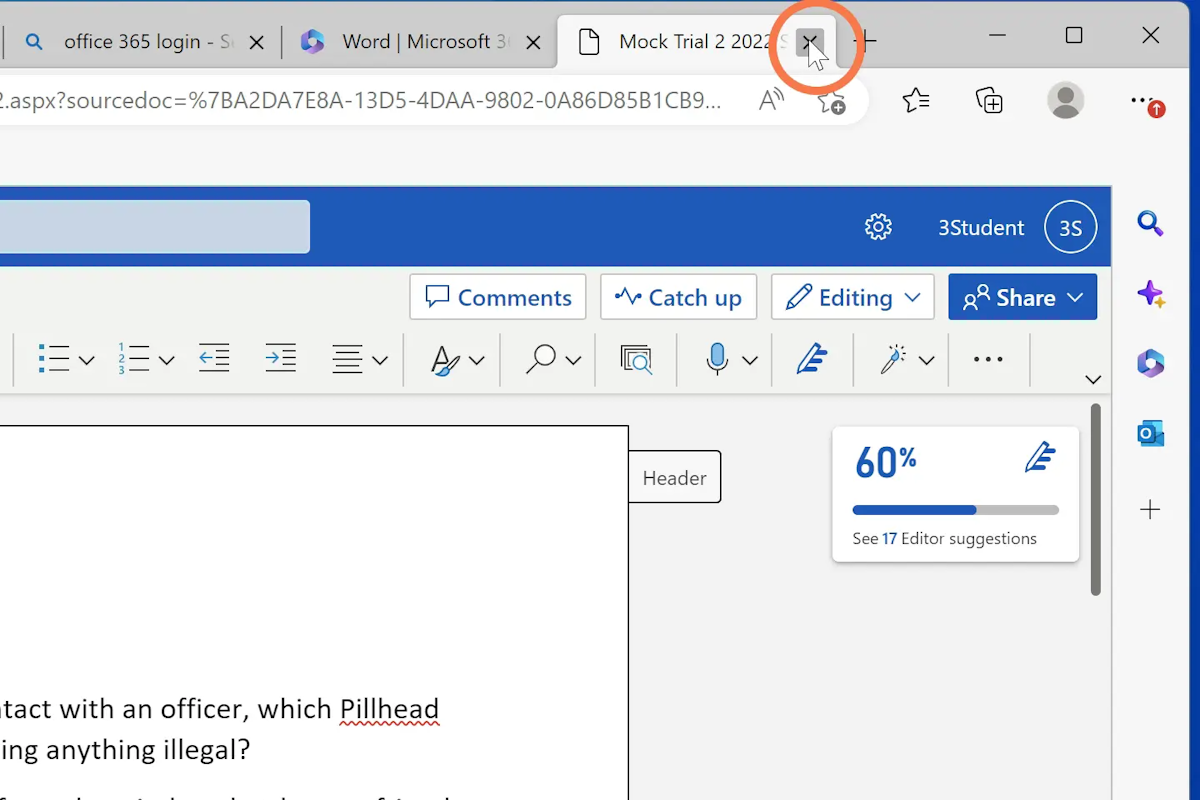
4. Close out whichever program you’re trying to print from (Word, Adobe, whichever browser you’re using, etc.) and then reopen it and try to print again.
If this does not work move forward to step 2
Step 2: Turn it Off and Back on Again
- Restart your computer and try to print again. If this too doesn’t work, move on to step three.
Step 3: Uninstall and Reinstall PaperCut
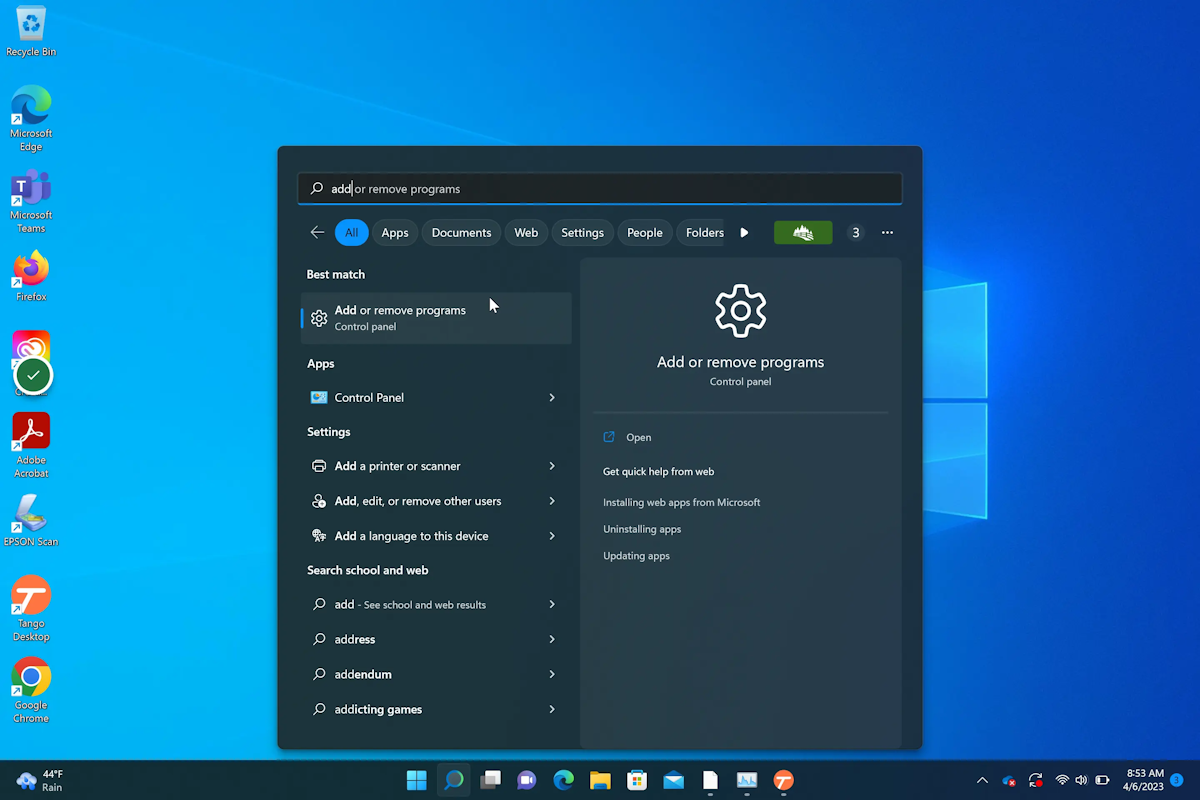
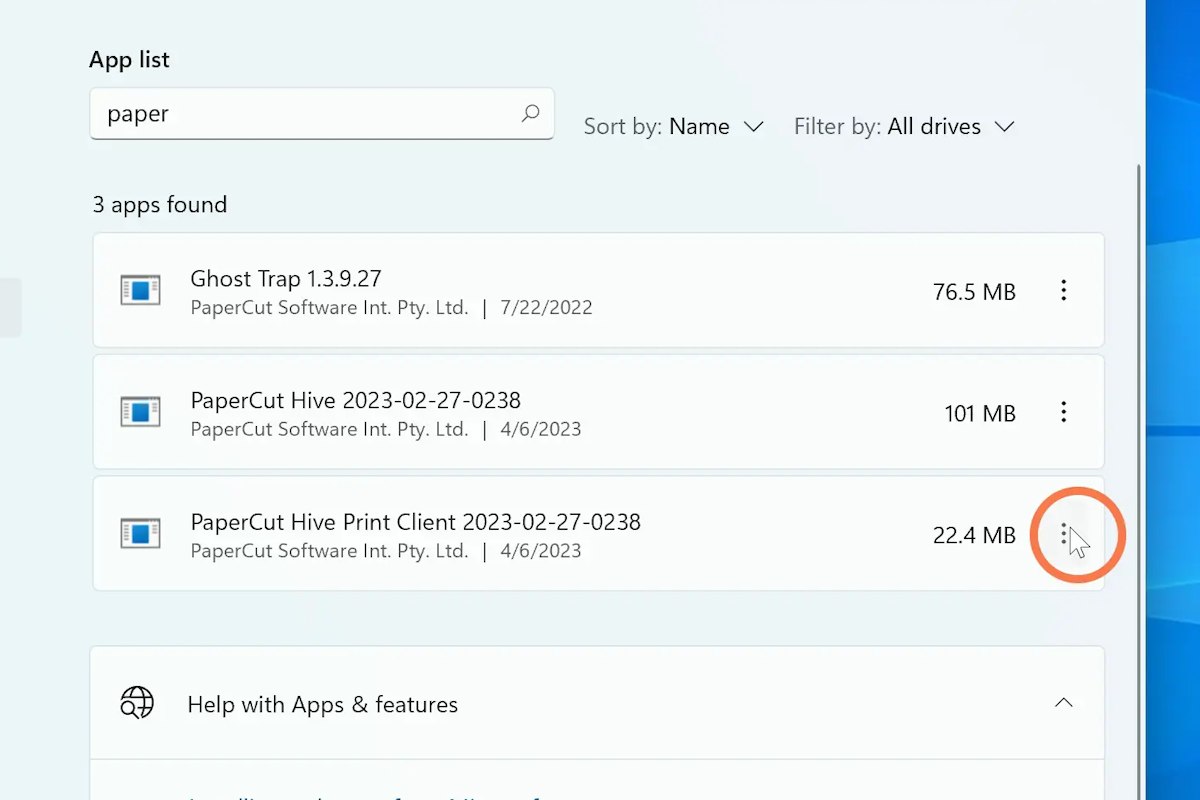
1. Press the Windows Key, and type ‘Add or Remove Programs’ into the search bar. You should see an option labeled ‘Add or Remove Programs…’ pop up with a gear icon. Click it.
2. Search for ‘PaperCut Hive Print Client 2022-03-17-0313’
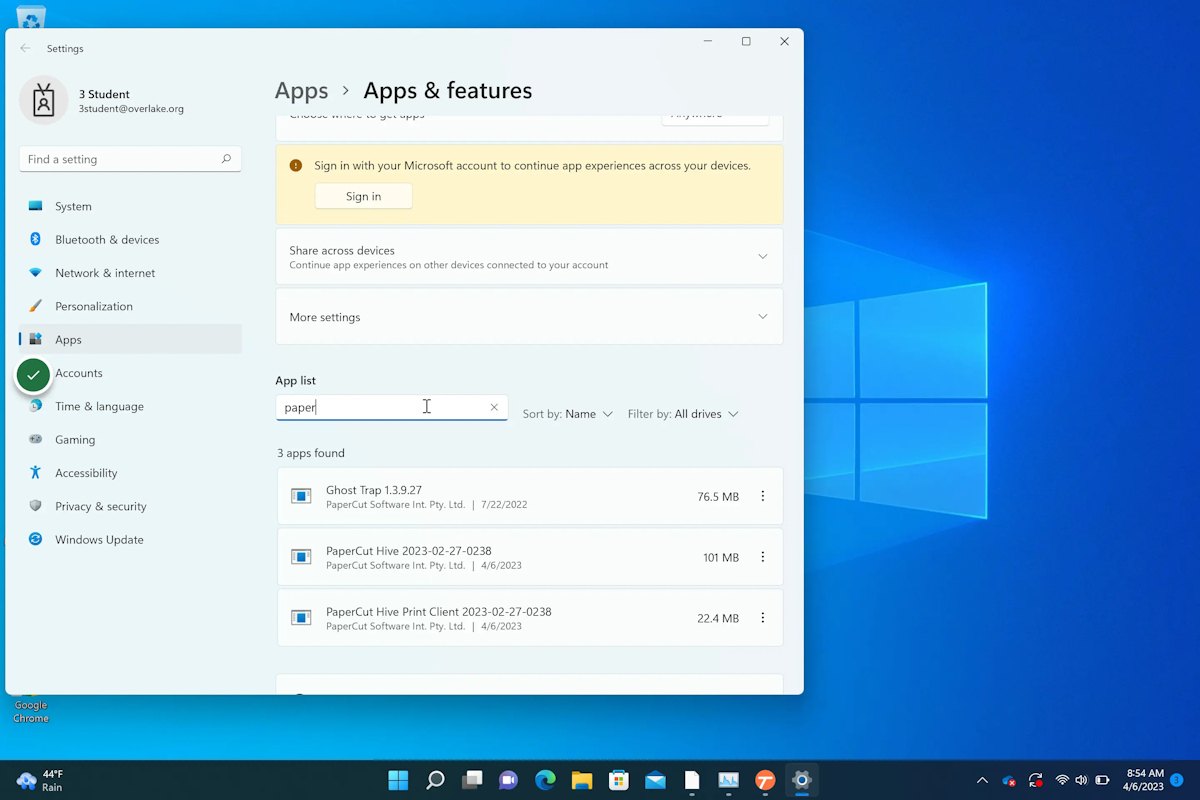
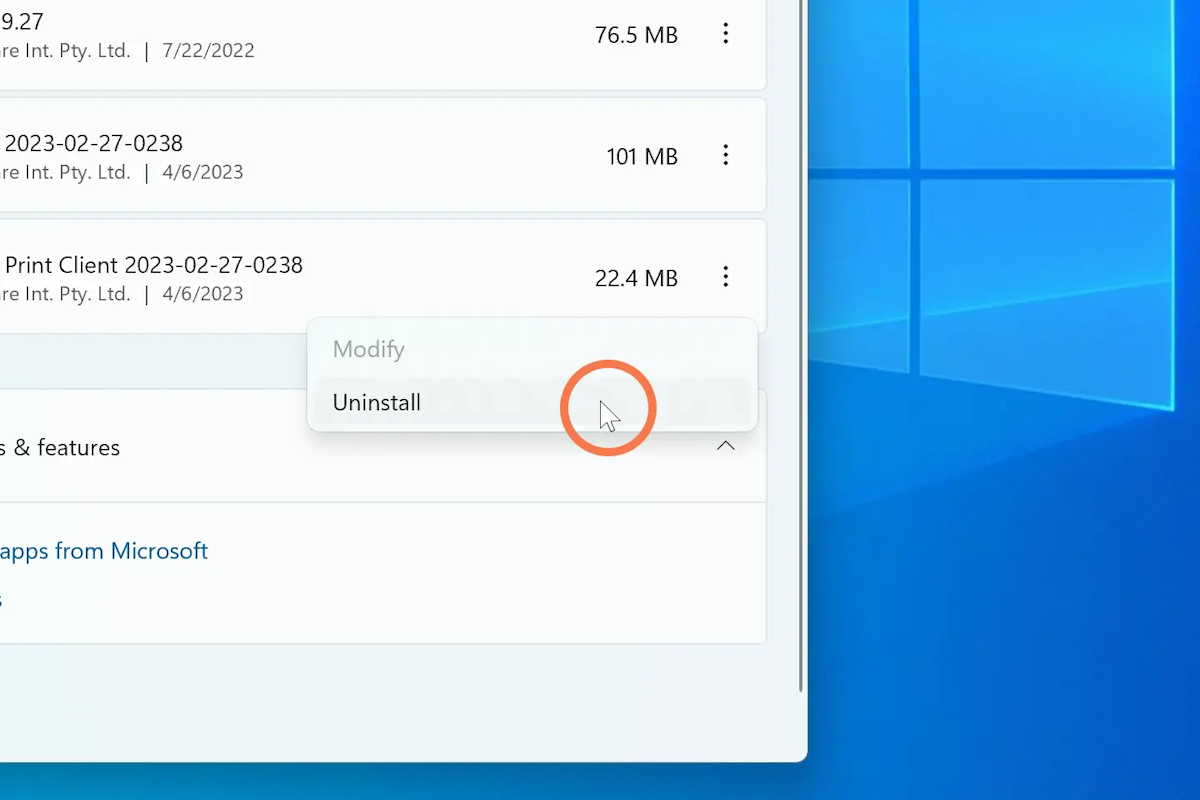
3. Click on the 'PaperCut Hive Print Client 2022-03-17-0313' option ellipses
4. Select ‘Uninstall’.
![Go to your Outlook and type “PaperCut” into the search bar. You should have an email with the subject line “[PaperCut Hive] The Overlake School has invited you to set up printing”.
In the email there should be a green button labeled “Get Started". Click it.](https://images.tango.us/workflows/6dc678dd-d9d4-445b-8518-145e452d5e8d/steps/440e54bf-5d27-493b-b155-af72cf917bb6/488bfd47-1675-4410-a4ac-9ef4c0257977.png?fm=png&crop=focalpoint&fit=crop&fp-x=0.5000&fp-y=0.5000&w=1200)
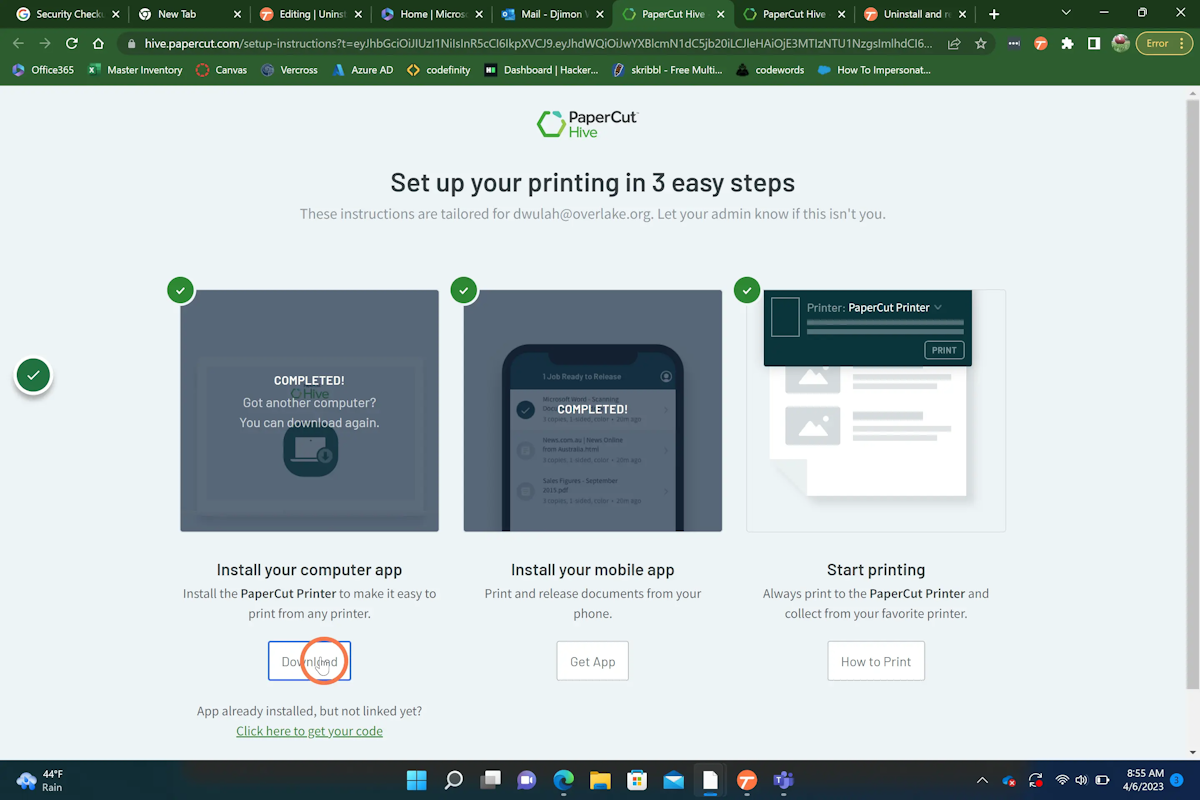
6. This will take you to a web page with three more options (you may need to scroll down to see them). The one on the left should read ‘Download’. Click it.
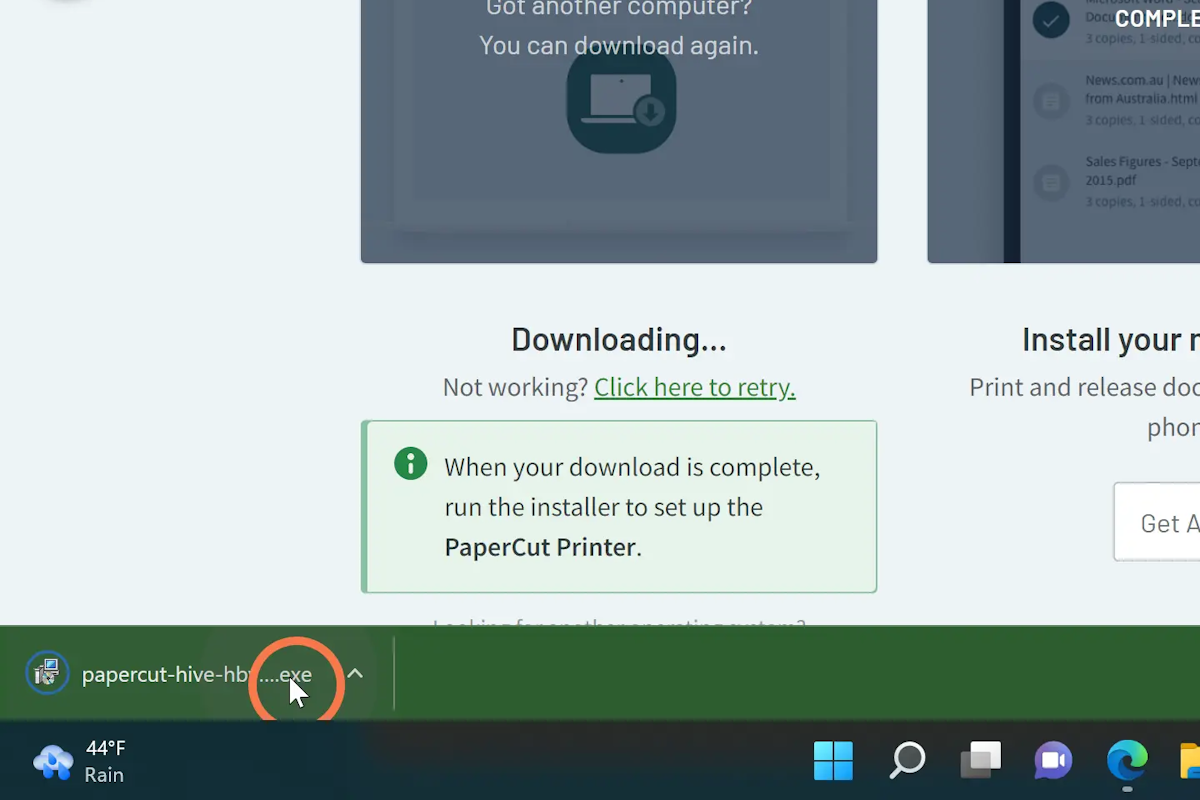
7. The download taskbar will appear when the download is complete, when it has, open it. This will open the PaperCut Installation Wizard.
9. Click “Accept” or “Yes” or whichever affirmative option pops up (you’ll do this several times), and you’ll reach a screen with an “Install” option. Click that and it might prompt you to enter your password or do FaceID.
10. Once it’s done installing, quit (don’t just close!) whichever application you are trying to print from (Word, Adobe, your browser, etc.), and then open the document you’d like to print again. Print to PaperCut and check the printer to see if your job has made it over.
iOS
Step 1: Force Quit and Restart the PaperCut Service
- Swipe up from the bottom of your screen
- Swipe to the left until you find the PaperCut app, and swipe it up.
Android
- Open your “Settings” app.
- Scroll down and select “Apps”
- Scroll down until you find “PaperCut. Click it.
- In the bottom right corner is a button labeled “Force Stop”. Click it.