
Projection in the WMSC Commons is simple, everything except for the mics is controlled from the touchscreen on the control panel.
How To:
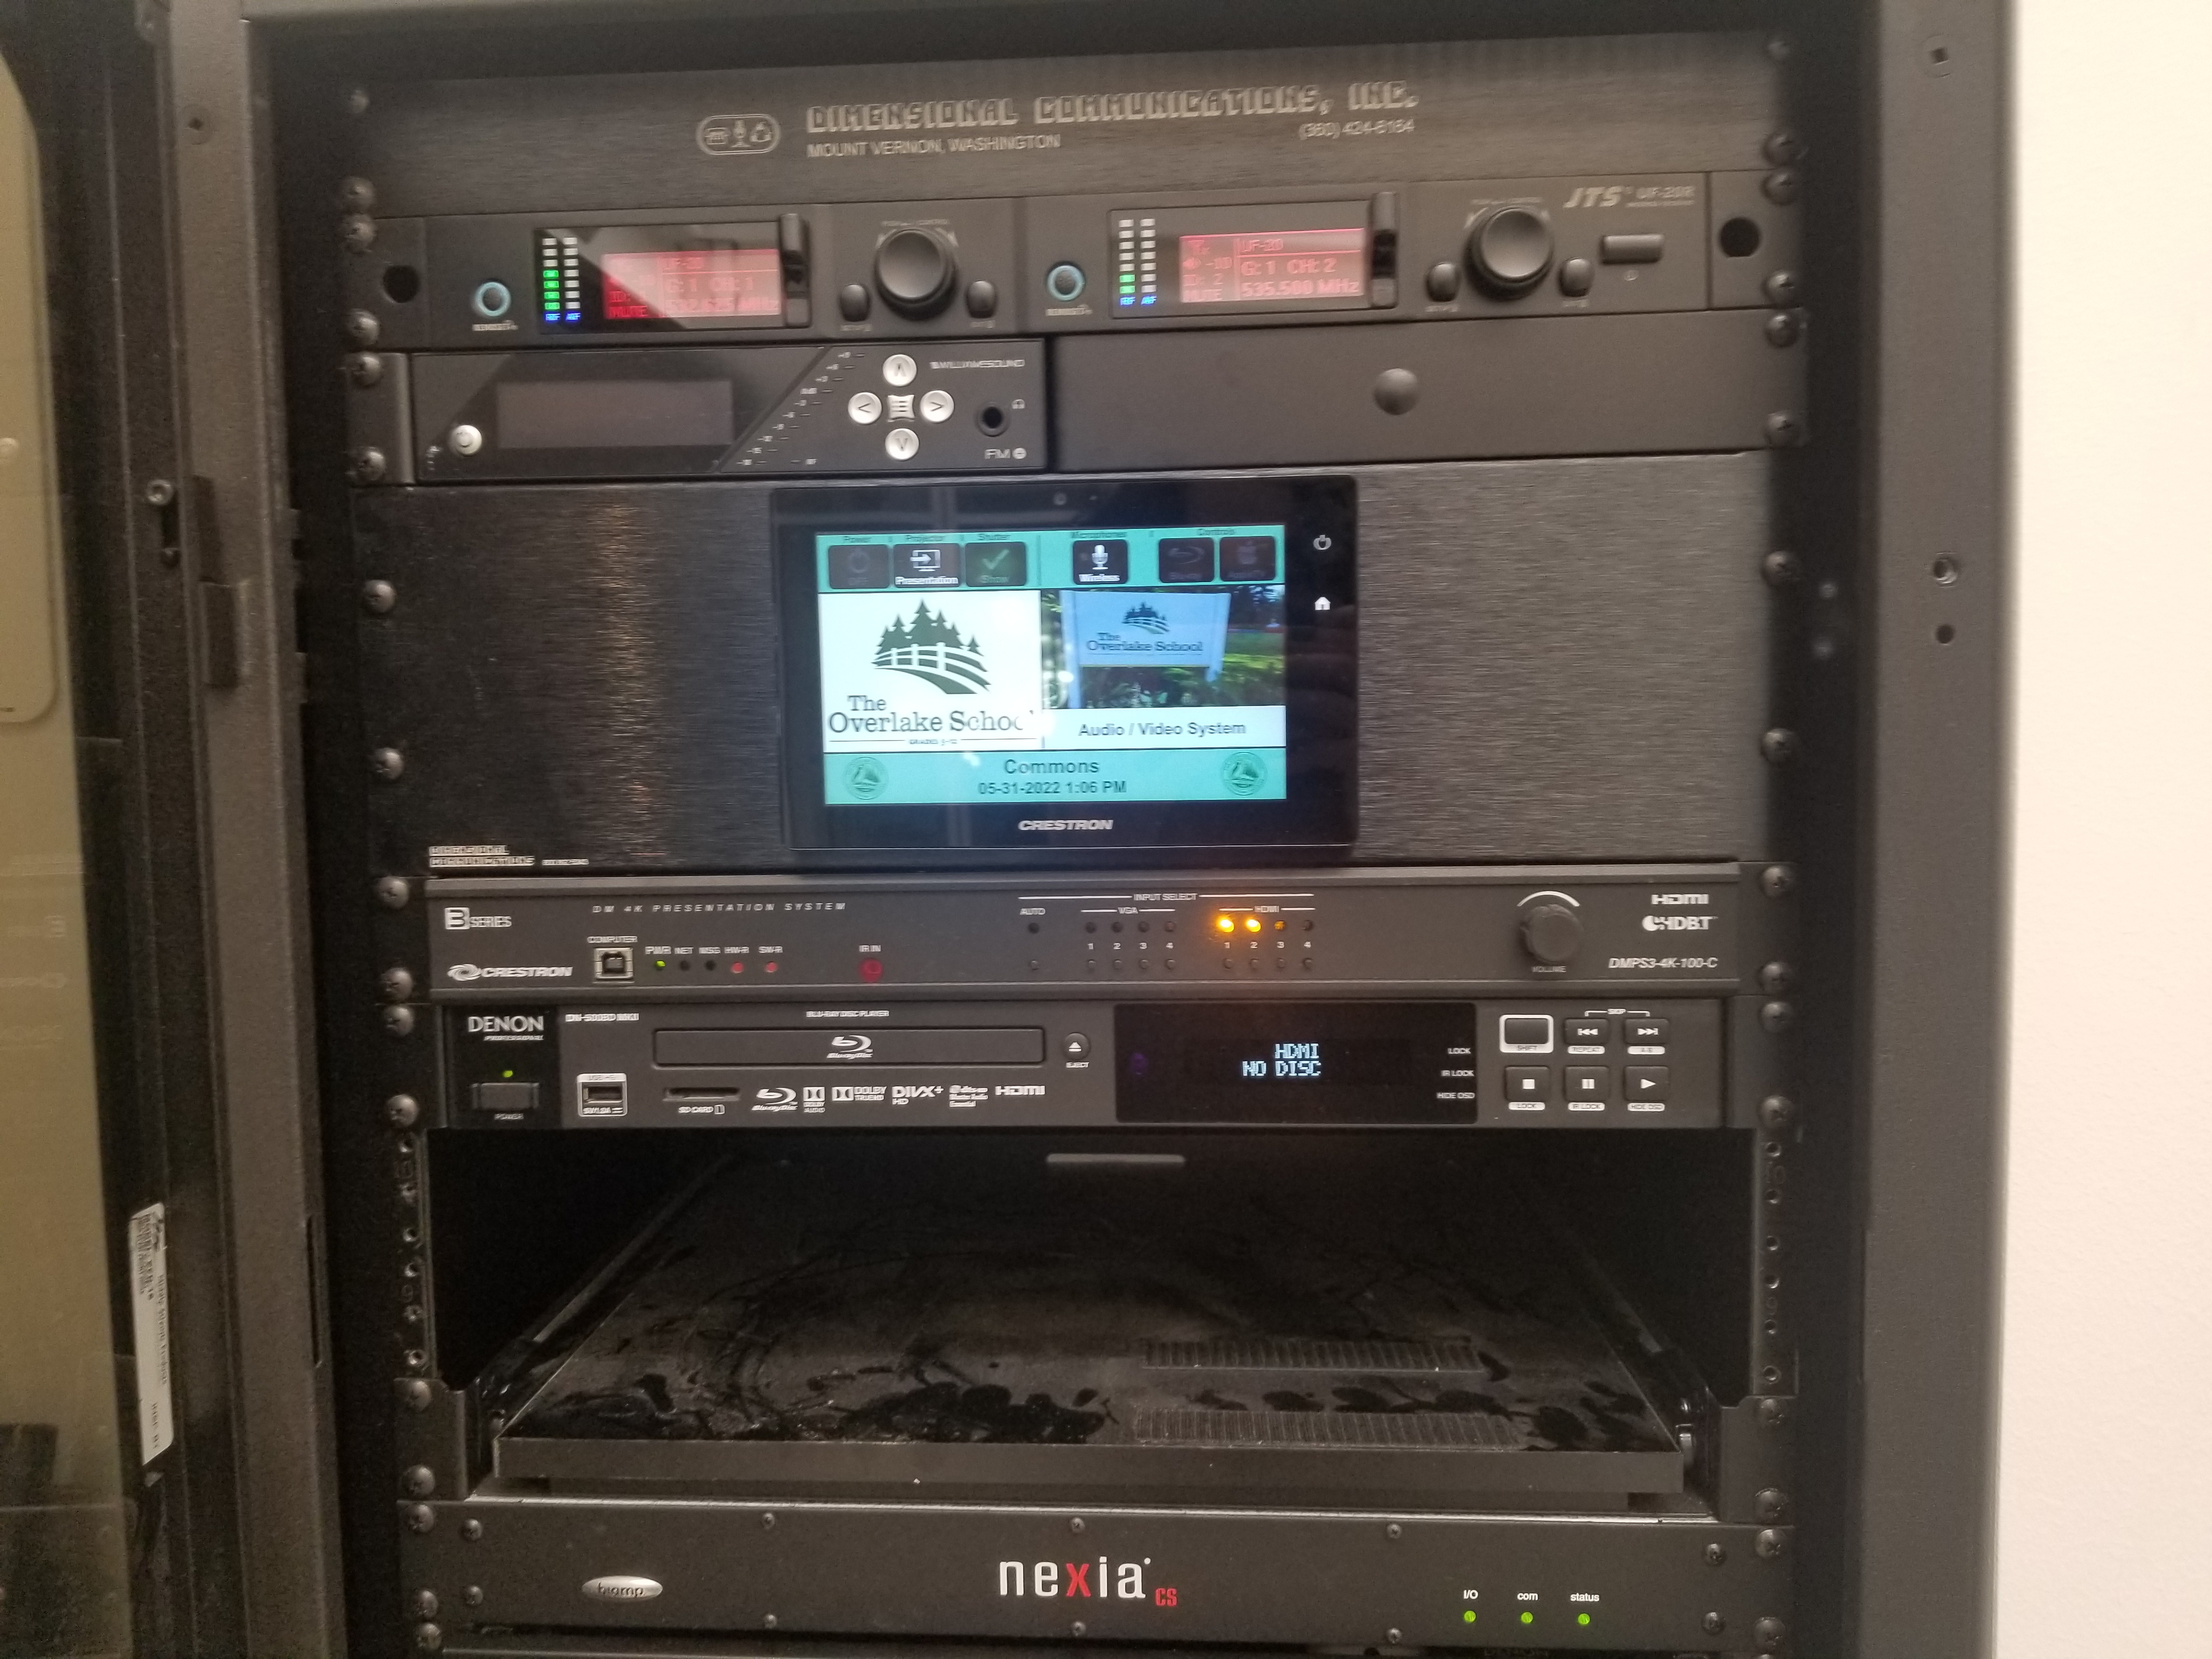
1. Open the cabinet and touch the screen to wake it up
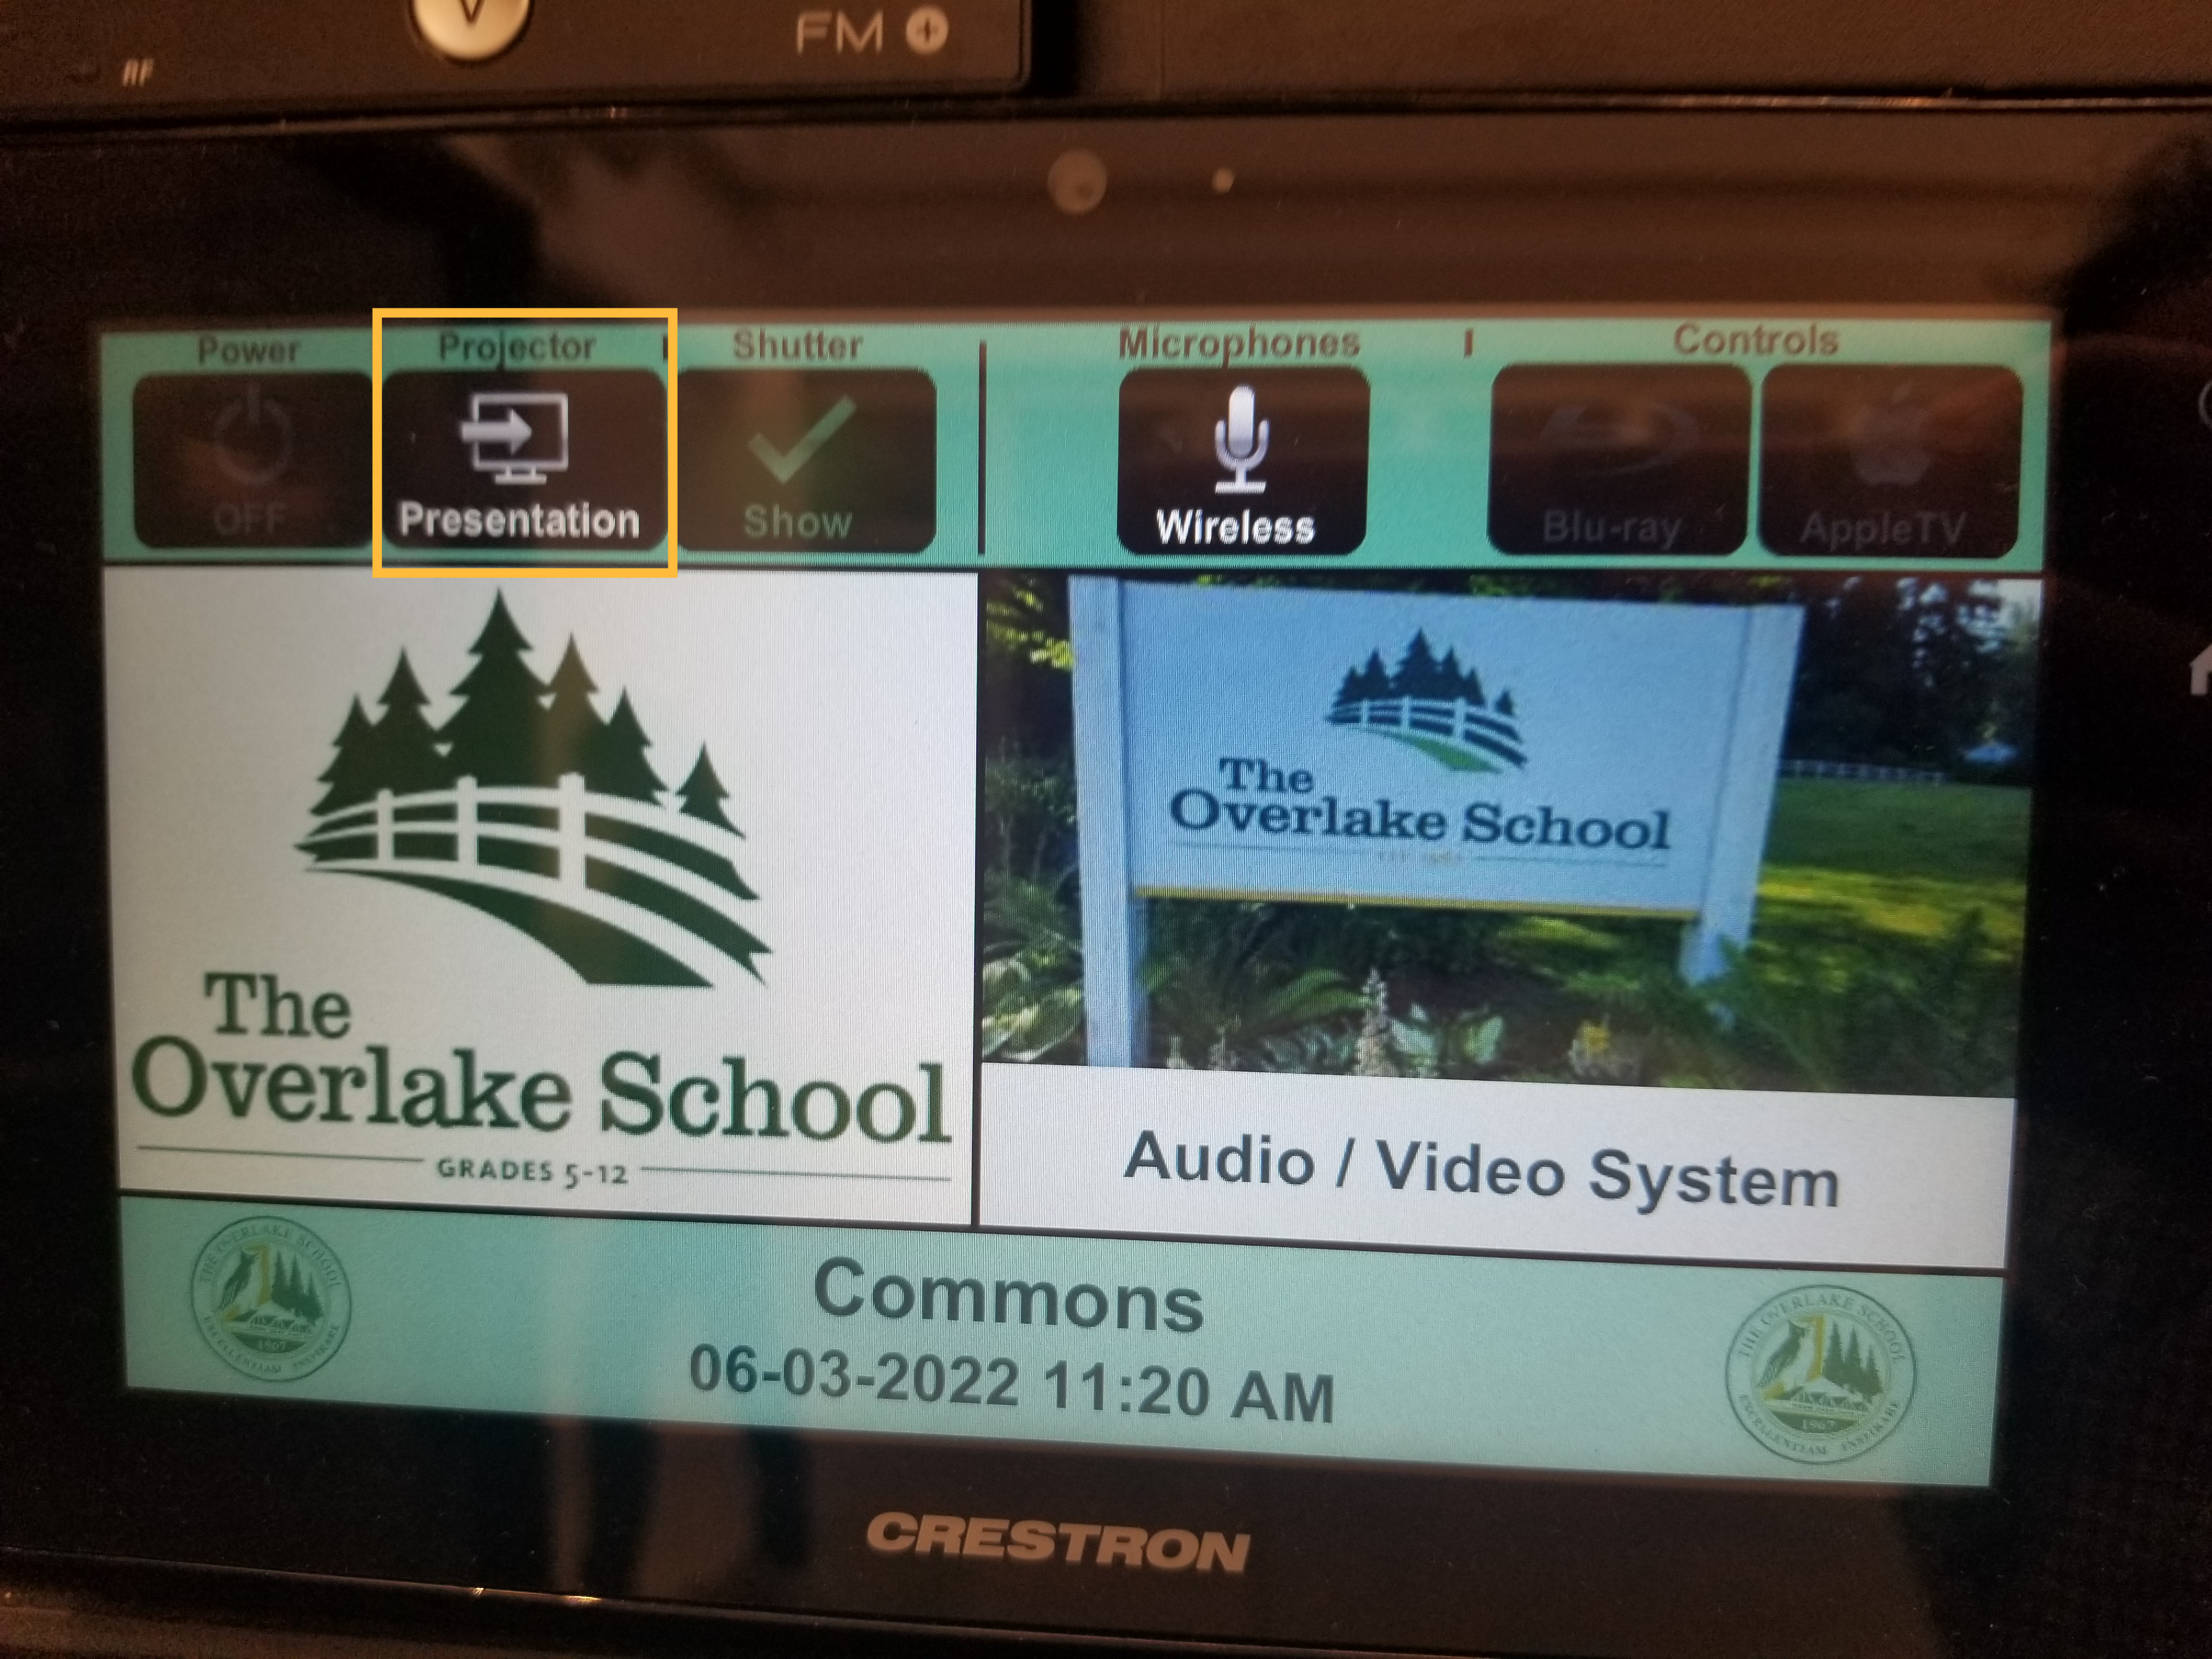
2. Select ‘Presentation’
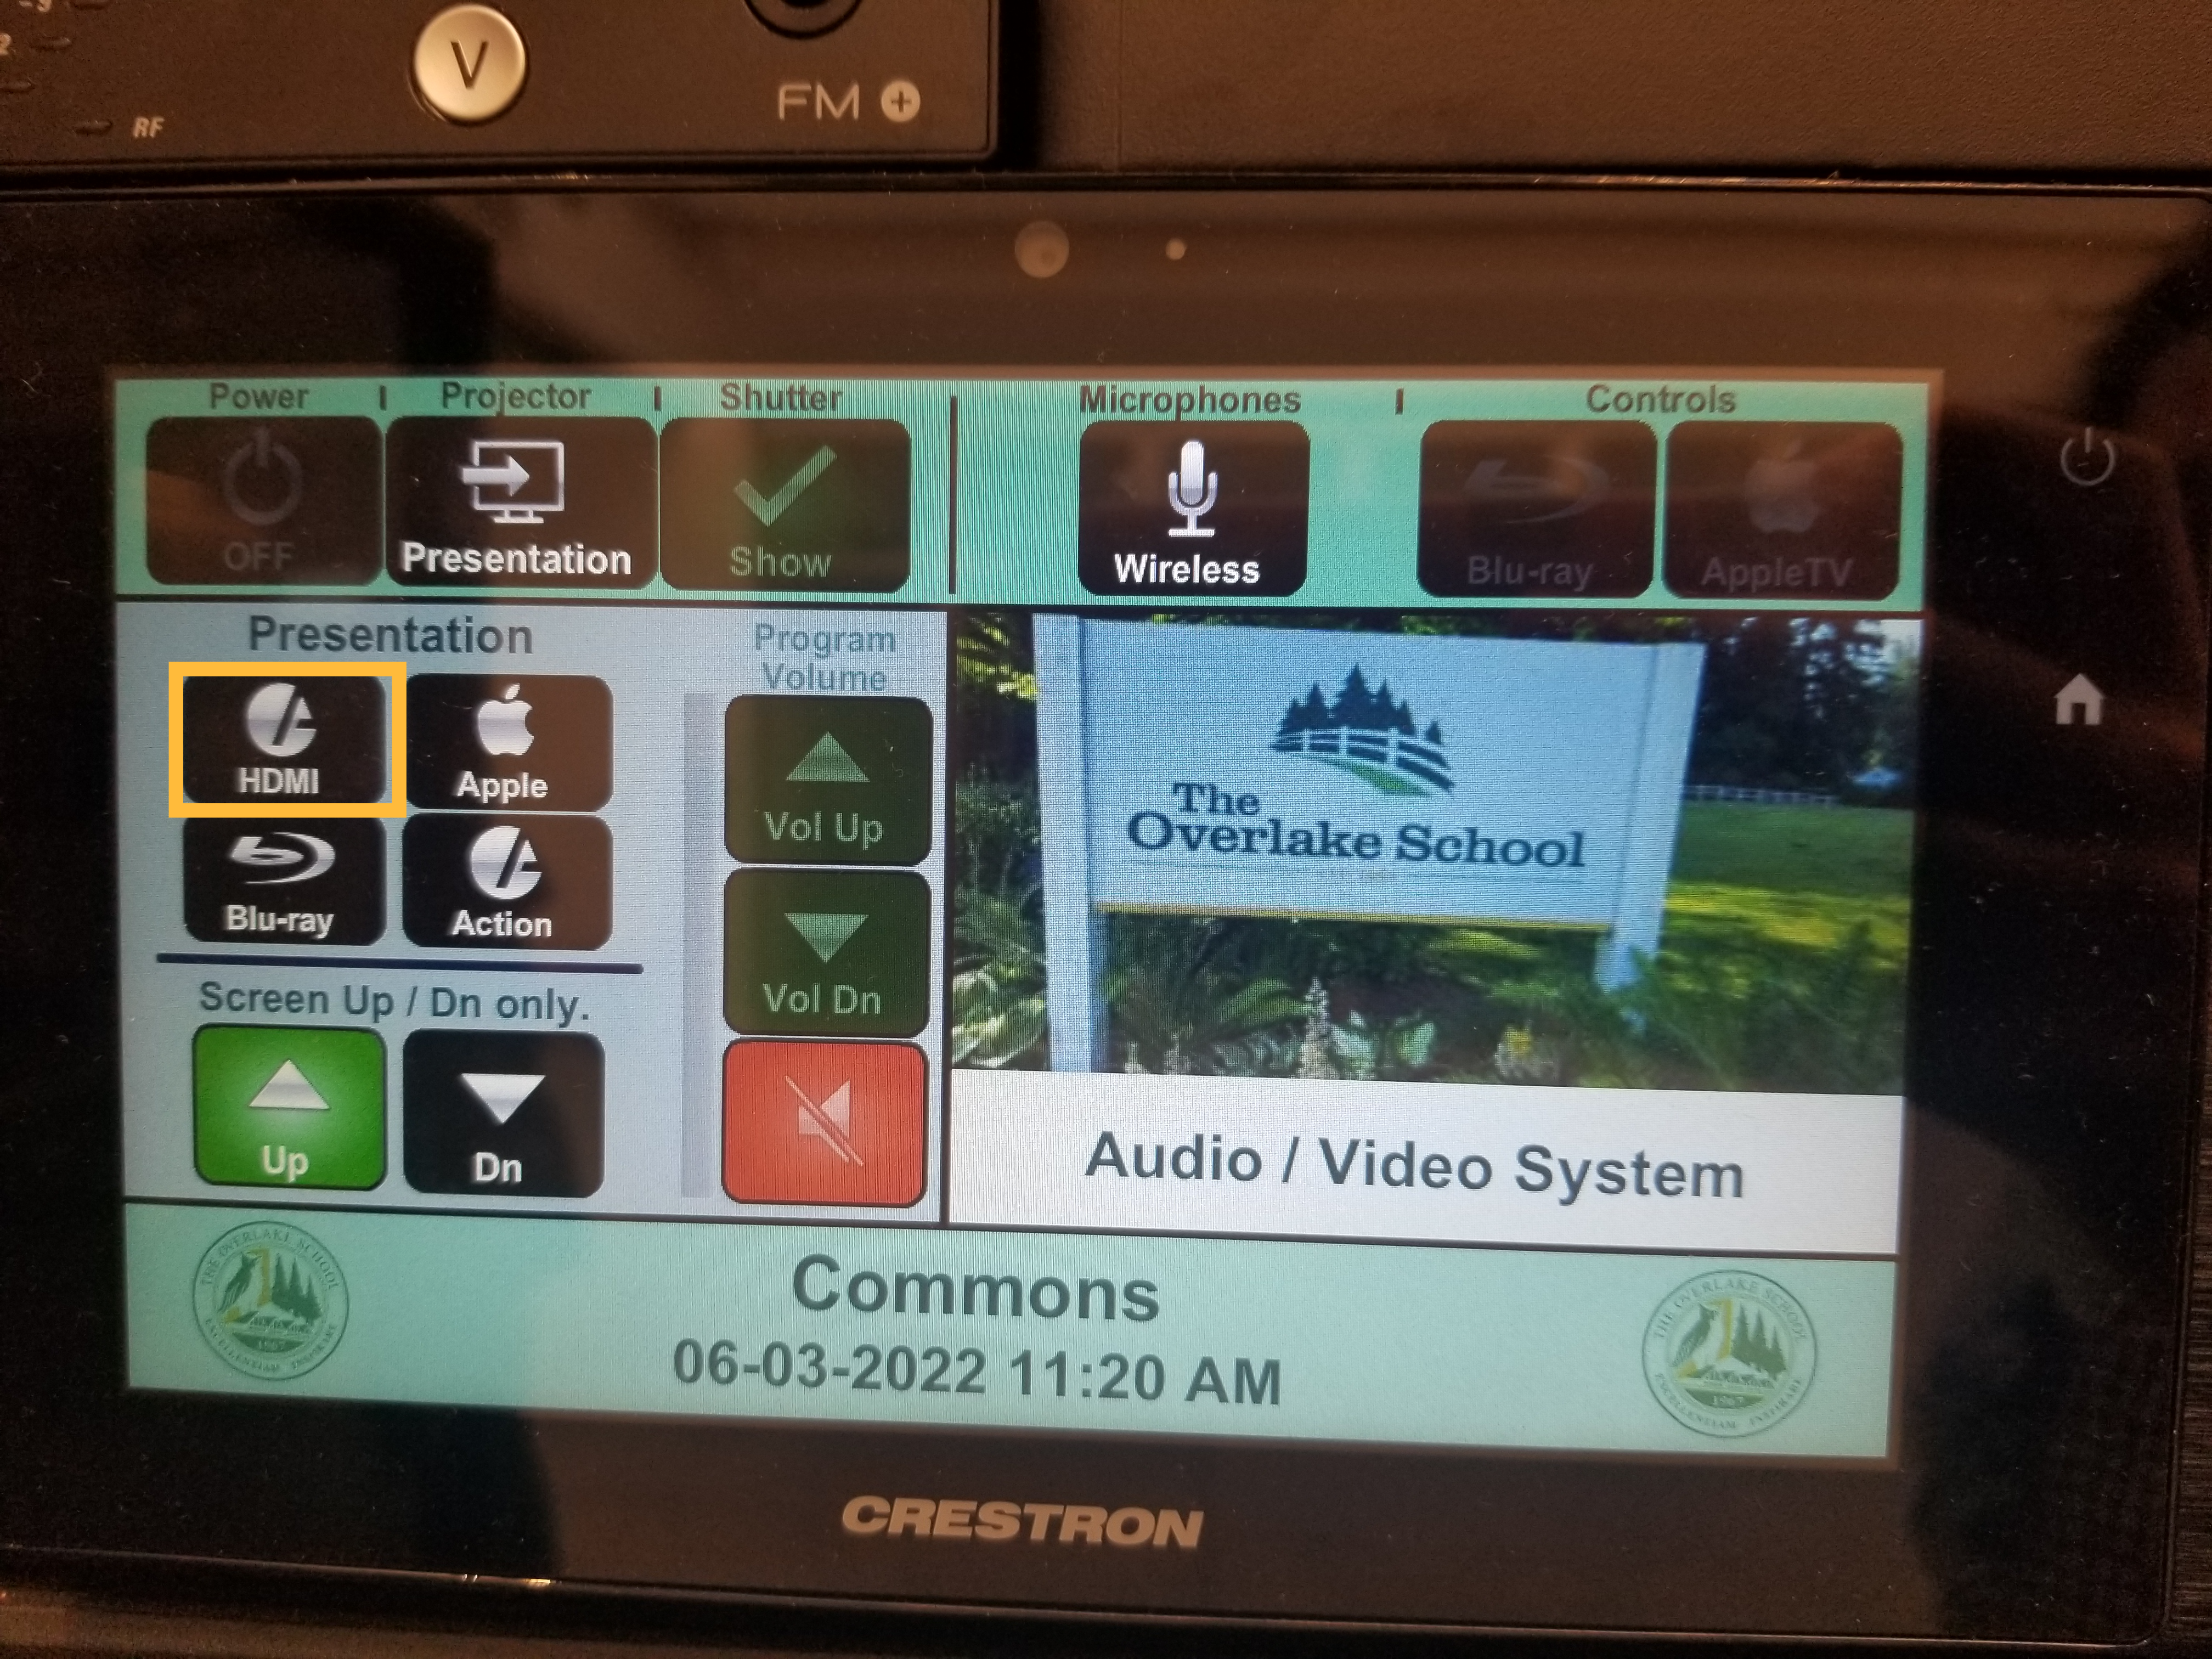
3. Select HDMI, Action (for Windows), Apple, or Blu-ray. When presenting with Apple or Action a code should be displayed to enter on the laptop/device.
4. The screen should begin to roll down along with the projector turning on automatically.
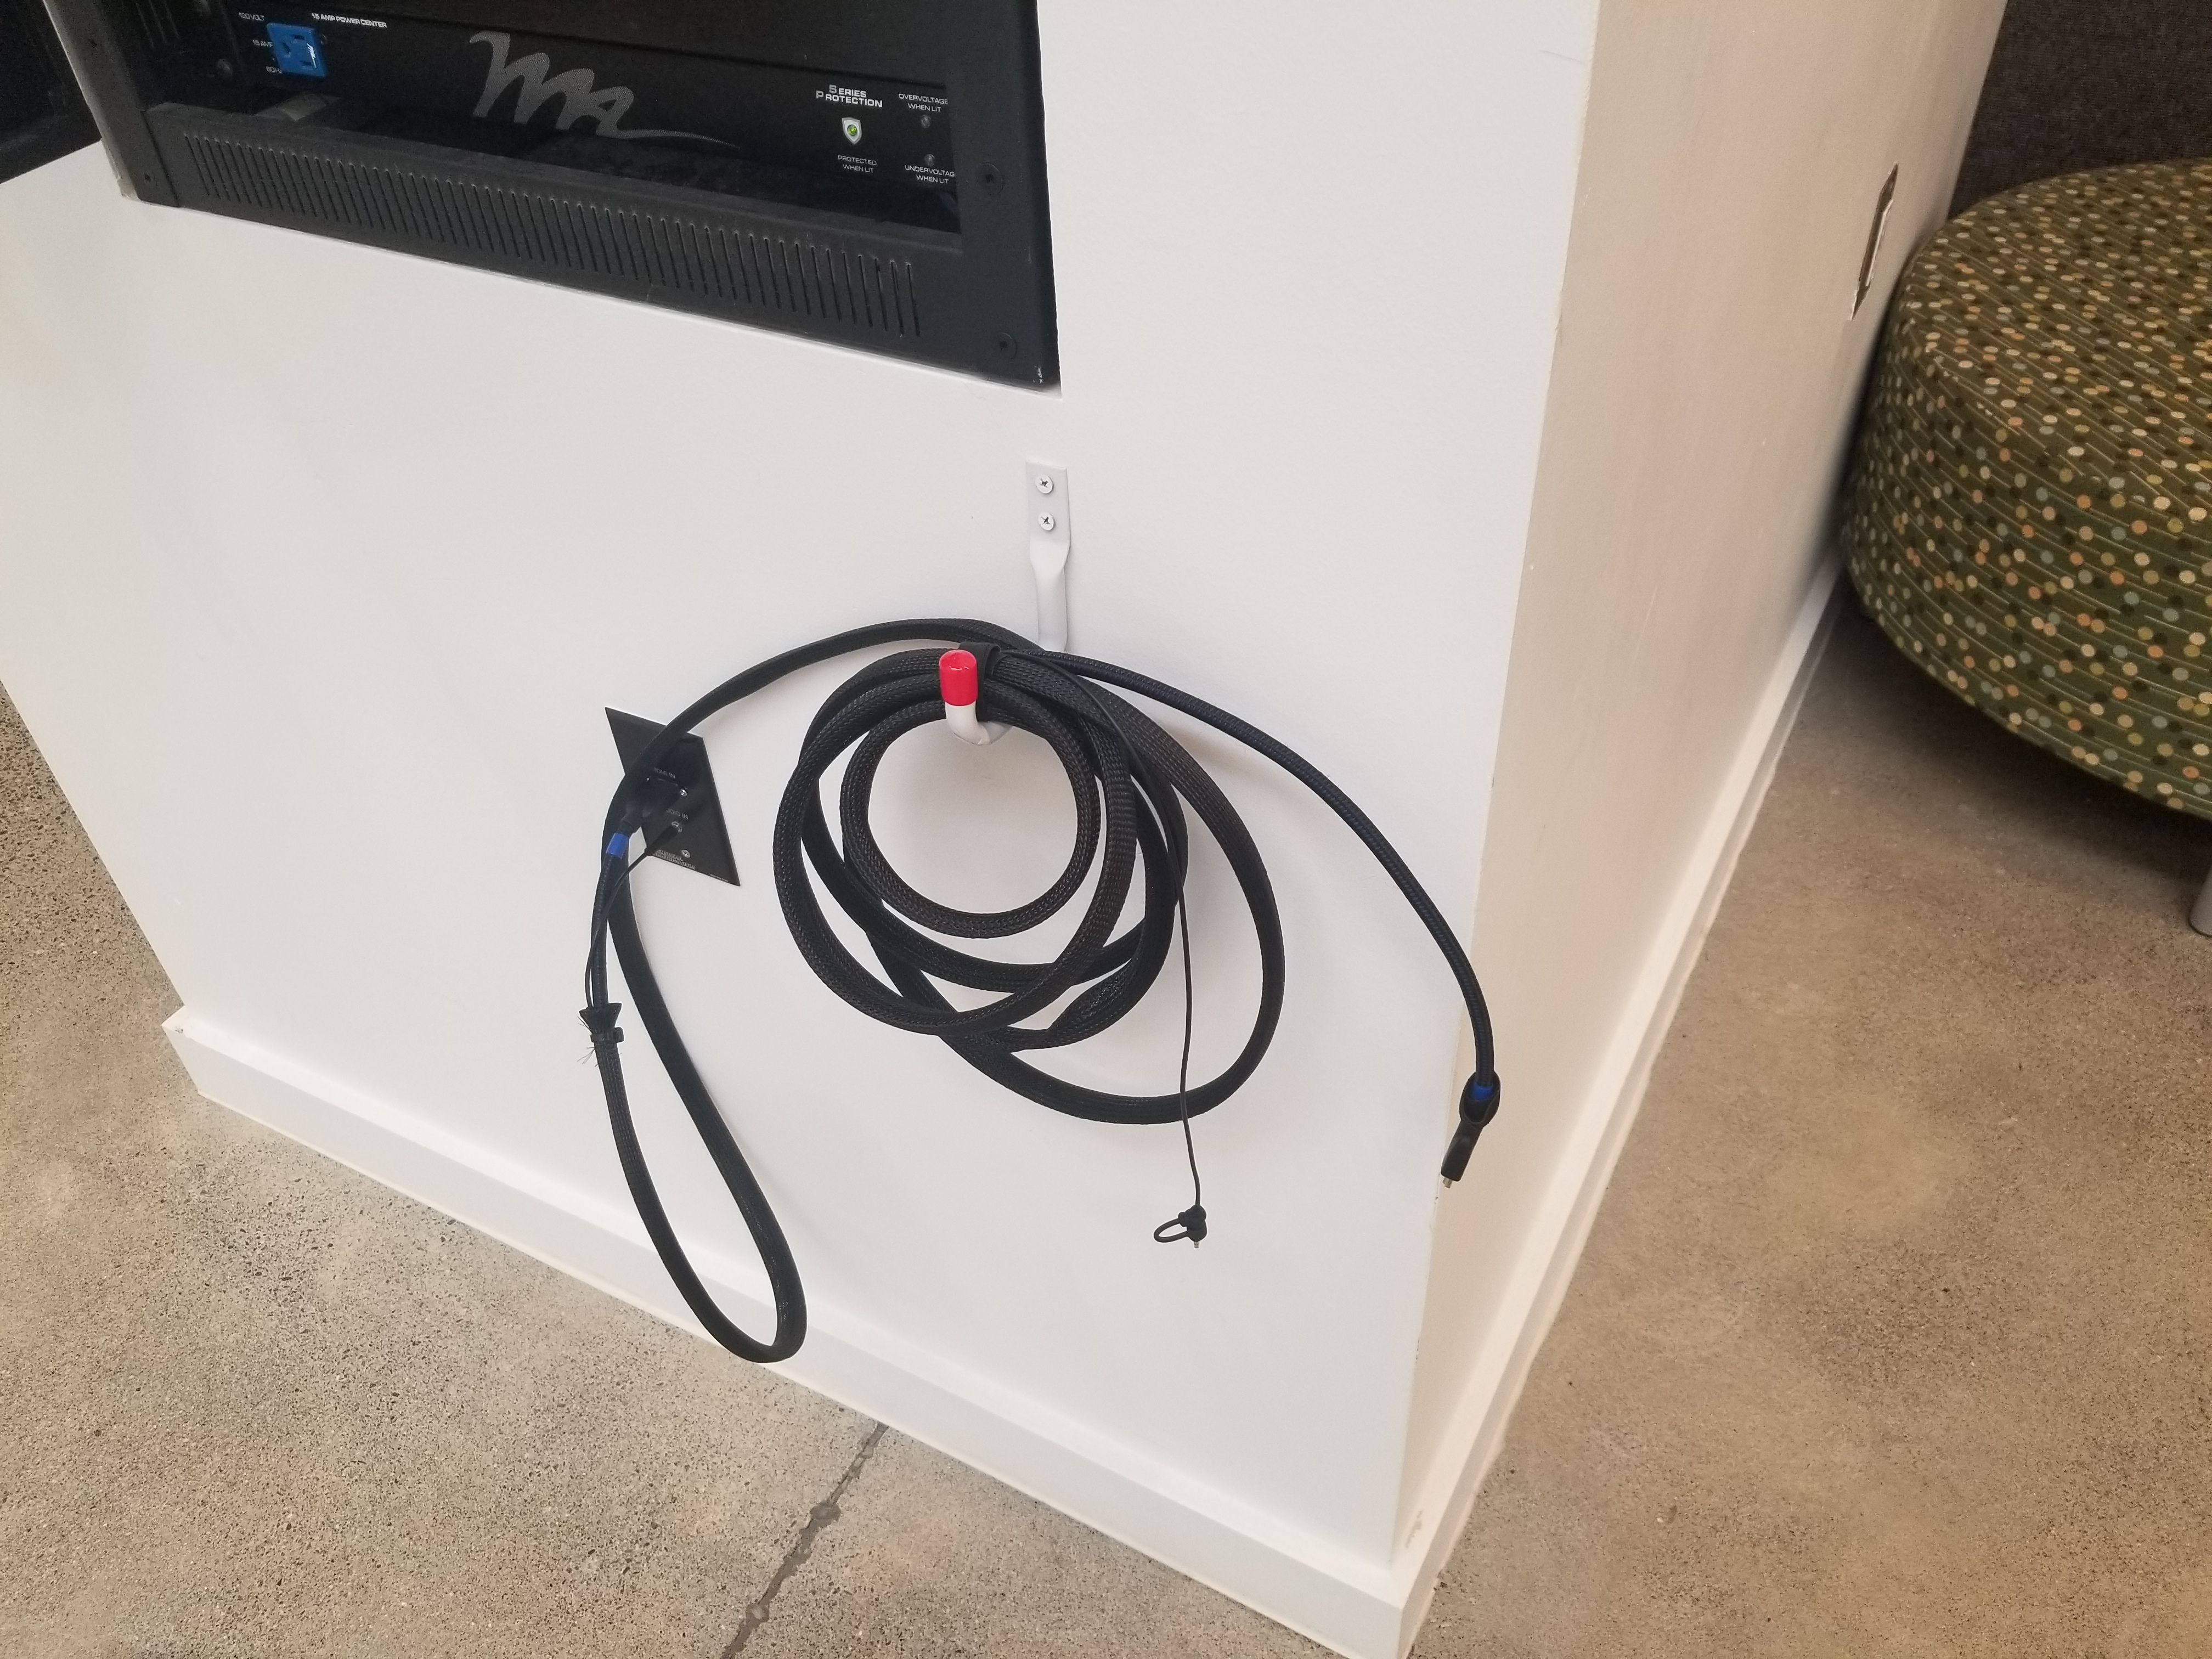
5. Plug the HDMI cable underneath the cabinet in your laptop. If your laptop does not have a HDMI port, you may need an adapter, there are some that can be borrowed from the tech office.
5. You should now see your screen being projected!
Microphones
The microphones are located in the A/V closet to the left of the control panel, this door can be opened with an 'I Key'. To turn them on, simply press the power button on the bottom of the microphone until the light is green indicating that it is on.
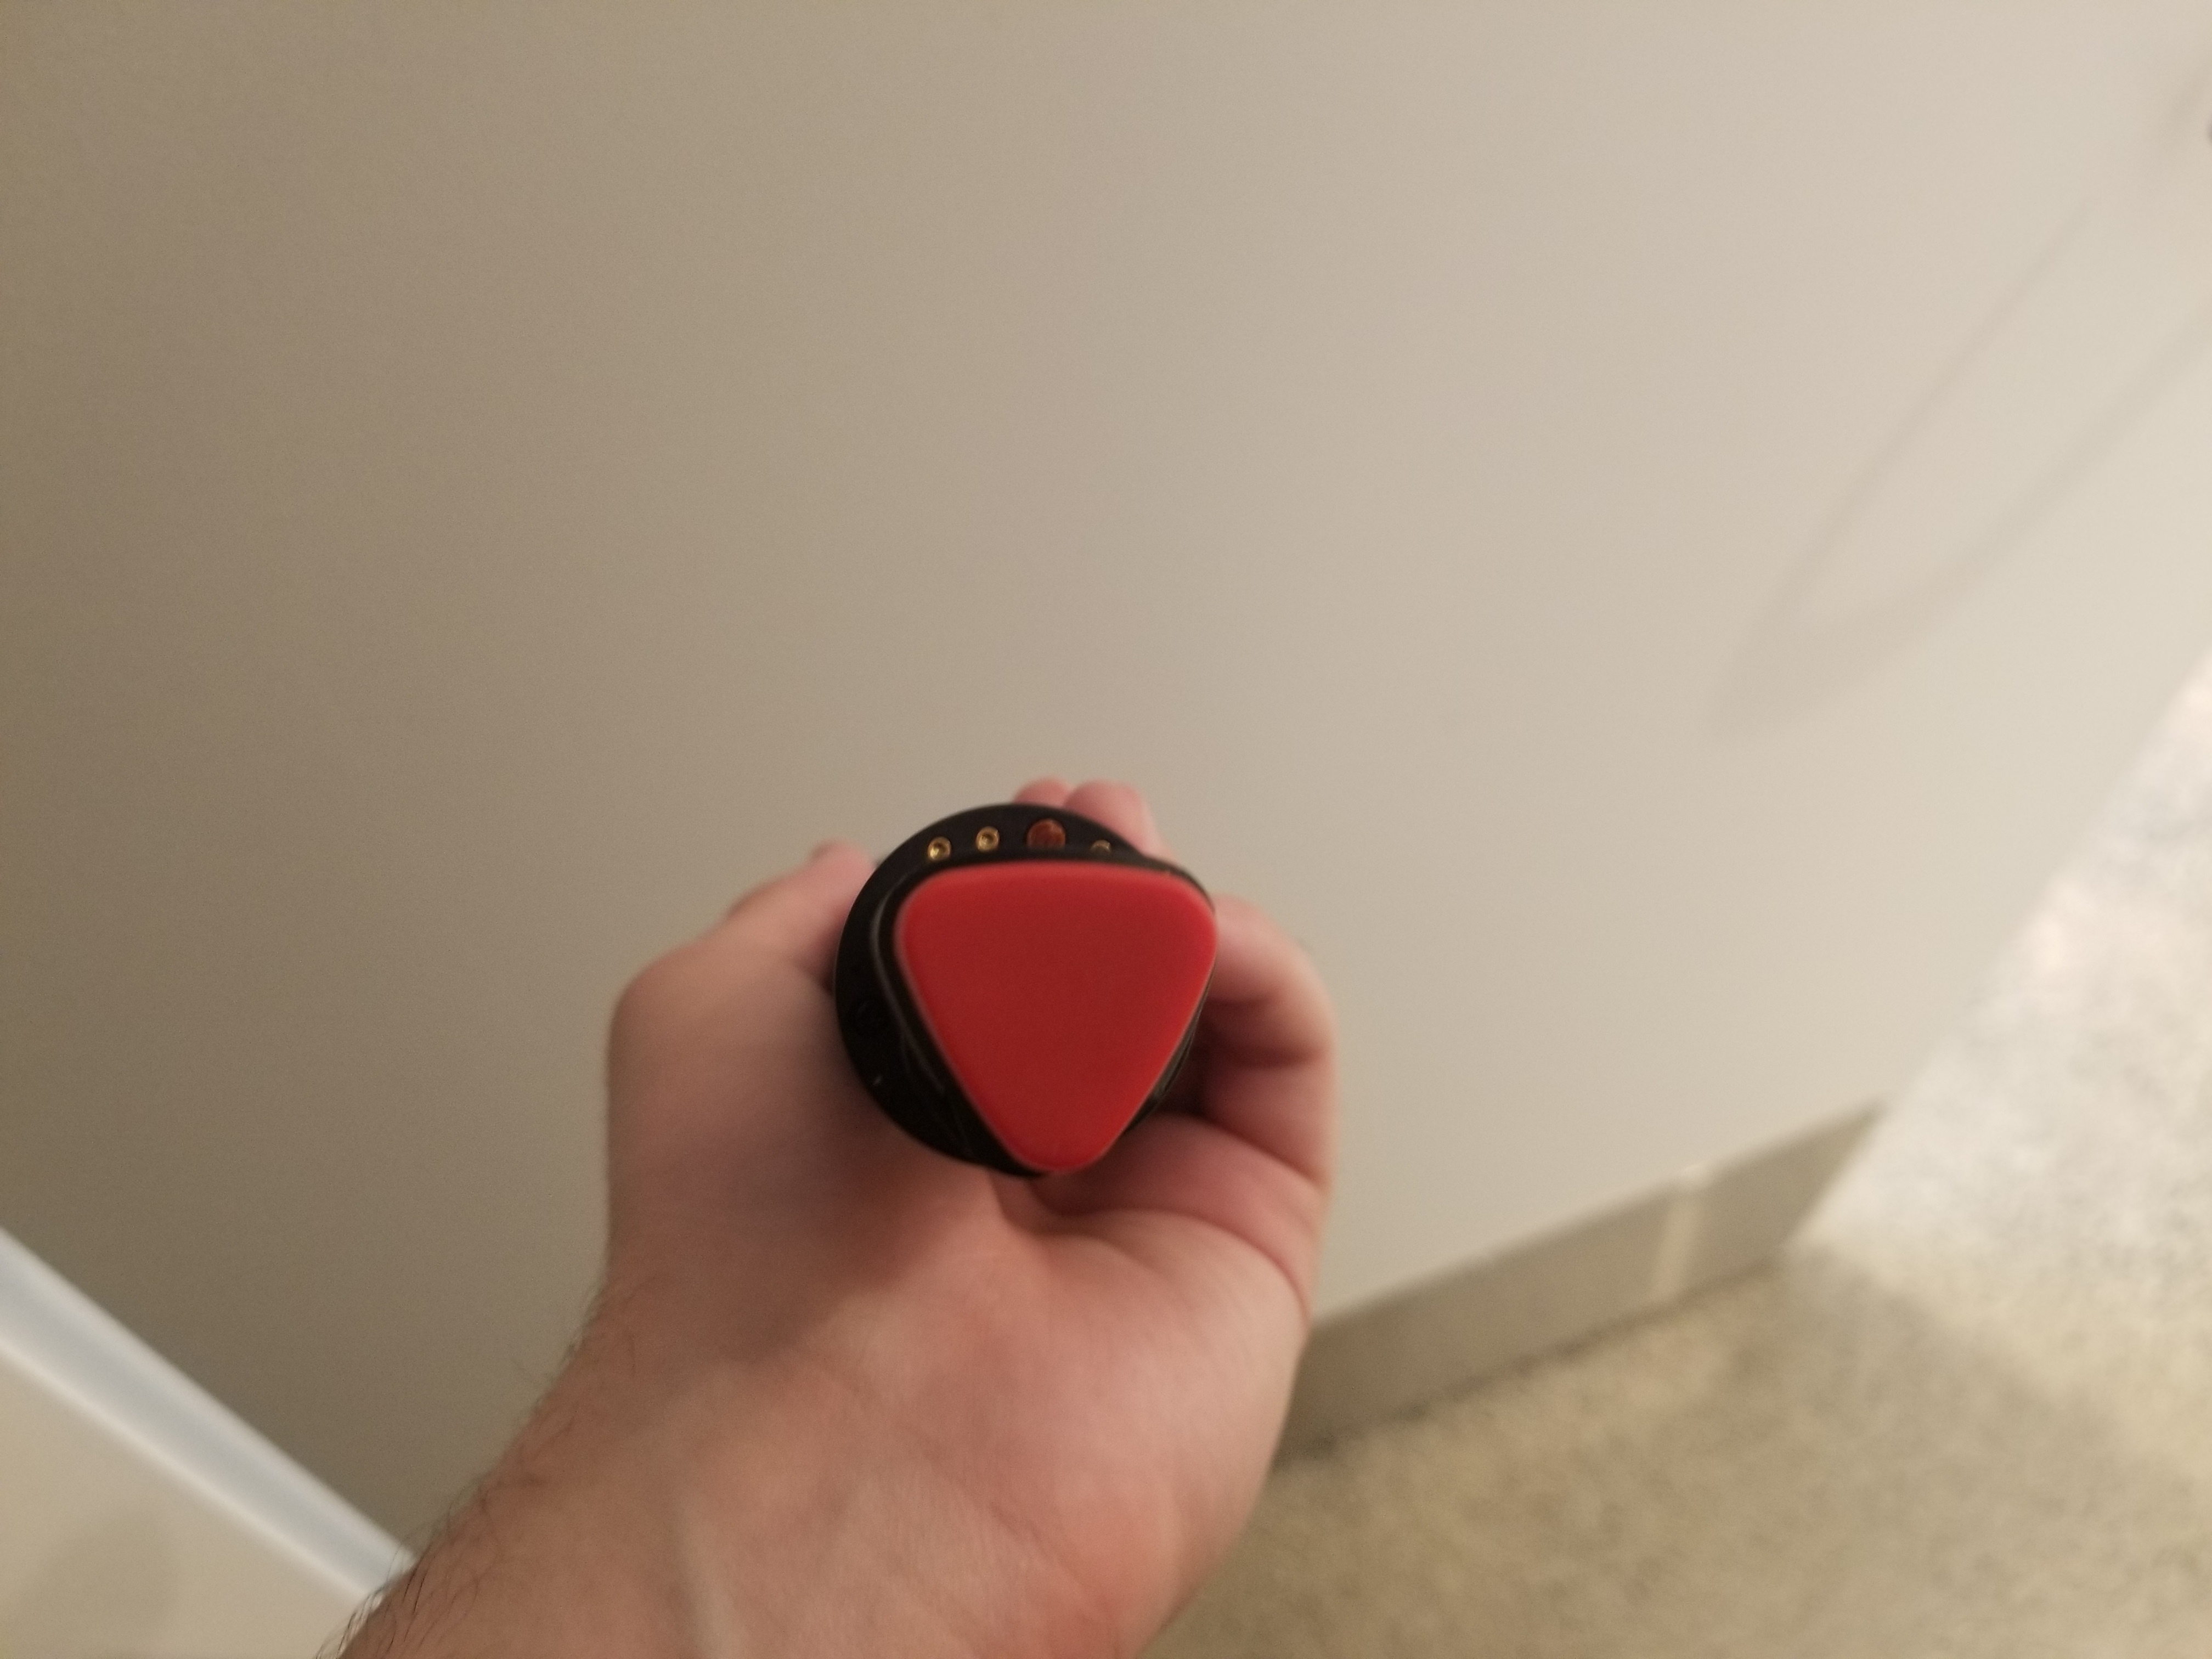
To turn the mic off, hold the power button until the indicator light goes out.
Note: If you just press it instead of holding it, it will only mute, so make sure to hold it until the light goes off.
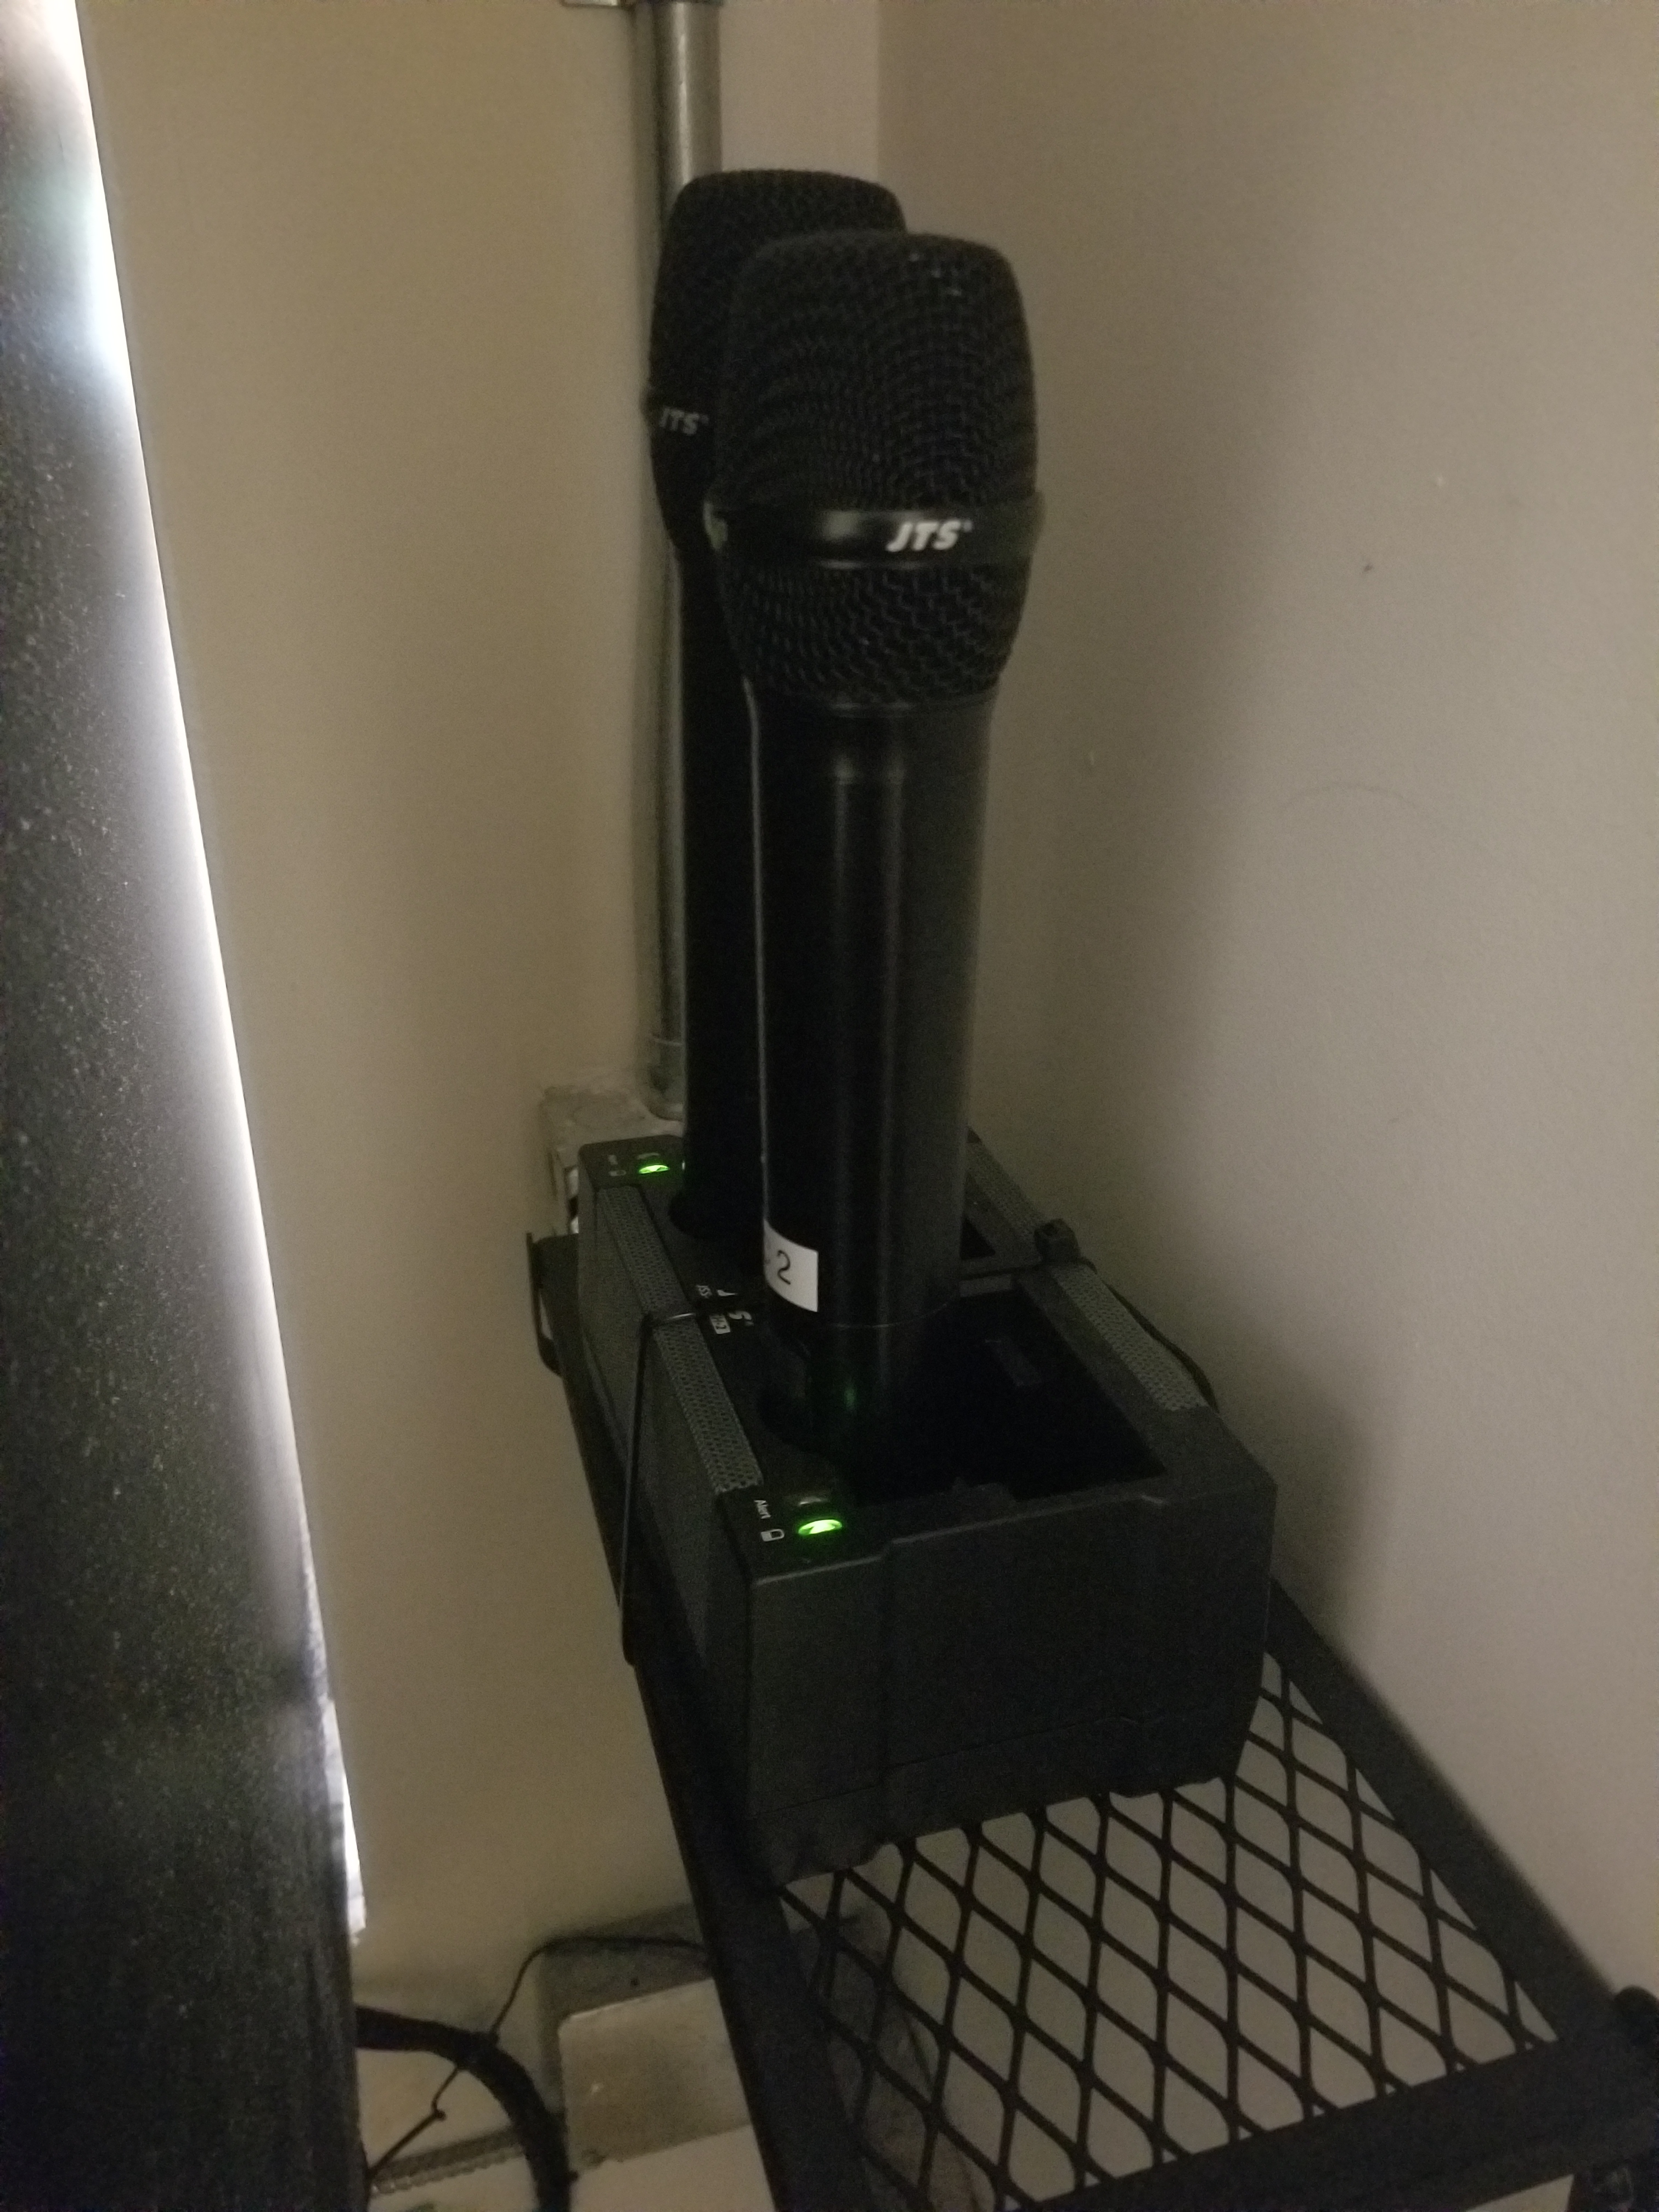
Once off, place the microphone securely into the dock and wait until you see the indicator light start to blink green.
Note: If the light is not blinking, that means it is not placed correctly won't charge.
When finished, please:
though counter-intuitive, press the 'On’ button to raise the screen and turn-off the projector.
Best of luck with your presentation!