
After several months of testing, evaluation, and positive feedback, Overlake is moving forward with a new printing service called PaperCut Hive. Some of the benefits of using PaperCut Hive are -
- more secure printing
- ease of setup
- ease of use
- ease of support
- and reduced environmental impact.
PaperCut Hive is a 'young' product, designed specifically for a cloud and mobile environment which aligns with Overlake's technology direction. PaperCut Hive's advantages far outweigh it's shortcomings. Though Hive does not support advanced printing features like 3-hole punch, multiple-tray use within a print job, etc. new features are continuously being added.
Another great advantage of PaperCut Hive is performing the single install of Hive provides access to all the printers. No more repeating the many steps to add a printer over and over. Also, as printers are added or removed on campus, no changes are required on a laptop, PaperCut Hive deals with the change.
Overview of PaperCut Hive setup
- Receive invite email from PaperCut Hive
- Click Get Started link in the invite email (installs software on the laptop)
If you own a mobile phone, install PaperCut Hive from the store.
If a mobile phone is not an option, see Non-Mobile Printing - Enjoy easy, secure, printing!
Detailed information to get up and running with PaperCut Hive
To start using PaperCut, you'll need an email 'invitation' from PaperCut. The invitation email is initiated by the Overlake Tech department.
The Sender of the email invite is: "PaperCut Hive <no-reply@papercut.com>"
The Subject of the email invite is: "[PaperCut Hive] The Overlake School has invited you to set up printing"
Please do not Forward your email invitation to anyone since it will not work for a other users and the invite contains your unique Access Code.
Example email invite -
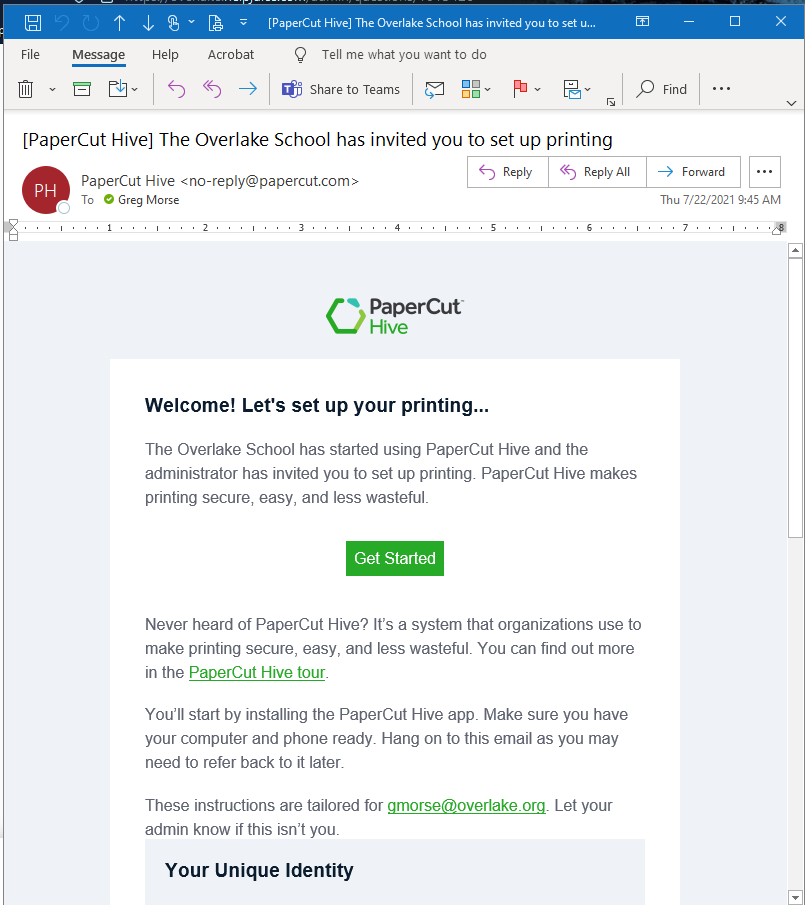
Click Get Started in the email invite then follow the instructions.
Printer Locations

Copiers are located around campus, so printing is never far away. Printing with PaperCut means you print to PaperCut, then walk to the most convenient printer and release your job either on your smartphone or via the copier. The following copiers are available for employees and students to use:
- Building 1: Whitten Math & Sciecnces Level 1 (L1) Black and White
- Building 7: Library Color Copier
- Building 8: TLC Student Center Black and White
- Building 9: Humanities Level 3 (L3) Black and White
All other copies are available to Overlake employees, only.
Non-Mobile Printing
If you do not have a mobile phone for use with PaperCut Hive, no worries! Just use a barcode issued by the school to 'release the print job' at a copier. There is still an option to print without using PaperCut Hive, see below.
How To Release a Print Job
Once something has been printed from your laptop it goes to the PaperCut Hive queue where it is held until it is 'released'. It the print job is not released from the PaperCut Hive queue within to two days, it is deleted. When you are ready to actually print, the print job can be released in the following ways -
- from a mobile phone
- at a copier using your Access Code/Veracross ID
- or via a scanner at a copier using your school issued barcode
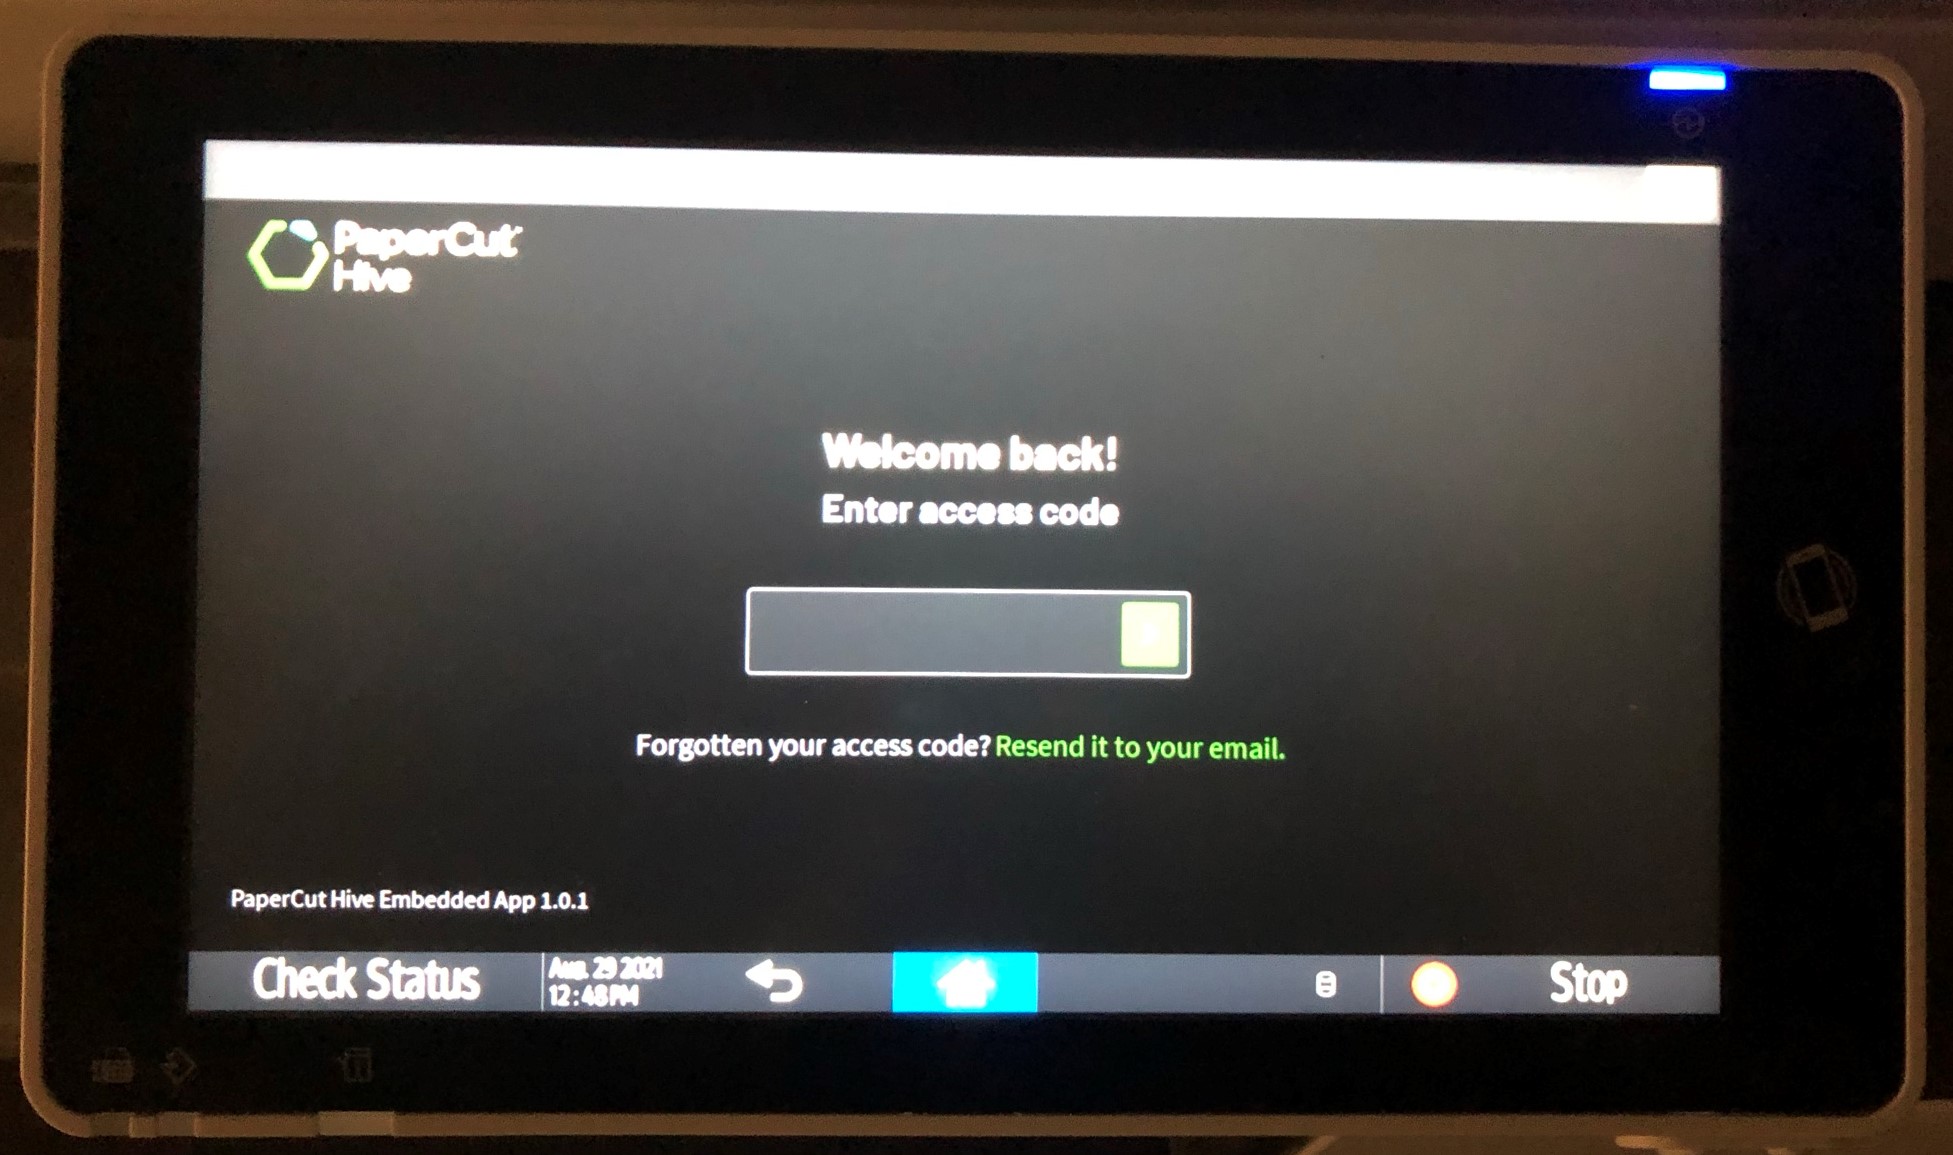
How To release the job at at a copier using your Access Code/Veracross ID
(currently only the Ricoh copiers at school support this feature)
At the copier and you see the PaperCut Hive login screen enter your Access Code/Veracross ID
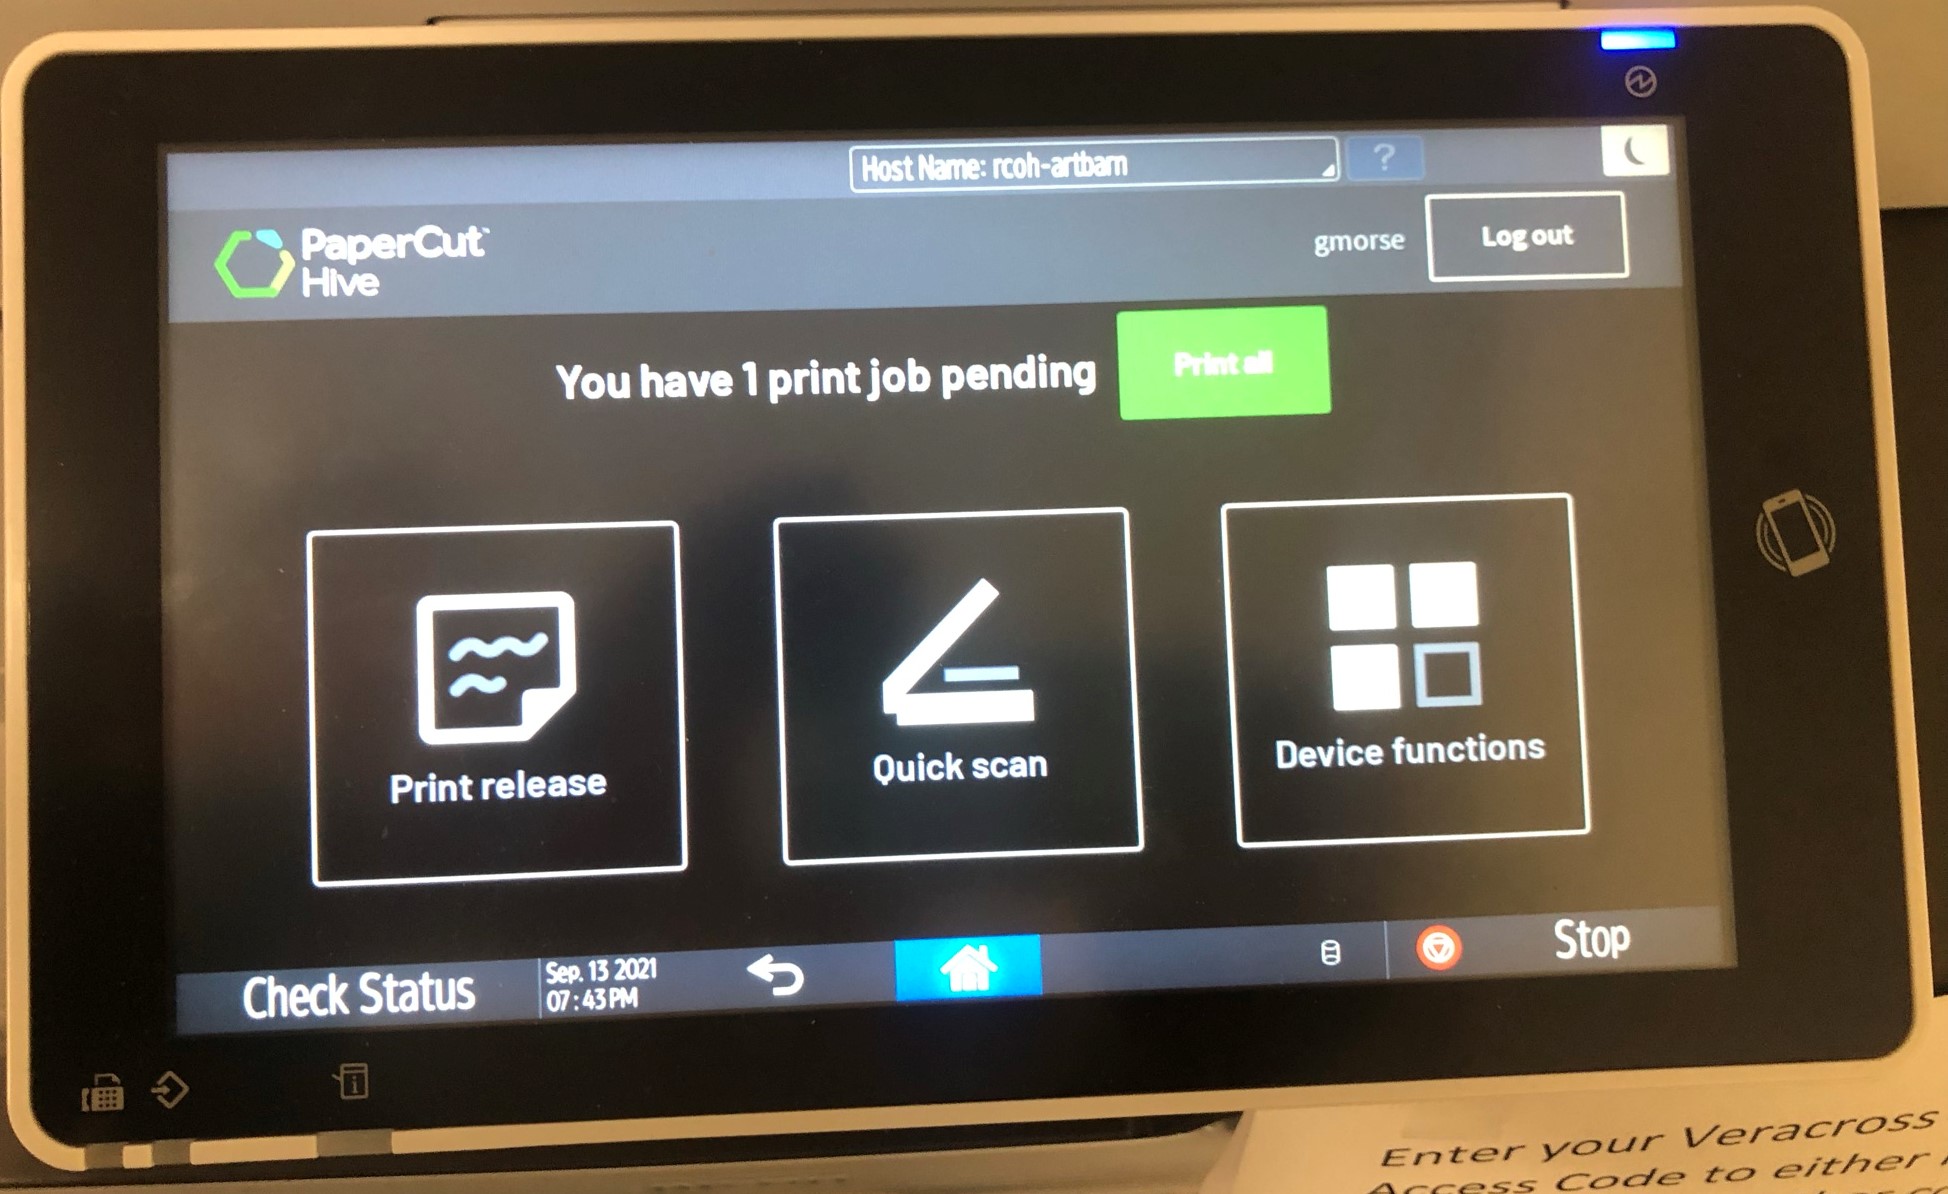
Once you are logged in, choose Print All or Print Release, then follow the prompts to complete printing.
How to Quick scan
At the touch-panel of the copier, login to Hive using your Veracross ID/Access code then press the Quick scan button. Select either Scan to OneDrive for Business or Scan to email.
Choose your scanning details and update the File name to something more descriptive
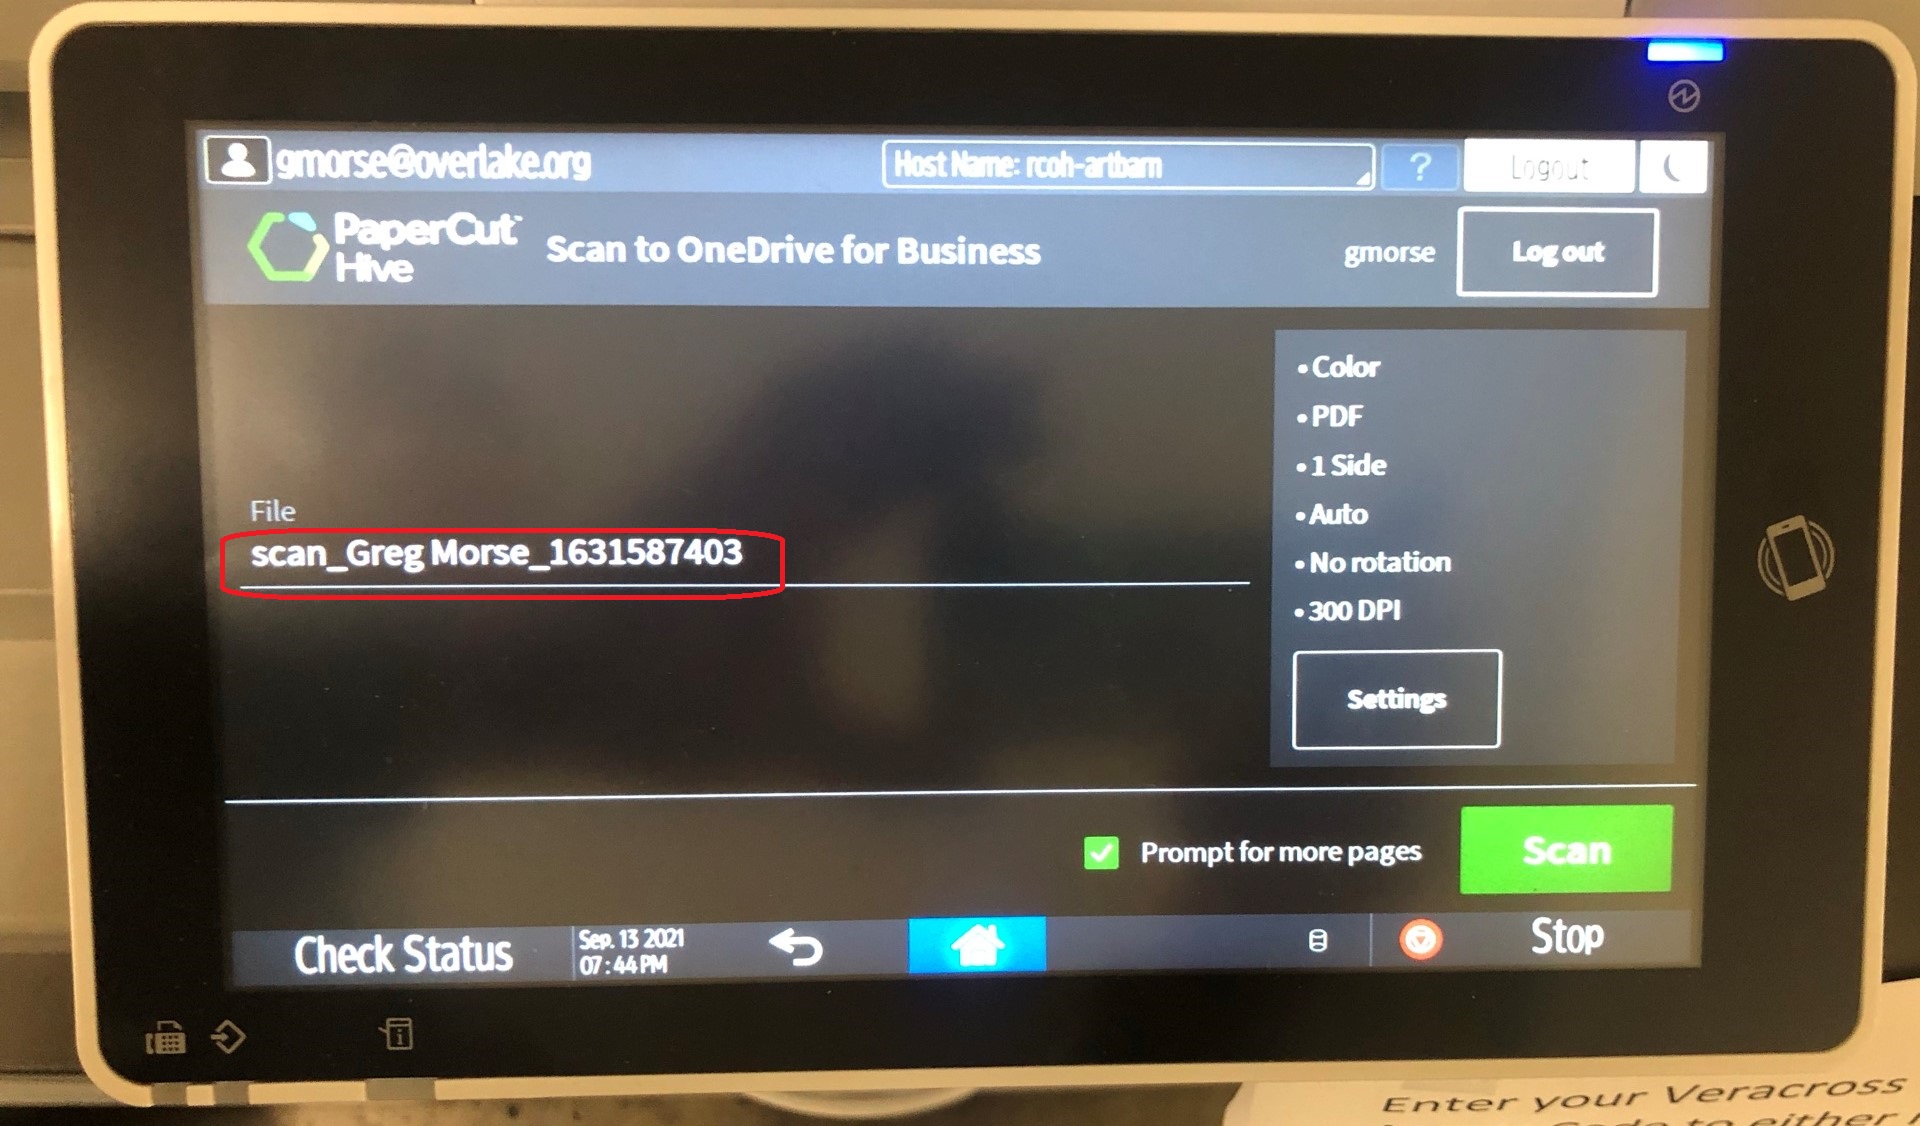
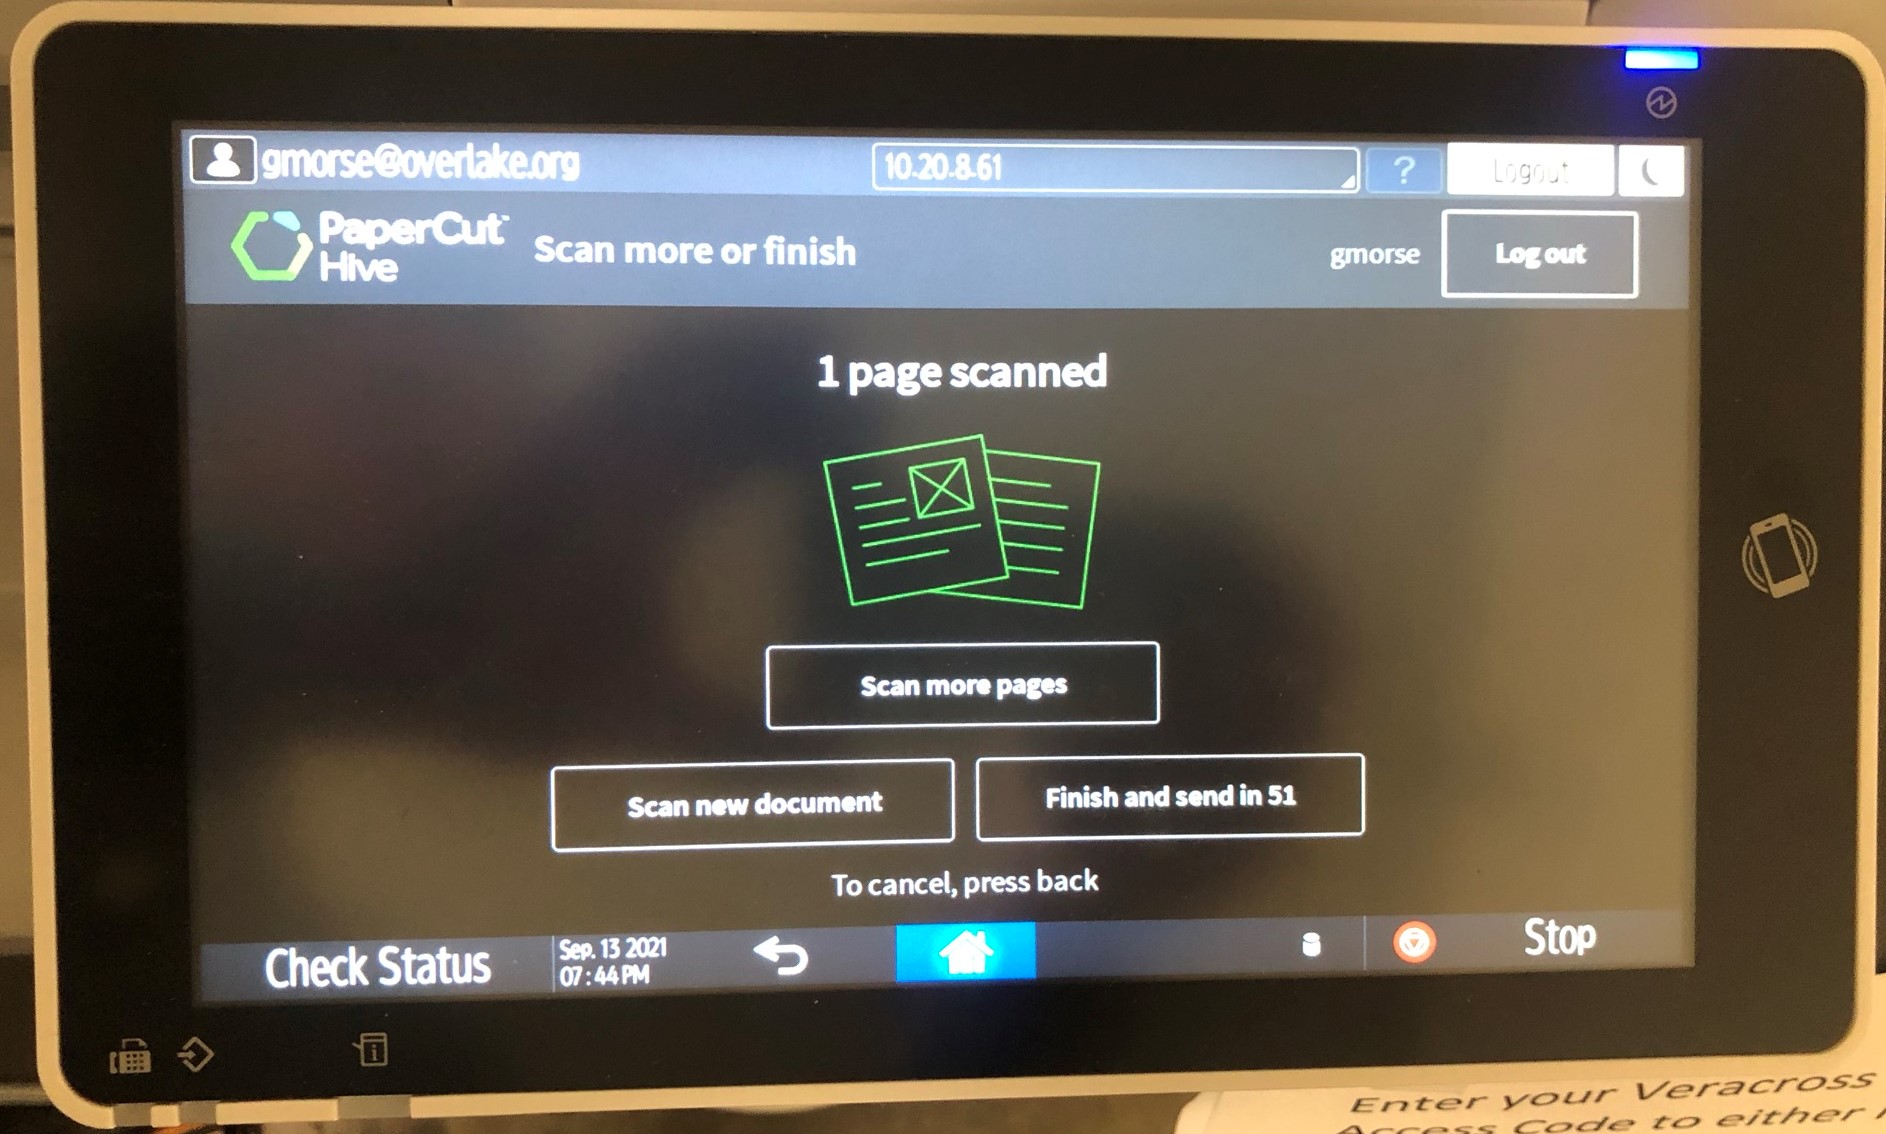
When you are done scanning, either more pages or a new document, press the Finish and send button.
How to make Copies
Login to the copier with your Access code/Veracross ID
Select Device functions
Select Copier
How to Print directly without using PaperCut Hive
If the printer/copier is not added to your laptop, add the printer using the IP address displayed at the printer.
More detail on the steps to print directly will be added to this article at a later date.